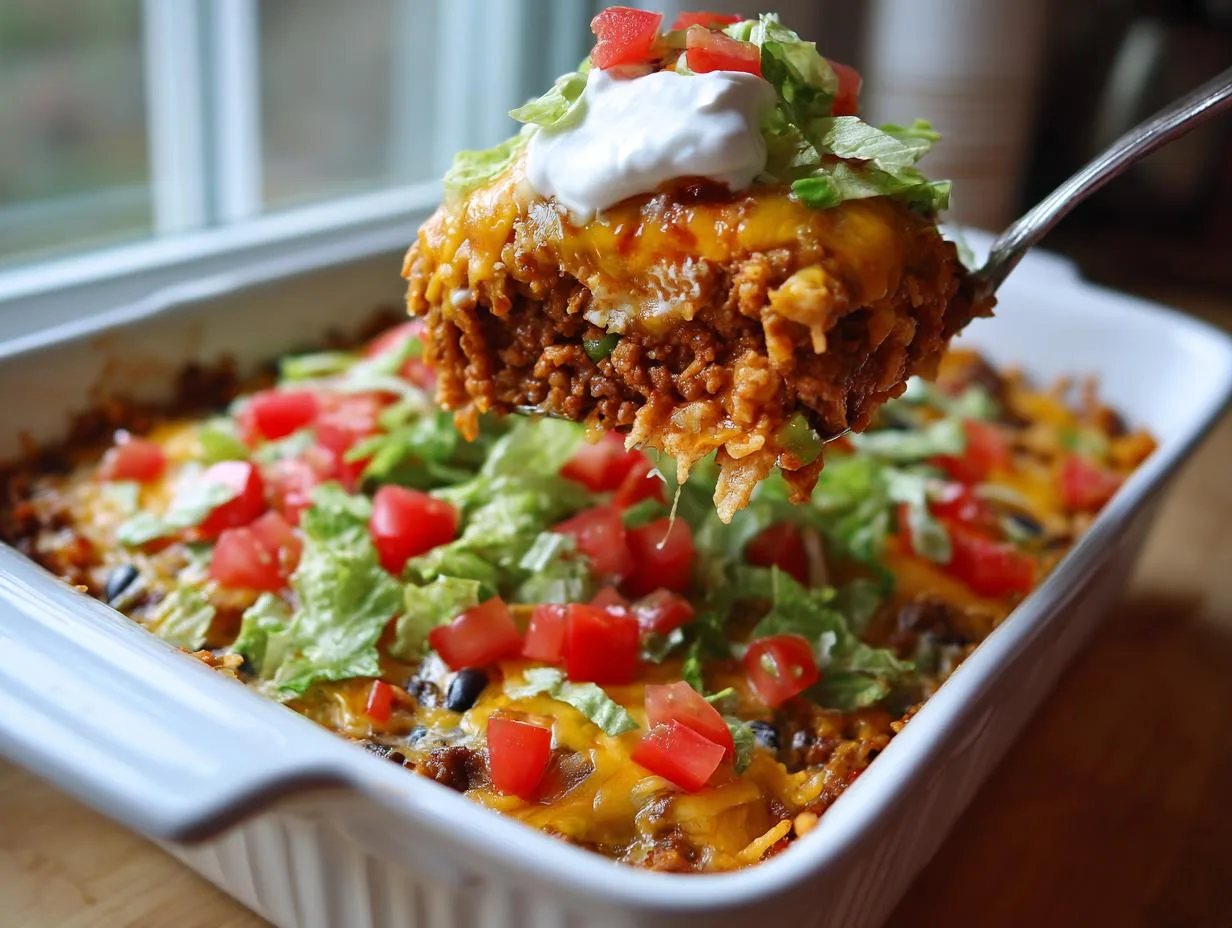
Let me tell you about my favorite weeknight lifesaver—this taco salad casserole recipe! It’s got all the flavors you love from taco night, but baked into one irresistible dish that’ll have everyone coming back for seconds. I’ve been making this for years, ever since my grandkids declared regular tacos “too messy” (bless their little hearts). Now, it’s our go-to for busy school nights, potlucks, and even casual dinner parties. The best part? That glorious crunch from the tortilla chips layered right into the casserole—pure magic with every bite.
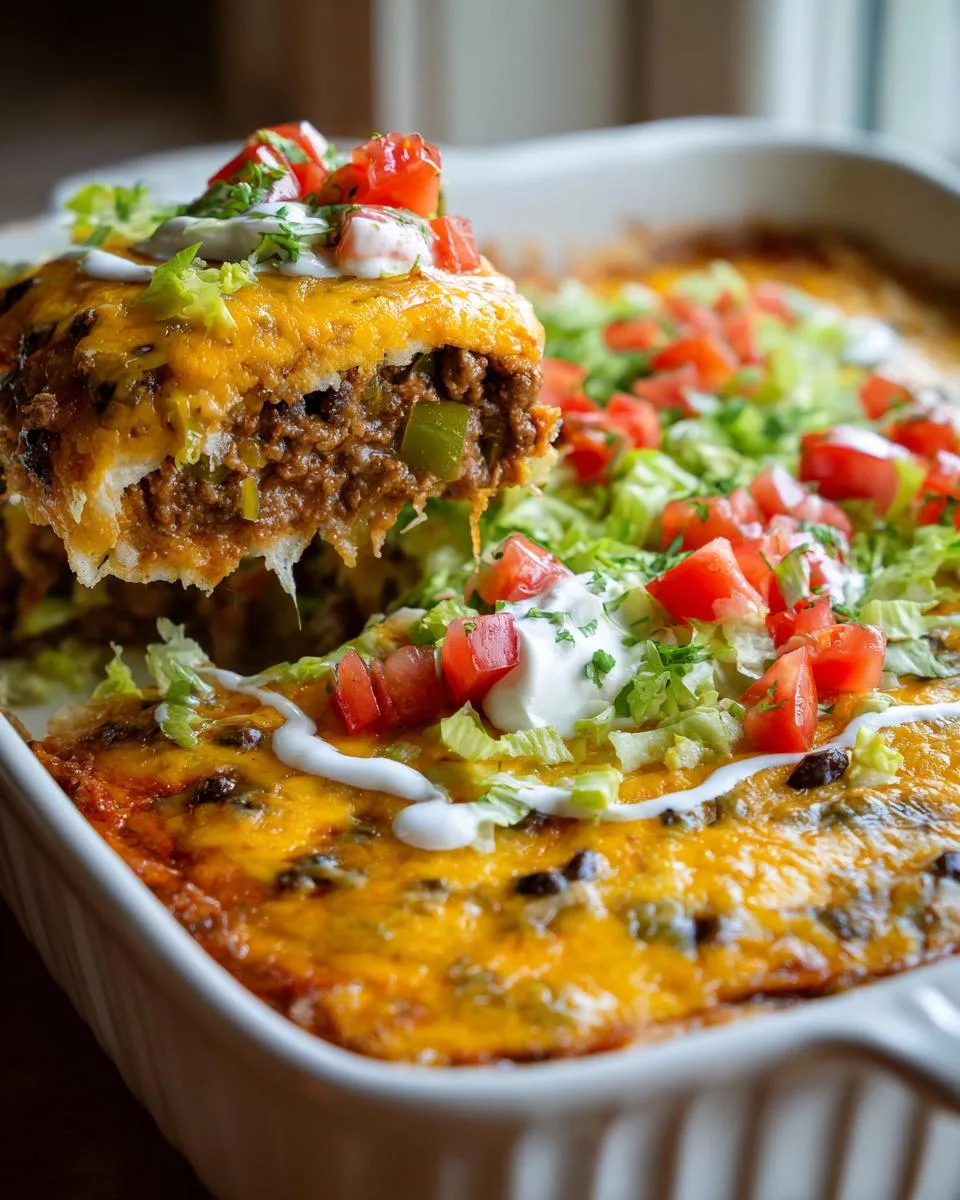
Table of Contents
Table of Contents
Why You’ll Love This Taco Salad Casserole Recipe
Listen, I know we all have those nights when we need something quick, delicious, and guaranteed to please. That’s where this taco salad casserole comes in—it’s a total game-changer! Here’s why it’s been a staple in my kitchen for years:
- It’s a crowd-pleaser: From picky kids to hungry adults, everyone goes crazy for that perfect mix of crunchy chips, cheesy goodness, and taco flavor.
- Easy-peasy prep: Just brown the meat, layer everything up, and pop it in the oven. Dinner’s ready before you can say “second helping!”
- No sad, soggy chips here: Unlike regular taco salads, the chips stay perfectly crisp when you layer them right—trust me, it’s all in the technique.
- Customize it your way: Spice it up with jalapeños, swap the protein, or go wild with toppings—it’s your kitchen, your rules!
- Leftovers (if you have any!) taste amazing: The flavors get even better the next day. Just reheat and add fresh veggies—lunch is served!
Honestly, once you try this version, you might never go back to regular tacos again. It’s that good.
Ingredients for Taco Salad Casserole Recipe
Now, let’s gather up everything we need to make this easy taco salad casserole. I like to organize my ingredients into little groups – it makes the whole process smoother when we get to cooking.
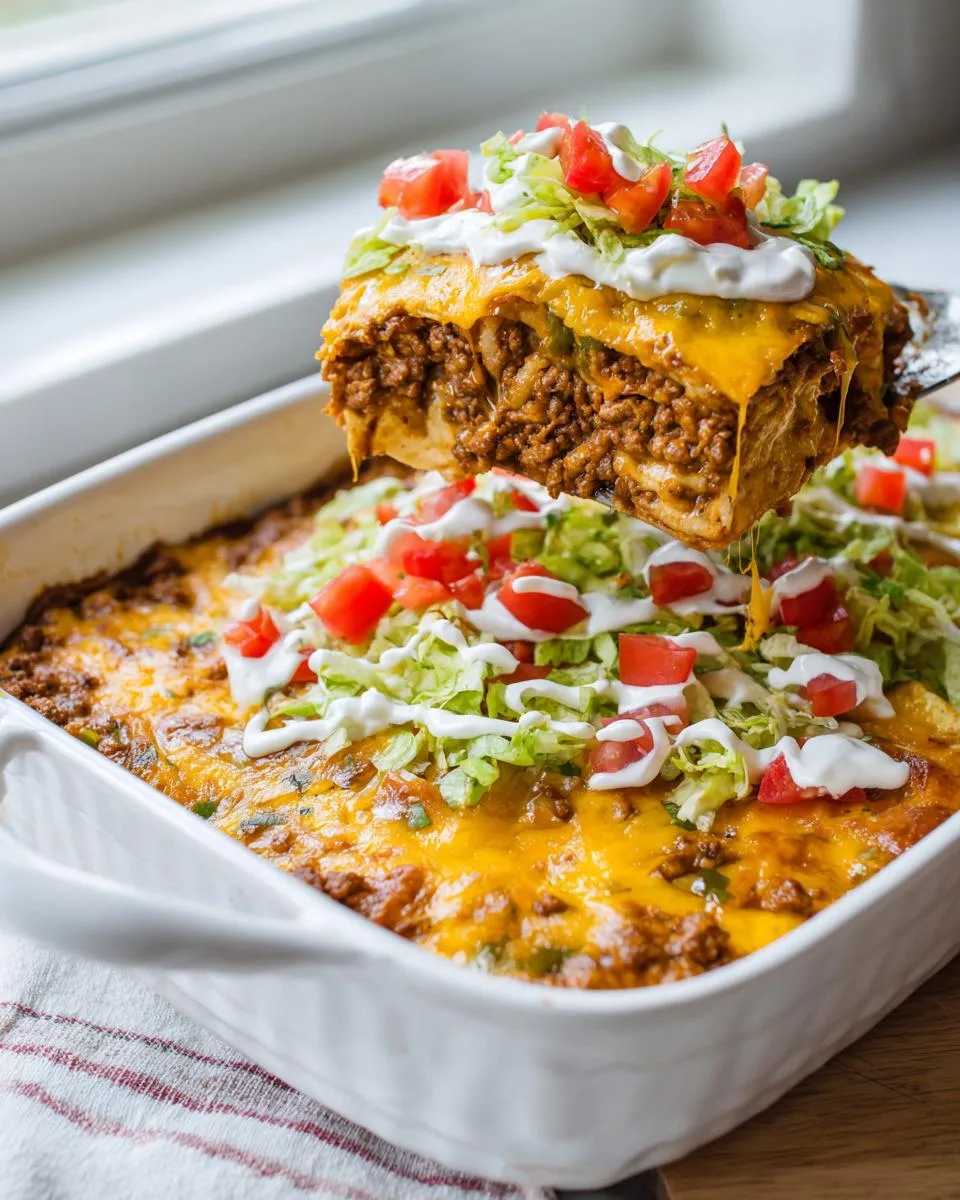
Here’s exactly what you’ll need (and yes, I’ve learned the hard way that measuring matters with this one!):
For the Meat Base
- 1 pound lean ground beef (85/15 works great here – or use ground turkey if you prefer)
- 1 cup chopped yellow or white onion (that’s about 1 medium onion)
- 1 green bell pepper, diced (should give you about 1 cup)
- 1 cup frozen roasted corn (regular corn works too, but the roasted kind adds amazing flavor)
Taco Seasonings & Sauce
- 1 (1 ounce) packet taco seasoning (or 3 tablespoons of homemade blend if you’re feeling fancy)
- 3/4 cup water (this helps create that perfect saucy consistency)
- 1/3 cup taco sauce (mild, medium, or hot – your call!)
The Crunchy Layers
- 6 cups nacho cheese or ranch flavored tortilla chips (lightly crushed – I’ll show you how later)
- 1 (16 ounce) can refried black beans (or regular refried beans if that’s what you’ve got)
Cheese & Toppings
- 1 (8 ounce) package shredded Mexican cheese blend (the pre-shredded kind works fine here)
- 1 heart of Romaine lettuce, finely shredded (about 3 cups)
- 1 Roma tomato, chopped (seeds removed helps prevent sogginess)
- 1/3 cup sour cream (for drizzling at the end)
See? Nothing too crazy, and you might already have most of this in your pantry. The fresh toppings make all the difference, so don’t skip those! Now let’s get cooking, shall we?
How to Make Taco Salad Casserole Recipe
Alright, let’s roll up our sleeves and make the easiest, most delicious taco salad casserole you’ve ever tasted! I promise, even if you’re not much of a cook, you can nail this one. Just follow these simple steps and you’ll have dinner on the table in no time.
Step 1: Cook the Beef and Vegetables
First things first – preheat your oven to 375°F (190°C) and grab your trusty 12-inch skillet. Toss in that ground beef, chopped onion, and diced bell pepper. Crank the heat to medium and start breaking up the meat with a wooden spoon – my old spoon with the slightly chipped edge has seen more taco meat than I can count!
Cook this mixture for about 8 minutes, stirring occasionally, until the beef is nicely browned and those veggies are tender. Now, here’s an important step my granddaughter always forgets – drain off that excess fat! Just tilt the skillet and use a spoon to scoop it out, or carefully pour it into an old can. This keeps your casserole from getting greasy.
Step 2: Simmer with Seasonings
Now for the flavor magic! Stir in your frozen corn, water, and that packet of taco seasoning. Bring everything to a lively little boil – you’ll hear it start bubbling away. Then reduce the heat and let it simmer uncovered for about 3-4 minutes, stirring once or twice. You’re looking for the mixture to thicken up just enough that when you drag your spoon through it, it leaves a little trail that slowly fills back in.
This is when your kitchen starts smelling like a Mexican restaurant – that’s how you know you’re doing it right! Take it off the heat while you prep the other layers.
Step 3: Layer the Casserole
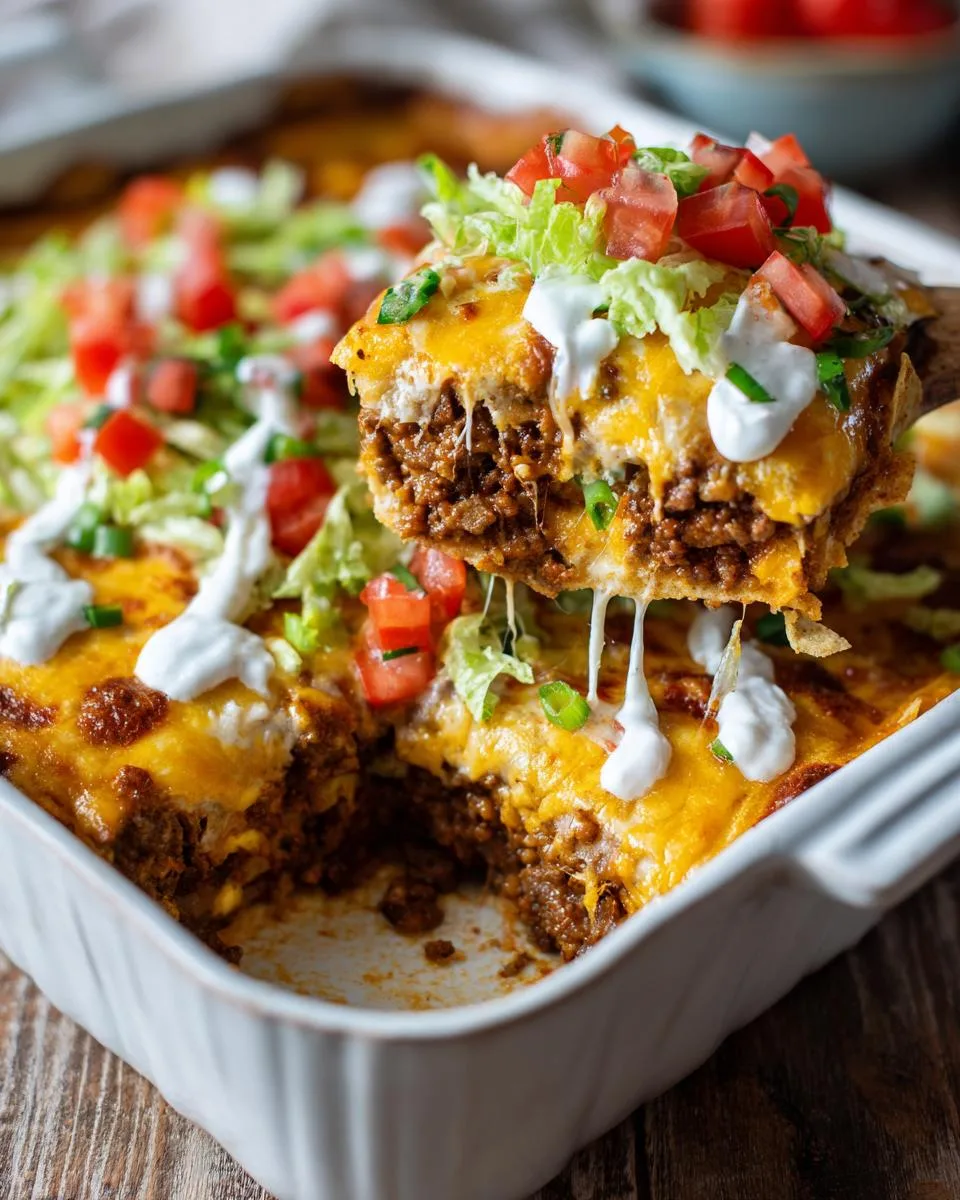
Grab your 9×13-inch baking dish and give it a quick spritz with cooking spray. Now, here comes the fun part! Pour in those tortilla chips and use your hands to gently crush them right in the pan – not too fine, you want some nice big pieces for texture. Spread them out in an even layer.
Pop those refried beans in the microwave for about 1-3 minutes to soften them up (stir them once halfway through). Then plop spoonfuls over the chips and carefully spread them out with the back of your spoon. This bean layer acts like glue to hold everything together, so try to cover most of the chips.
Next, pour your beef mixture over the beans and spread it evenly. See how easy this is coming together?
Step 4: Bake and Add Toppings
Slide that beautiful casserole into your preheated oven and bake for about 15 minutes – just until everything’s heated through and smelling irresistible. Then take it out (careful, the handle’s hot!) and sprinkle that glorious shredded cheese all over the top.
Back in the oven it goes for about 5 minutes, just until the cheese is melted and bubbly. Now comes the finishing touch – pull it out and let it sit for a couple minutes (this helps the layers set), then pile on that fresh shredded lettuce, chopped tomato, and drizzle with sour cream and taco sauce.
Oh, and don’t forget to put extra tortilla chips on the table – because everyone’s going to want to scoop up every last delicious bite!
Print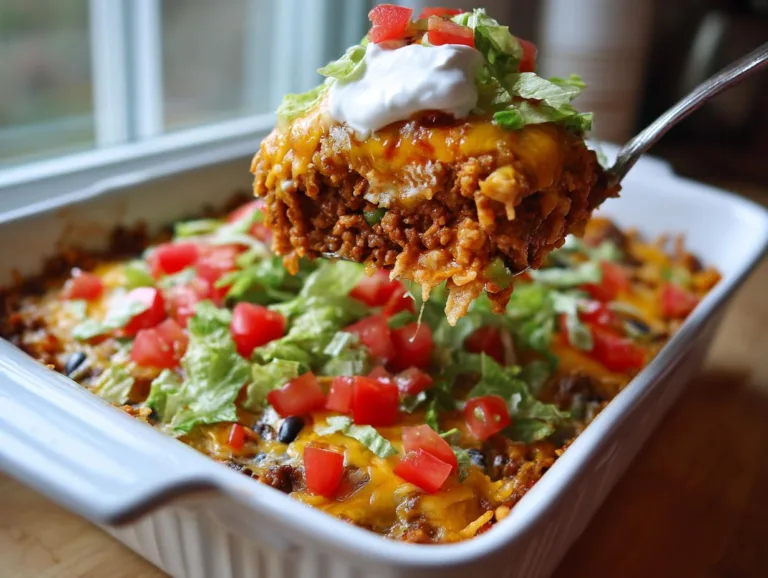
Savory Taco Salad Casterole Recipe in 35 Minutes
A hearty and flavorful taco salad casserole that combines ground beef, beans, and crunchy tortilla chips for a delicious twist on traditional tacos.
- Total Time: 40 minutes
- Yield: 6 servings 1x
Ingredients
- 1 pound ground beef
- 1 cup chopped onion
- 1 green bell pepper, chopped
- 1 cup frozen roasted corn
- 3/4 cup water
- 1 (1 ounce) packet taco seasoning
- 1 (16 ounce) can refried black beans
- 6 cups nacho cheese or ranch flavor tortilla chips, plus more for serving
- 1 (8 ounce) shredded Mexican cheese blend
- 1 heart of Romaine lettuce, finely shredded
- 1 Roma tomato, chopped
- 1/3 cup sour cream
- 1/3 cup taco sauce
Instructions
- Gather all ingredients. Preheat the oven to 375 degrees F (190 degrees C). Coat a 9×13-inch baking dish with cooking spray.
- Cook ground beef, onion, and green bell pepper in a 12-inch skillet over medium heat, breaking up the meat with a wooden spoon, until meat is browned and vegetables are tender, 8 minutes; drain fat.
- Stir corn, water, and taco seasoning mix into the skillet. Bring to a boil. Reduce heat and simmer, uncovered, stirring occasionally, until thickened, 3 to 4 minutes.
- Heat refried beans in a small bowl in the microwave until softened, 1 to 3 minutes, stirring once.
- Place tortilla chips in the prepared baking dish and coarsely smash with your hands. Spoon refried beans over the chips and spread in an even layer. Top with ground beef mixture.
- Bake in the preheated oven until heated through, about 15 minutes.
- Top with cheese. Bake until cheese melts, about 5 minutes.
- Top individual servings with romaine and tomato. Drizzle with sour cream and taco sauce. Serve with additional tortilla chips.
Notes
- Use lean ground beef for a healthier option.
- Substitute ground turkey or chicken for a lighter version.
- Add jalapeños for extra spice.
- Prep Time: 15 minutes
- Cook Time: 25 minutes
- Category: Main Dish
- Method: Baking
- Cuisine: Mexican
- Diet: Low Lactose
Nutrition
- Serving Size: 1/6 of casserole
- Calories: 450
- Sugar: 5g
- Sodium: 800mg
- Fat: 22g
- Saturated Fat: 9g
- Unsaturated Fat: 10g
- Trans Fat: 0g
- Carbohydrates: 35g
- Fiber: 6g
- Protein: 25g
- Cholesterol: 75mg
Tips for the Best Taco Salad Casserole Recipe
Now, I’ve made this casserole more times than I can count, and I’ve learned a few tricks along the way that’ll take yours from good to “can I get the recipe?” amazing. Here are my secret weapons for taco salad casserole success:
Choose your chips wisely
Not all tortilla chips are created equal here, friends! Skip those thin, delicate ones – they turn to mush faster than you can say “dinner’s ready.” Go for sturdy restaurant-style chips or the extra-thick ones. My personal favorite? Those big, ruffled nacho cheese chips – they hold up beautifully and add awesome texture. And here’s a little trick I learned from my neighbor Rosa – give the chips a quick spray with cooking oil before layering. It helps them stay crisp even under all that saucy goodness.
The magic resting time
I know it’s tempting to pile on those fresh toppings the second the casserole comes out of the oven, but resist! Let it rest for about 5 minutes first – just enough time to set the layers without cooling down. This keeps your lettuce crisp and prevents that sad wilted salad look. While you wait, I usually use these precious minutes to chop extra tomatoes or refill drinks. Patience pays off with perfect texture!
Bean spreading secrets
That layer of refried beans is the unsung hero holding everything together, but spreading cold beans is like trying to frost a cake with cement. Here’s what I do – microwave the beans in 30-second bursts, stirring between each, until they’re spreadable but not scorching hot. Then, instead of trying to spread them perfectly, I drop spoonfuls all over the chips and gently press them down with the back of a wet spoon. The residual heat from the chips helps everything meld together beautifully.
Cheese strategy
You might be tempted to just dump all the cheese on at once, but I’ve found that mixing 1/4 cup into the beef mixture before layering makes the whole casserole extra creamy. Save the rest for that gorgeous melted topping, of course! And if you really want to go next-level, try mixing a handful of cotija cheese into your Mexican blend – it adds this wonderful salty tang that makes people wonder what your secret is.
Remember, cooking isn’t about perfection – it’s about making something delicious that brings people together. Even if your layers aren’t picture-perfect, the flavors will still knock everyone’s socks off. Now go make some memories (and maybe a little mess) in that kitchen of yours!
Variations for Taco Salad Casserole Recipe
One of the best things about this taco salad casserole is how easily you can make it your own! Over the years, I’ve played around with all sorts of twists on the basic recipe—some were hits (my spicy version went over big at the church potluck), and some… well, let’s just say the dogs enjoyed those experiments. Here are my favorite variations that actually work:
Protein Swaps
Ground beef is classic, but don’t be afraid to mix it up! Ground turkey works beautifully (just add an extra tablespoon of olive oil since it’s leaner). My grandson’s vegetarian, so we’ve tried plant-based crumbles too—who knew they could taste so good? For a real treat, sometimes I’ll use shredded chicken (leftover rotisserie chicken is perfect here). Just stir in some extra taco sauce to keep it moist.
Bean Bonanza
While I love black beans, pinto beans make a delicious switch—they’re creamier and have this wonderful earthy flavor. My niece once made it with a can of spicy chili beans (undrained!) and wow, what a kick! If you’re feeling fancy, mash half a can of whole beans instead of using all refried—gives great texture. Just last week, I tried a layer of refried black beans and whole pinto beans—double the bean, double the fun!
Heat It Up (Or Not)
For my spice-loving friends, here’s how to turn up the heat: stir in a diced jalapeño (seeds and all) when cooking the beef. Or mix a teaspoon of chipotle powder into your taco seasoning—smoky and spicy! On the flip side, my granddaughter prefers it mild—we just use half the seasoning packet and add extra corn for sweetness. The taco sauce drizzle at the end lets everyone adjust their own bowl.
Chip Choices
Those nacho cheese chips are my go-to, but don’t stop there! Lime-flavored chips add zing, and blue corn chips make it pretty. Once when I was out of tortilla chips, I used broken tostada shells—crispy perfection! For a fun twist, try layering with scoop-shaped chips—they make perfect little edible bowls for the toppings.
The moral of the story? This casserole is like a blank canvas—make it suit your taste! Just remember the golden rule: keep the basic structure (something crunchy, something saucy, something cheesy), and you really can’t go wrong. Now tell me—what variations have you tried? I’m always looking for new ideas to test out!
Serving Suggestions
Oh honey, this casserole is plenty hearty all on its own, but if you want to go all out like I do for Sunday suppers, here’s how we serve it: a big scoop of cilantro-lime rice, homemade guacamole (my secret? extra lime juice!), and a pitcher of tangy margaritas for the adults. The kids always beg for extra chips to scoop up every last cheesy bite—who am I to say no? For a lighter meal, just add a simple side salad with avocado and a squeeze of lime. Dinner’s served, darlin’!
Storing and Reheating
Now, let’s talk leftovers – though between you and me, there’s rarely much left when I make this casserole! But when you do have some (maybe you got carried away and made a double batch like I sometimes do), here’s how to keep it tasting fresh:
Storing Like a Pro
First rule – separate the components! Store the baked casserole base (without the fresh toppings) in an airtight container in the fridge for up to 3 days. I like to use those glass containers with the snap-on lids – they keep everything nice and fresh. The lettuce, tomatoes, and other fresh toppings? Those go in their own little containers or zip-top bags with a paper towel to absorb moisture. Trust me, nobody wants soggy lettuce the next day!
Reheating Without the Soggies
When you’re ready for round two, here’s my foolproof method: scoop out what you need onto a microwave-safe plate and nuke it for about 1 minute, then stir and go another 30 seconds if needed. The trick is to stop just when it’s heated through – overcooking makes the chips lose their crunch. If you’re feeling fancy, reheat larger portions in the oven at 350°F (175°C) for about 10 minutes – it keeps the texture better.
Freezing? Here’s the Deal
You can freeze the baked casserole base (without toppings) for up to 2 months, but I’ll be honest – the chips won’t be quite as crisp when thawed. If you do freeze it, thaw overnight in the fridge, then reheat in the oven at 375°F (190°C) for 15-20 minutes to bring back some texture. Top with fresh veggies and a dollop of sour cream to brighten it up.
One last tip from my kitchen to yours – if the chips seem a bit soft after reheating, sprinkle some fresh crushed chips on top! It’s like giving your leftovers a little makeover. Now go enjoy that second-day casserole – sometimes it tastes even better than the first time around!
Taco Salad Casserole Recipe FAQs
Over the years, I’ve gotten so many questions about this taco salad casserole recipe – seems like everyone wants to put their own spin on it! Here are answers to the most common ones that pop up at family gatherings and church potlucks:
Can I use ground chicken instead of beef?
Absolutely! Ground chicken works beautifully – just keep an eye on it while cooking since it tends to dry out faster than beef. I like to add a tablespoon of olive oil to the pan first, and maybe cook it just a minute or two less. The flavor’s a bit milder, so I sometimes add an extra teaspoon of cumin or smoked paprika to the taco seasoning. My neighbor swears by mixing half chicken and half turkey – says it’s the perfect balance!
How long will leftovers keep in the fridge?
Here’s the scoop – the baked casserole base (without fresh toppings) will stay good for about 3 days in the fridge if stored properly in an airtight container. The fresh toppings? Those are best added right before serving. Pro tip: if you know you’ll have leftovers, only bake what you’ll eat that night and refrigerate the unbaked portion – the chips stay crisper that way. Just pop it in the oven when you’re ready for round two!
Can I make this ahead of time?
You bet! I often prep everything up through the layering step (before baking) and keep it covered in the fridge for up to 24 hours. When it’s dinnertime, just add about 5 extra minutes to the baking time since it’s going in cold. The only thing I wouldn’t do ahead? Crushing those chips – they’ll lose their wonderful crunch. Wait until you’re ready to assemble!
Remember, cooking should be fun, not stressful. If you’ve got other questions about this taco salad casserole, just holler – I’ve probably tried it every which way by now! Nothing makes me happier than seeing families enjoy this recipe as much as mine does.
Nutritional Information
Now, I’m no nutritionist, but I know folks like to have an idea of what they’re eating – especially when they’re going back for seconds (and who could blame them with this casserole?). Here’s the general breakdown per serving, but remember – these are estimates that can change based on your specific ingredients and how generous you are with that cheese!
- Calories: About 450 per serving (that’s 1/6 of the casserole)
- Fat: 22g (9g saturated, 10g unsaturated)
- Carbs: 35g (with 6g of fiber – not too shabby!)
- Protein: 25g (that beef and cheese really pack a punch)
- Sodium: Around 800mg (the seasoning packet does most of this)
Want to lighten it up? Try using ground turkey, low-fat cheese, and baked tortilla chips – might save you about 100 calories per serving. But between you and me? Sometimes the full-fat version is worth every delicious calorie!
For More recipes, Follow me on Facebook!