You know a chili is the real deal when the smell alone has people drifting into the kitchen “just to check”… and somehow they’re holding a bowl five minutes later.

Table of Contents
Table of Contents
This Chili with Beans is the one I’ve leaned on for decades—perfect after football games, for surprise neighbors at the door, or any chilly night that needs a little extra comfort. It’s hearty, cozy, and built on two things that never fail: a slow simmer and a spice blend that keeps everyone coming back for seconds.
I first made this exact pot for my son’s graduation party back in ’89—hungry teenagers everywhere—and that chili disappeared faster than the sheet cake. I’ve tweaked it over the years (a splash of beer for depth, a touch of brown sugar to balance the heat), but the soul is the same: tender beef, creamy beans, and rich, saucy flavor that tastes like it cooked all day.
Simple enough for a Tuesday, special enough for company—and guaranteed to bring people together around the pot.
Why You’ll Love This Chili with Beans Recipe
Trust me, this isn’t just any chili recipe – it’s the kind that’ll have your family begging you to make it again and again. Here’s why:
- Hearty & satisfying: Packed with tender beef and creamy beans, it sticks to your ribs on cold nights
- Flavor explosion: That perfect blend of chili powder, cumin, and garlic creates layers of taste in every spoonful
- Easy-peasy: Just brown, simmer, and let the magic happen – no fancy techniques required
- Crowd-pleaser: My go-to for potlucks and family gatherings (it doubles beautifully!)
- Better next day: Like all great chili, the flavors deepen overnight – if you can wait that long!
Honestly, I’ve lost count of how many times this recipe has saved me when I needed something delicious in a hurry. It’s the culinary equivalent of a warm hug!
If you’re looking for more comforting meals like this, check out my collection of recipes.
Ingredients for Chili with Beans
Now, let’s gather everything you’ll need for this perfect pot of chili. I’m particular about my ingredients – these are the ones that have never let me down:

- 2 pounds lean ground beef – I like 85/15 for the best flavor without too much grease
- 1 onion, diced – yellow onions work beautifully here
- 1 jalapeño, seeded and finely diced – leave some seeds if you like extra heat!
- 4 cloves garlic, minced – fresh is best, none of that jarred stuff
- 2 ½ tablespoons chili powder, divided – I use half for seasoning the meat
- 1 teaspoon cumin – that earthy warmth makes all the difference
- 1 green bell pepper, seeded and diced – adds nice crunch and freshness
- 14.5 oz can crushed tomatoes – forms the base of our sauce
- 19 oz can red kidney beans, drained and rinsed – gets rid of that can liquid
- 14.5 oz can diced tomatoes with juices – don’t drain these!
- 1 ½ cups beef broth – homemade if you’ve got it
- 1 cup beer – any lager will do, adds incredible depth
- 1 tablespoon tomato paste – concentrate that tomato flavor
- 1 tablespoon brown sugar (optional) – my secret balancing act
- Salt and black pepper to taste – season as you go
See? Nothing too fancy – just good, honest ingredients that work together beautifully. Now let’s get cooking!
How to Make Chili with Beans
Alright, let’s roll up our sleeves and make some magic happen! This chili with beans recipe comes together in just a few simple steps, but I’ll walk you through each one to ensure perfection:
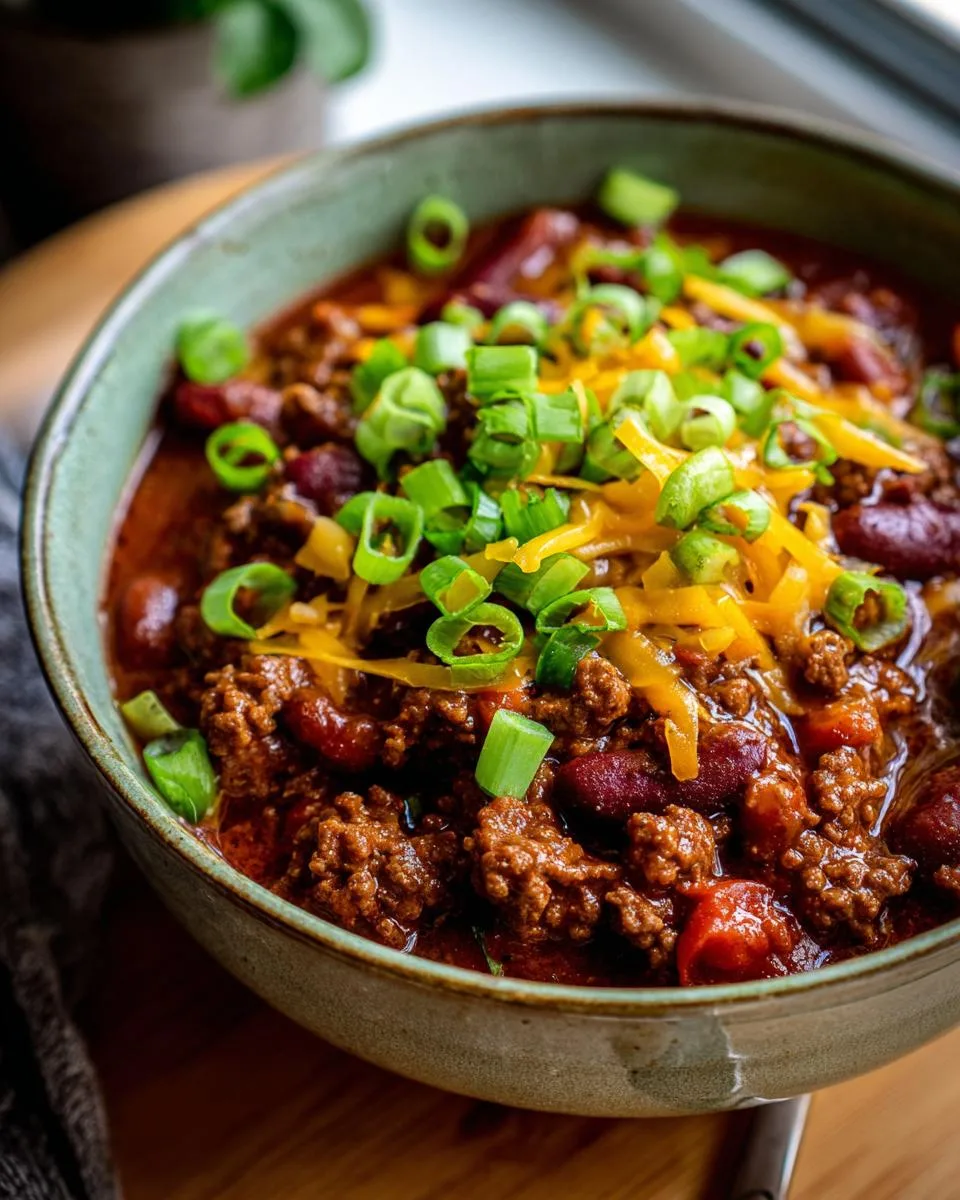
- Season the beef: In a large bowl, mix your ground beef with 1 ½ tablespoons of the chili powder. Trust me, seasoning the meat first makes all the difference in flavor distribution.
- Brown it good: Heat your largest pot over medium-high and add the beef mixture along with the onion, jalapeño, and garlic. Cook until the meat is nicely browned (about 7-8 minutes), breaking it up as you go. Don’t skip draining the fat – I use a slotted spoon to transfer the meat to a plate while leaving the grease behind.
- Bring it all together: Return the meat to the pot and add everything else – the remaining chili powder, cumin, bell pepper, both kinds of tomatoes, beans, broth, beer, tomato paste, and that optional brown sugar if you’re using it. Give it a good stir to combine.
- Simmer to perfection: Bring your chili to a lively boil, then reduce heat to low and let it bubble gently uncovered. This is where the magic happens! Let it go for 45-60 minutes, stirring occasionally, until it reaches your perfect thickness. The longer it simmers, the thicker and more flavorful it gets.
- Taste and adjust: Before serving, give it a taste and add more salt, pepper, or chili powder if needed. The flavors develop as it cooks, so don’t be shy about adjusting at the end.
Tips for the Best Chili with Beans
After making this chili with beans recipe more times than I can count, here are my can’t-live-without tips:
- Spice control: Start with less chili powder if you’re sensitive to heat – you can always add more later. For extra kick, toss in a pinch of cayenne or some of those jalapeño seeds we removed earlier.
- Thickening tricks: If your chili’s too thin, mix 1 tablespoon cornstarch with 2 tablespoons cold water and stir it in. Simmer 5 more minutes. Too thick? Add a splash more broth or beer.
- Flavor boosters: That brown sugar isn’t just for sweetness – it balances the acidity beautifully. For deeper flavor, try adding a square of dark chocolate or a teaspoon of instant coffee during the simmer.
- Bean options: While kidney beans are classic, I sometimes mix in black beans or pinto beans for variety. Just be sure to drain and rinse them well!
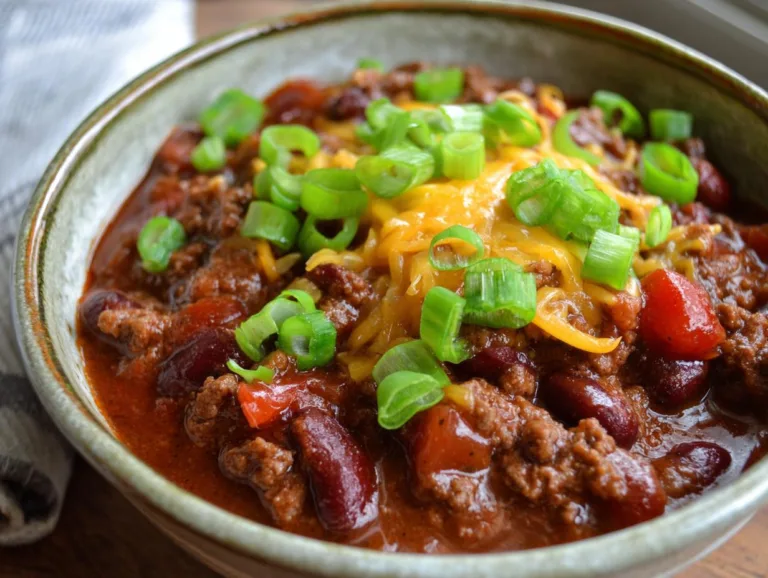
Grandma Jo’s Heartwarming Chili with Beans Recipe in 5 Steps
A hearty and flavorful chili with beans recipe that combines ground beef, vegetables, and spices for a comforting meal.
- Total Time: 75 minutes
- Yield: 6 servings 1x
Ingredients
- 2 pounds lean ground beef
- 1 onion diced
- 1 jalapeño seeded and finely diced
- 4 cloves garlic minced
- 2 ½ tablespoons chili powder divided, or to taste
- 1 teaspoon cumin
- 1 green bell pepper seeded and diced
- 14.5 ounces crushed tomatoes (1 can)
- 19 ounces canned red kidney beans drained and rinsed
- 14.5 ounces canned diced tomatoes with juices
- 1 ½ cups beef broth
- 1 cup beer
- 1 tablespoon tomato paste
- 1 tablespoon brown sugar optional
- salt and black pepper to taste
Instructions
- Combine ground beef and 1 ½ tablespoons chili powder.
- In a large pot, brown ground beef, onion, jalapeno, and garlic. Drain any fat.
- Add in remaining ingredients and bring to a boil.
- Reduce heat and simmer uncovered 45-60 minutes or until chili has reached desired thickness.
- Top with cheddar cheese, green onions, cilantro or other favorite toppings.
Notes
- Adjust chili powder to taste.
- Brown sugar adds a hint of sweetness.
- Simmer longer for thicker chili.
- Prep Time: 15 minutes
- Cook Time: 60 minutes
- Category: Main Dish
- Method: Stovetop
- Cuisine: American
- Diet: Low Lactose
Nutrition
- Serving Size: 1 bowl
- Calories: 350
- Sugar: 8g
- Sodium: 600mg
- Fat: 12g
- Saturated Fat: 4g
- Unsaturated Fat: 6g
- Trans Fat: 0g
- Carbohydrates: 30g
- Fiber: 8g
- Protein: 28g
- Cholesterol: 70mg
Serving Suggestions for Chili with Beans
Oh, the fun part – dressing up your chili with beans just how you like it! My family always lines up with their favorite toppings: shredded cheddar cheese melting into the steam, a handful of crisp green onions, maybe a dollop of sour cream if we’re feeling fancy.
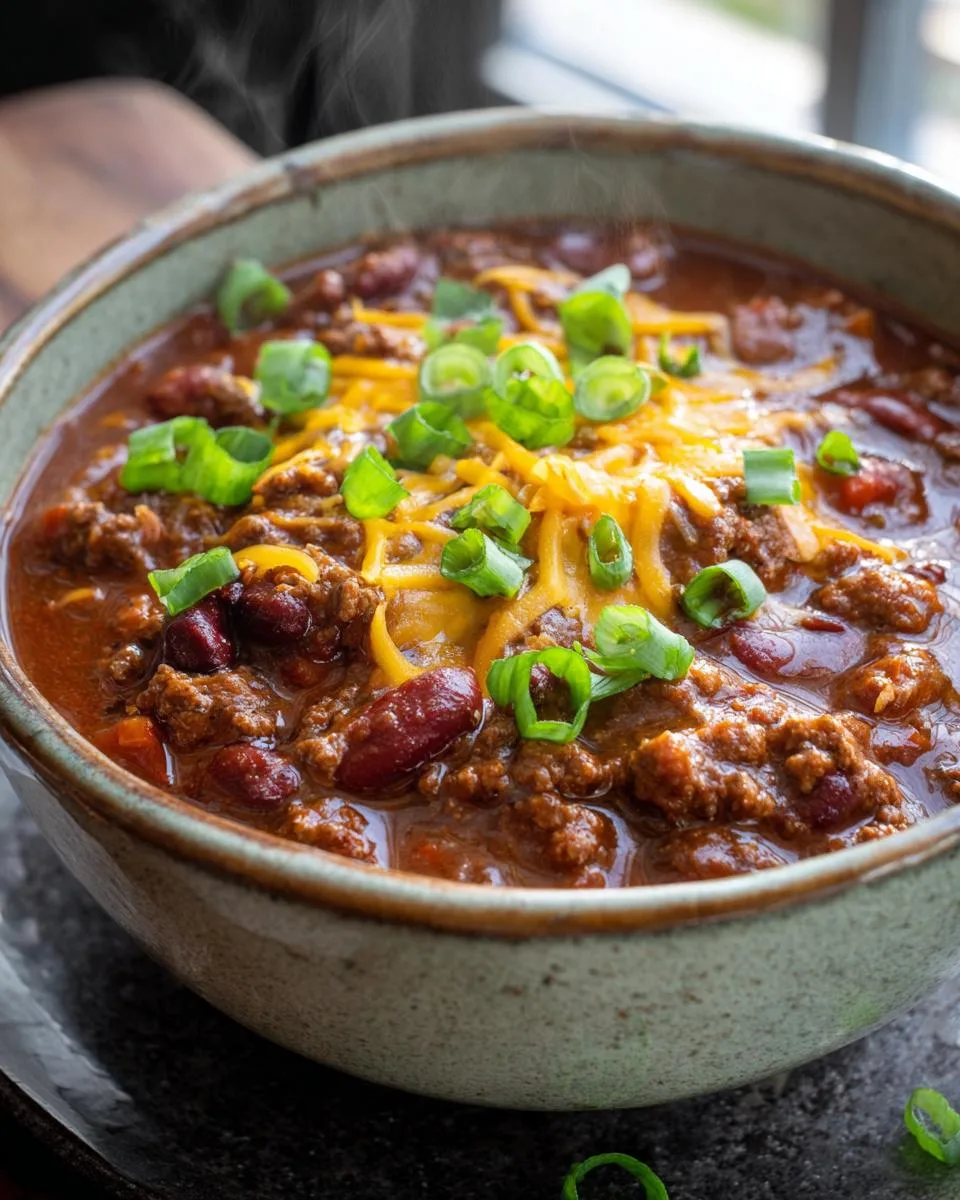
Don’t forget the cornbread – nothing soaks up that delicious sauce better. For heartier appetites, serve over rice or pile it onto baked potatoes. And always, always have extra jalapeños on the side for those who like it hot!
Storing and Reheating Chili with Beans
This chili with beans recipe tastes even better the next day, and it stores like a dream! Let it cool completely, then pop it in an airtight container in the fridge for up to 4 days. For longer storage, freeze portions in freezer bags (lay flat to save space) for 2-3 months.
When reheating, I like to do it low and slow on the stovetop with a splash of broth to bring it back to life. Microwaving works too – just stir every minute to prevent hot spots. Pro tip: Thaw frozen chili overnight in the fridge for best texture!
Nutritional Information for Chili with Beans
Here’s the scoop on what you’re getting in each hearty bowl of this chili with beans recipe (based on 6 servings):
- Calories: 350
- Protein: 28g (that beef really packs a punch!)
- Carbs: 30g with 8g fiber from those wholesome beans
- Fat: 12g (only 4g saturated)
- Sugar: 8g (mostly from the tomatoes and that optional brown sugar)
Remember – these are estimates. Your exact numbers might dance a bit depending on your specific ingredients and how generous you are with the cheese toppings!
Frequently Asked Questions About Chili with Beans
Over the years, I’ve gotten all sorts of questions about this chili with beans recipe – here are the ones that pop up most often:
Can I use ground turkey instead of beef?
Absolutely! I’ve made it with turkey many times when someone’s watching their red meat intake. Just know it’ll be a tad leaner, so you might want to add an extra tablespoon of olive oil when browning to keep it moist. The flavor’s still wonderful – just different!
How can I make it spicier?
Oh honey, this one’s easy! Start by leaving those jalapeño seeds in when you dice them. Then bump up the chili powder by half a tablespoon at a time until it’s just right for you. For real heat lovers, I sometimes add a pinch of cayenne or a few dashes of hot sauce during the simmer.
Can I freeze the leftovers?
You bet – and they freeze beautifully! Let the chili cool completely, then portion it into freezer-safe containers or bags (I like to do individual servings for easy lunches). It’ll keep for 2-3 months frozen. Thaw overnight in the fridge before reheating, and add a splash of broth when warming to bring it back to life.
What if I don’t have beer?
No worries – just swap in an equal amount of beef broth. The beer adds depth, but the chili’s still delicious without it. If you want to mimic that malty flavor, try adding an extra teaspoon of brown sugar and a splash of Worcestershire sauce.
Can I make this in a slow cooker?
My lands, yes! Brown the meat and veggies first (that step’s too important to skip), then dump everything into your crockpot. Cook on low for 6-8 hours or high for 3-4. The long, slow cook makes the flavors even richer!
Share Your Chili with Beans Experience
Oh, I’d love to hear how your chili with beans turns out! Did you add your own special twist? Maybe extra jalapeños for heat or a secret ingredient passed down in your family? Drop a comment below – I read every single one.
And if you snap a photo of your steaming bowl, tag me on social so I can see your masterpiece. After all, food tastes better when we share it, don’t you think?
For More recipes, Follow me on Facebook!