
Oh, honey, let me tell you about my small batch cherry jam – it’s like bottling up summer sunshine! When cherry season hits, I can’t resist turning those ruby-red beauties into jars of sweet-tart goodness. This recipe is my go-to because it’s quick enough to whip up between loads of laundry but special enough to gift to neighbors (if I’m feeling generous).

Table of Contents
Table of Contents
Back in my farmhouse days, we’d pick cherries until our fingers stained purple. Now, even with just me and Grandpa Joe at home, I still make this small batch version – no need to can gallons at a time! The secret’s in that short cooking time that keeps the cherries tasting fresh and bright. Trust me, once you taste this jam on your morning toast, you’ll never go back to store-bought.
What I love most? You only need three simple ingredients and about 25 minutes from start to finish. That’s less time than it takes to watch an episode of Wheel of Fortune! Whether you’re using fresh-picked cherries or frozen ones from last season, this small batch cherry jam turns out perfect every single time.
Why You’ll Love This Small Batch Cherry Jam
Oh, where do I start? This jam is my little jar of happiness – and I know you’ll feel the same way once you try it! Let me count the ways this recipe will steal your heart:
- It’s quick as a wink – Done in under 30 minutes flat (perfect for when those grandkids pop by unexpectedly!)
- No fancy equipment needed – Just your trusty old pot and a wooden spoon
- Tastes like childhood – That bright cherry flavor takes me right back to my mama’s kitchen
Perfect for Small Households
Now that it’s just Grandpa Joe and me, I don’t need to make gallons of jam like I used to. This small batch recipe makes just enough for us to enjoy fresh – no wasted jars sitting in the pantry for years! Two perfect little jars: one for now, one to share with the neighbor lady who always brings me tomatoes from her garden.
Uses Simple Ingredients
Three things – that’s all! Cherries (fresh or frozen, no judgement here), sugar, and a squeeze of lemon. I bet you’ve got everything in your kitchen right now. No running to the store for pectin or special spices – just good, honest ingredients that let the cherries shine.
Ingredients for Small Batch Cherry Jam
Now, don’t go thinking you need a shopping list as long as your arm for this jam – we’re keeping it simple, just like Grandma Jo likes it! Here’s what you’ll need to gather:

- 2½ cups (400 g) sweet cherries – fresh or frozen, pitted and halved (I won’t tell if you use the frozen ones from last summer!)
- 1 cup (200 g) granulated sugar – plain white sugar works best here, no fancy substitutes
- 2 Tablespoons (30 ml) lemon juice – fresh squeezed from about one lemon (bottled works in a pinch, but fresh gives that extra zing)
See? Told you it was simple! The magic happens when these three humble ingredients get together in your pot. Just make sure your cherries are nice and ripe – that’s the secret to jam that tastes like summer in every bite.
Equipment You’ll Need
Don’t worry – you won’t need any fancy gadgets for this small batch cherry jam! Just grab:
- A medium-sized pot (my trusty old enamel one works perfectly)
- An immersion blender (or regular blender if that’s what you’ve got)
- Clean jars or containers (I save my old jam jars – waste not, want not!)
- A wooden spoon for stirring (metal can get too hot)
That’s it – everything you probably already have in your kitchen. See? I told you this was easy!
How to Make Small Batch Cherry Jam
Alright, let’s get cooking! This small batch cherry jam comes together quicker than you can say “biscuits and jam” – but don’t let that fool you. There’s magic happening in that pot!
Cooking the Jam
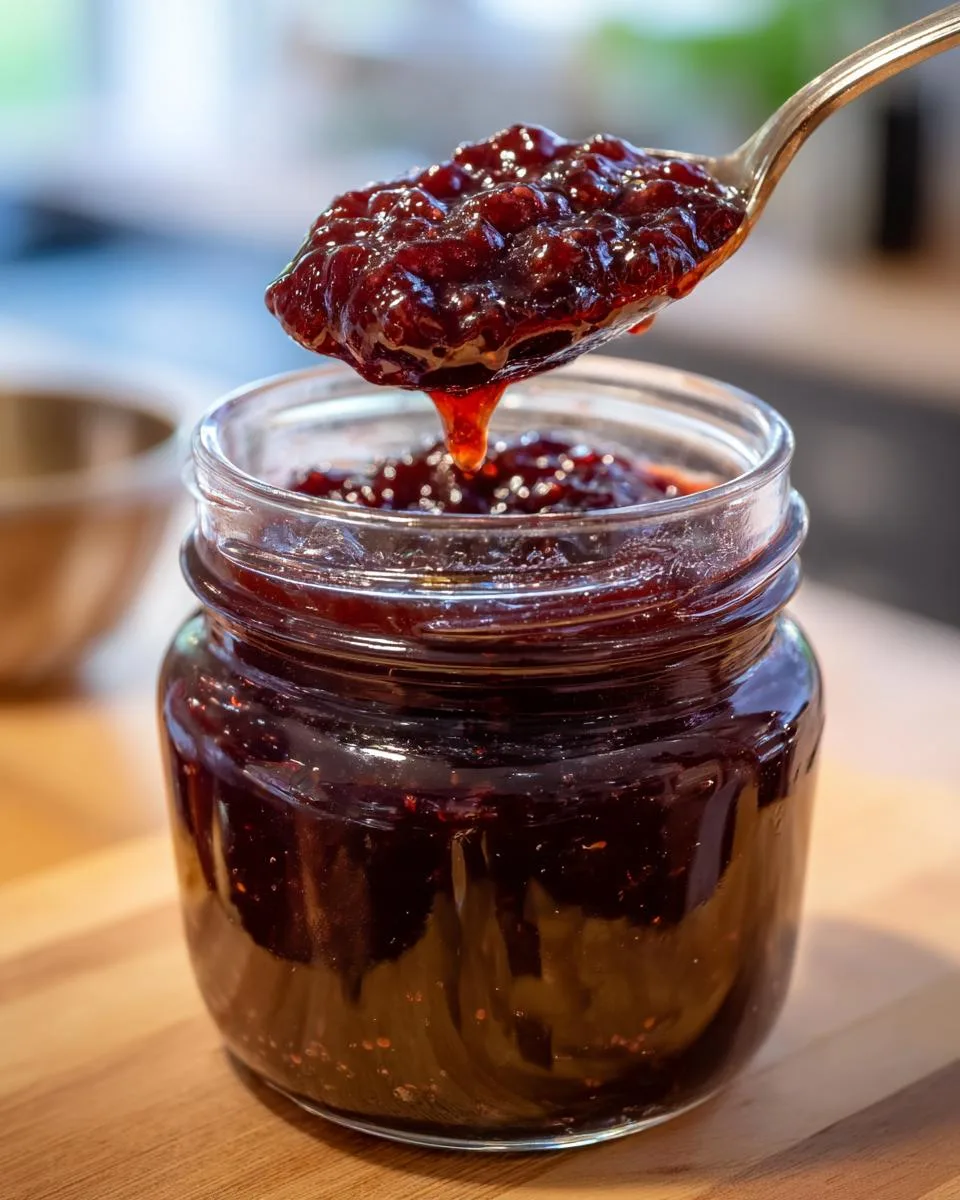
First, toss those beautiful cherries, sugar, and lemon juice into your pot – frozen cherries might need an extra splash of lemon juice. Turn the heat to medium and stir occasionally until the sugar dissolves completely. You’ll know it’s ready when the syrup turns that gorgeous deep red color – about 5 minutes for fresh cherries, maybe 10 for frozen.
Now comes the fun part! Crank up the heat until you get a rolling boil that won’t calm down no matter how much you stir. This is when the real jam-making happens! Let it bubble away for 8-10 minutes – set a timer so you don’t get distracted (I’ve burned more than one batch chatting with the neighbor over the fence!).
Testing and Blending
Here’s my favorite trick: spoon a little jam onto a chilled plate (I keep one in the freezer just for this). If it holds its shape and doesn’t run, it’s perfect! If it’s still too runny, give it another minute or two.
Now grab that immersion blender and give it a few quick pulses – just enough to break up the big cherry chunks but leave some texture. Want it smoother? Blend longer. Like it chunky? Blend less! Pour it into jars while it’s still hot – that satisfying “plop” as it fills the jar is music to my ears.
Let it cool completely before putting the lids on – patience, my dear! The jam will thicken up beautifully overnight. But between you and me? I’ve been known to sneak a spoonful while it’s still warm…
Print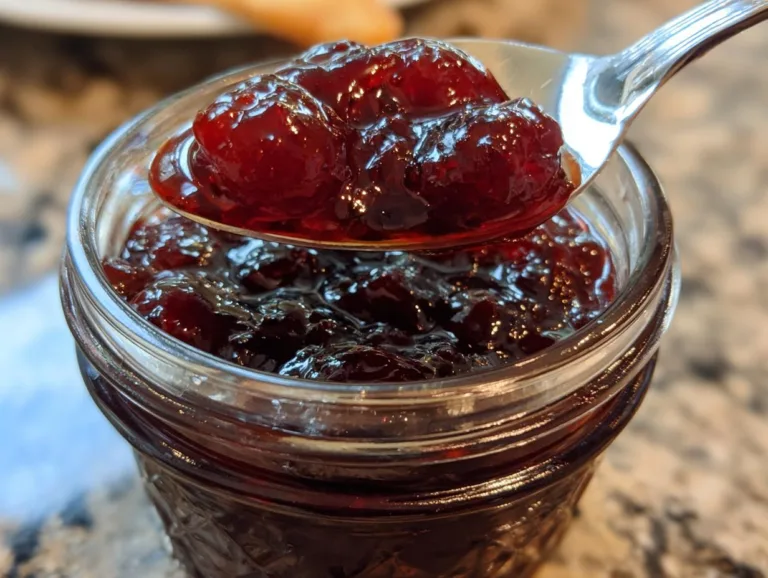
3-Ingredient Small Batch Cherry Jam: Grandma’s Secret Recipe
A simple and delicious small batch cherry jam recipe with fresh or frozen cherries. Perfect for spreading on toast or adding to desserts.
- Total Time: 25 mins
- Yield: 2 cups 1x
Ingredients
- 2½ cups (400 g) halved and pitted sweet cherries (fresh or frozen)
- 1 cup (200 g) granulated sugar
- 2 Tablespoons (30 ml) lemon juice (from about one lemon)
Instructions
- In a medium pot, add the prepared cherries, sugar, and lemon juice.
- Heat over medium, stirring occasionally, until the sugar dissolves and the syrup turns dark red (about 5 minutes for fresh cherries, 10 minutes for frozen).
- Bring the jam to a rolling boil that cannot be stirred down. Cook for 8-10 minutes until thickened (220°F/105°C). Test consistency by placing a few drops on a cool plate—if it doesn’t run, it’s ready.
- Use an immersion blender to blend the jam briefly until no large cherry pieces remain.
- Pour into jars, seal, and refrigerate. Let it set overnight for best results.
Notes
- Store in the refrigerator for up to 2 weeks.
- For longer storage, use proper canning techniques.
- Adjust sugar based on cherry sweetness.
- Prep Time: 10 mins
- Cook Time: 15 mins
- Category: Preserves
- Method: Stovetop
- Cuisine: American
- Diet: Vegetarian
Nutrition
- Serving Size: 1 Tablespoon
- Calories: 50
- Sugar: 12 g
- Sodium: 0 mg
- Fat: 0 g
- Saturated Fat: 0 g
- Unsaturated Fat: 0 g
- Trans Fat: 0 g
- Carbohydrates: 13 g
- Fiber: 0 g
- Protein: 0 g
- Cholesterol: 0 mg
Pro Tips for Perfect Small Batch Cherry Jam
After making more batches of this small batch cherry jam than I can count, I’ve picked up a few tricks that’ll guarantee your success every time!
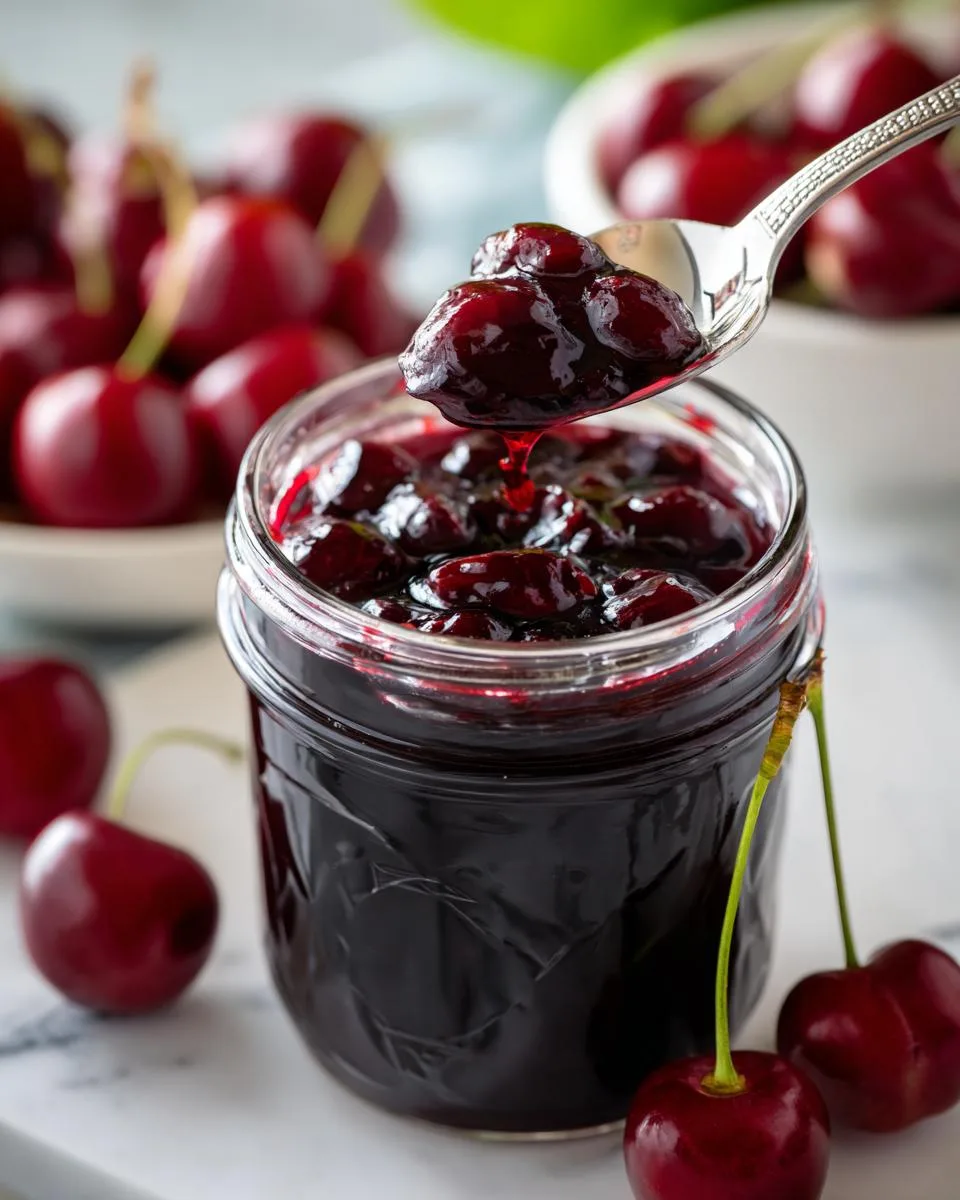
First – taste your cherries! If they’re super sweet, you might want to cut back on the sugar by a tablespoon or two. Tart cherries? Add an extra sprinkle. The lemon juice balances everything beautifully.
Storage secrets: This jam keeps wonderfully in the fridge for about 2 weeks – if it lasts that long! For longer storage, you can freeze it in airtight containers for up to 3 months. Just thaw overnight in the fridge when you’re ready to use it.
Want to can it? Process filled jars in a boiling water bath for 10 minutes if you want shelf-stable jam. But honestly? I usually just make fresh batches as needed – it’s so quick and easy!
One last tip: Always use clean, dry jars and fill them while the jam is piping hot. That steam helps create a vacuum seal even without canning!
Serving and Storing Small Batch Cherry Jam
Oh, the possibilities with this small batch cherry jam are endless – just like my husband’s appetite for it! My absolute favorite way? Slathered thick on warm, buttered biscuits straight from the oven. The way the jam melts into all those nooks and crannies… pure bliss!
But don’t stop there! This jam shines in so many ways:
- Swirled into morning yogurt or oatmeal
- Sandwiched between cake layers for a quick dessert
- As a sweet-tart glaze for roasted meats (trust me on this one!)
For storage, I keep one jar in the fridge (usually gone within a week!) and stash the other in the freezer if I’m feeling disciplined. Properly canned jars will last about a year in the pantry – but mine never make it that long before being gobbled up!
Small Batch Cherry Jam Variations
Now, don’t get me wrong – I love my classic small batch cherry jam just as it is. But sometimes I get a wild hair and like to play around with flavors! Here are my favorite ways to mix things up:
Vanilla bean magic: Split one vanilla bean and scrape those precious seeds right into the pot with the cherries. The floral notes take this jam to fancy-town!
Spice it up: A pinch of cinnamon or cardamom adds warmth that’s just heavenly on winter mornings. My neighbor swears by adding a tiny bit of black pepper – sounds strange, but oh my stars, it works!
Boozy twist: For grown-up gatherings, I’ll stir in a tablespoon of bourbon or amaretto after cooking. Just enough to make folks ask, “What’s that special something?” with a wink!
Nutritional Information
Now, I’m no nutritionist – just a grandma who knows good food! But for those keeping track, here’s about what you’re getting in each spoonful of this small batch cherry jam. Remember, these are rough estimates based on my ingredients – your mileage may vary depending on cherry sweetness and such!
Per tablespoon: about 50 calories, 13g carbs (all from natural fruit sugars and that bit of added sugar). No fat, no protein – just pure cherry goodness. Not too shabby for something that tastes like dessert!
But let’s be honest – we’re not eating jam for the nutrition, are we? We’re eating it because it makes toast sing and biscuits dance! Everything in moderation, as my mama used to say.
Frequently Asked Questions
Q1. Can I use less sugar in this small batch cherry jam?
Oh honey, I get this question all the time! You can reduce the sugar slightly if your cherries are super sweet, but don’t cut more than 1/4 cup – sugar helps with setting and preservation. If you’re watching sugar, try mixing in some tart cherries to balance the sweetness naturally.
Q2. What’s the easiest way to pit cherries?
I’ve tried every method under the sun, and here’s my favorite: use a paperclip! Bend it straight, then poke the looped end into the cherry stem end and scoop out the pit. Works like a charm and saves your good silverware! For big batches, a cherry pitter is worth its weight in gold.
Q3. My jam didn’t set – what went wrong?
Don’t fret, dear – this happens to all of us! Next time, make sure you’re cooking at a full rolling boil (not just simmering) and test frequently with the chilled plate method. If it’s still runny after cooling, just call it cherry syrup – perfect for pancakes!
Q4. Can I use frozen cherries year-round?
Absolutely! That’s the beauty of this small batch recipe. Frozen cherries work wonderfully – just thaw them first and drain any excess liquid. I always freeze some at peak season just for making wintertime jam when I’m craving summer flavors.
Share Your Jam-Making Story
Oh, I’d love to hear about your small batch cherry jam adventures! Did yours turn out sticky-sweet like mine? Maybe you added your own special twist? Drop me a note in the comments – nothing makes me happier than hearing your kitchen stories. And if you loved this recipe as much as I do, give it five stars so other jam-makers can find this little taste of summer too!
For More recipes, Follow me on Facebook!






