
You know those weeks when the clock seems to move faster than your to-do list? That’s when my chicken salad meal prep bowls swoop in like a superhero lunch! I started making these years ago when my grandkids’ soccer schedules turned our afternoons into a whirlwind. One Sunday evening of chopping and marinating meant I could grab a healthy, satisfying lunch all week without breaking a sweat.
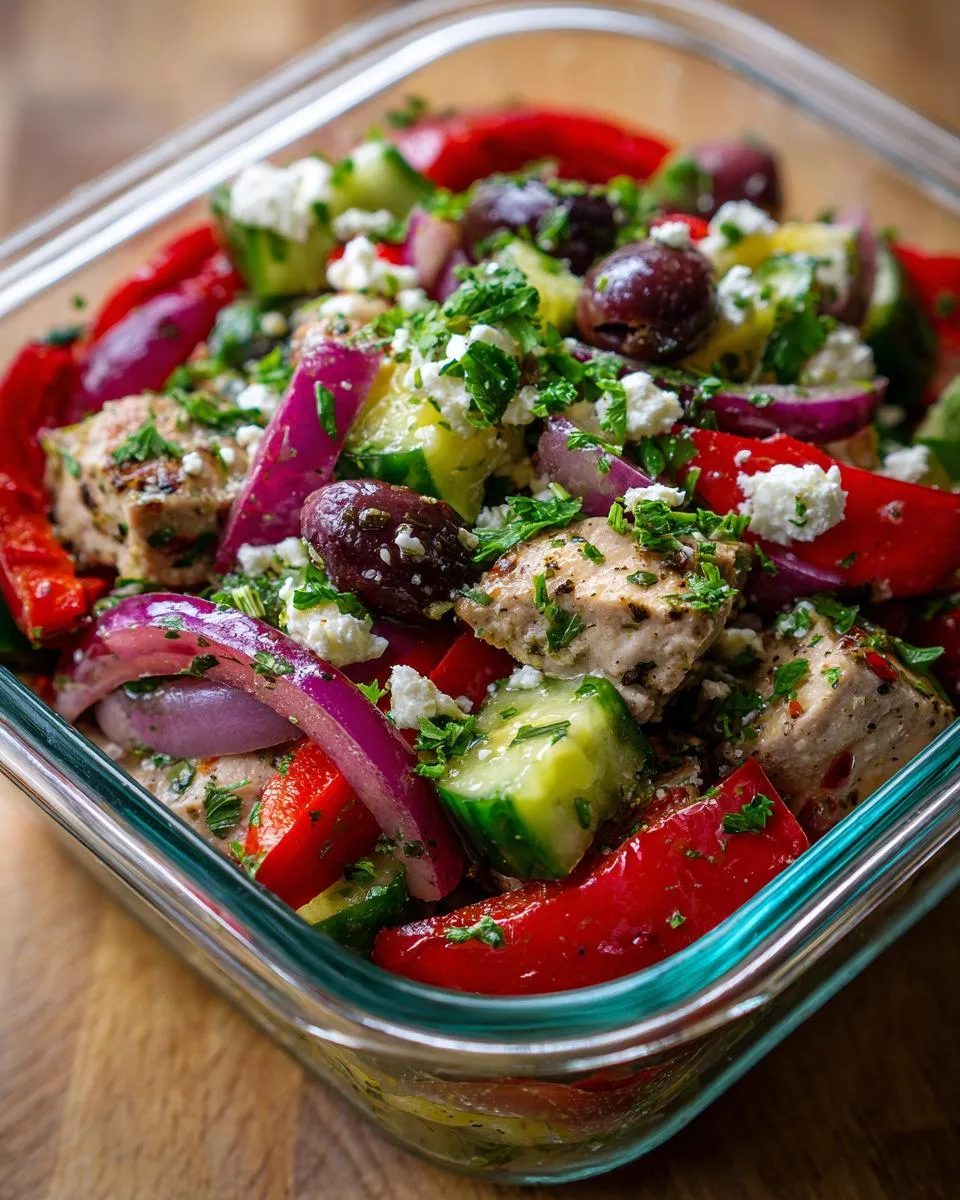
Table of Contents
Table of Contents
This isn’t just any chicken salad—it’s my Mediterranean-inspired version packed with garlicky oregano chicken, crisp veggies, and that tangy lemon dressing that makes your taste buds dance. The best part? Everything gets happier as it sits. The flavors mingle and deepen in the fridge, so by day three, you’re basically eating gourmet without lifting a finger.
Whether you’re packing lunches for work, school, or just need a no-fuss meal at home, these bowls are my golden ticket to eating well during crazy days. And trust me, once you taste that first forkful of juicy chicken with salty olives and creamy feta (skip it if you’re doing Whole30—I’ve been there too!), you’ll wonder how you ever settled for sad desk salads.
Why You’ll Love These Chicken Salad Meal Prep Bowls
Let me count the ways these bowls will become your lunchtime BFF:
- Weekday superhero: Prep once, eat all week—no more scrambling for lunch when the morning rush hits.
- Flavor that grows on you: The longer it sits, the better it gets (unlike my grandkids’ moods when they’re hungry).
- Packed with the good stuff: Lean protein, crunchy veggies, and heart-healthy fats keep you full without the afternoon slump.
- Grab-and-go magic: Perfect for tossing in your bag—no reheating needed, just pure deliciousness wherever you are.
- Endless variations: Swap ingredients based on what’s in your fridge (I’ve used everything from roasted peppers to artichoke hearts!).
Ingredients for Chicken Salad Meal Prep Bowls
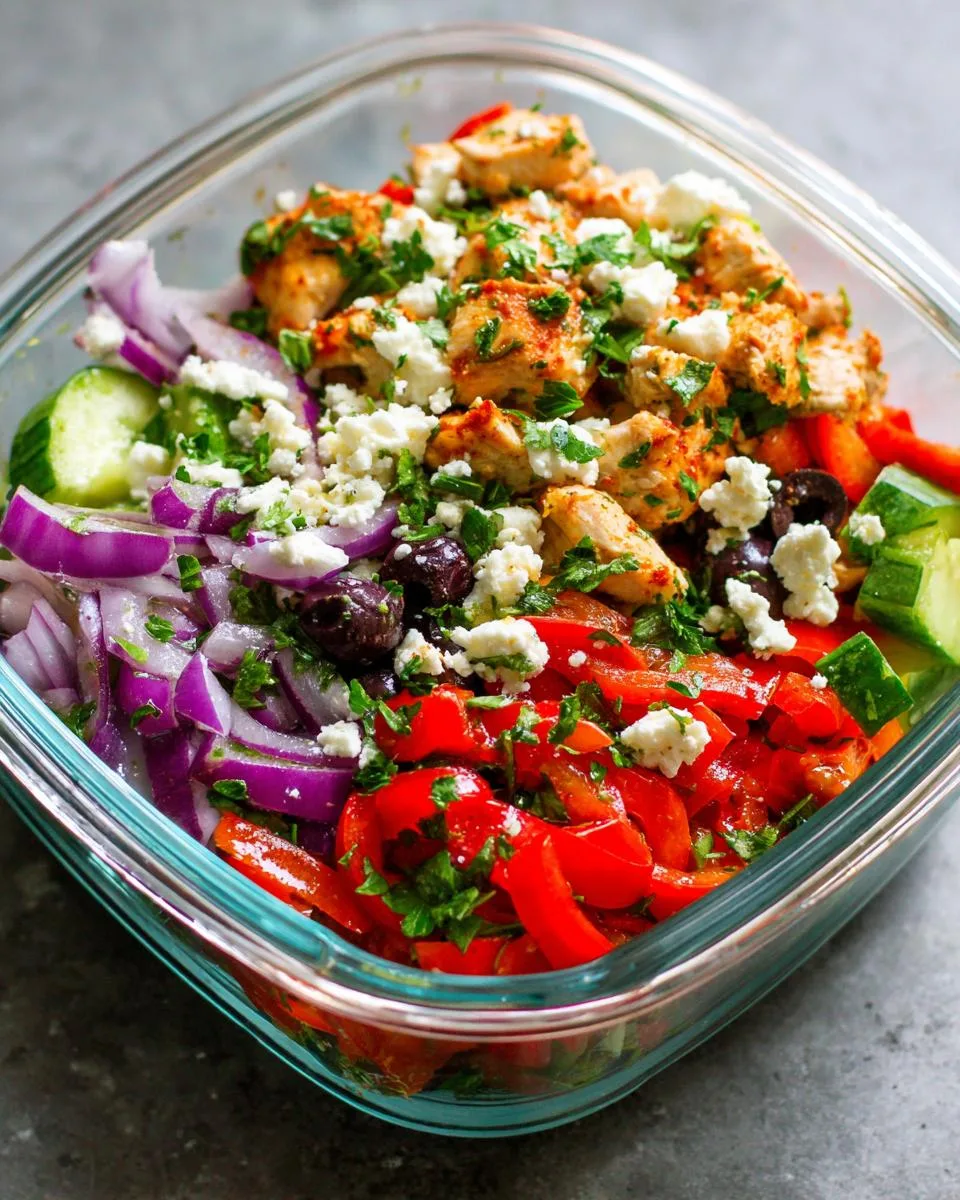
Now let’s talk ingredients – because great flavor starts with great stuff! I’m pretty particular about a few items here (that garlic better be fresh, honey), but I’ll also show you where you can bend the rules. Here’s what you’ll need to make 4 hearty bowls:
- For the chicken marinade:
- 1 pound boneless, skinless free-range chicken breasts (thighs work too if you prefer dark meat)
- 2 tablespoons good olive oil (the fruity kind makes a difference!)
- 3 cloves garlic, minced (measure with your heart – I usually add an extra clove)
- 1 tablespoon dried oregano (rub it between your fingers first to wake up the flavor)
- 1 teaspoon paprika (smoked paprika is my secret weapon when I have it)
- Kosher salt and freshly ground black pepper to taste (don’t be shy!)
- For the salad base:
- 1 red bell pepper, chopped (I like big, crunchy pieces)
- 1 cup red onions, chopped (soak in ice water for 5 minutes if you want less bite)
- ½ cup black olives, sliced (Kalamatas are my favorite for that briny punch)
- 1 medium cucumber, diced (peel if the skin’s tough)
- 3 tablespoons feta cheese, crumbled (leave out for Whole30 – it’s still delicious!)
- For the dressing:
- 2 tablespoons extra virgin olive oil
- ½ teaspoon garlic, minced (yes, more garlic!)
- 1 tablespoon lemon juice (fresh squeezed, please – none of that bottled stuff)
- Salt and freshly ground black pepper to taste
- 1 tablespoon fresh parsley, chopped (curly or flat-leaf, whatever’s in your garden)
A quick note about swaps: Don’t have red onions? Try shallots. Out of black olives? Toss in some capers instead. This recipe is like my grandkids’ Lego set – the pieces all work together in different ways, so play around with what makes you happy!
How to Make Chicken Salad Meal Prep Bowls
Alright, let’s roll up our sleeves and make magic happen! This process is so simple even my grandkids can help (though they usually disappear when the chopping starts). Follow these steps, and you’ll have lunches ready before your favorite show finishes an episode.
Step 1: Marinate the Chicken
First things first – we’re gonna give that chicken some serious flavor love. In a big bowl (I use my trusty yellow mixing bowl – the one with the little chips around the rim), toss together the chicken breasts, olive oil, minced garlic, oregano, paprika, salt, and pepper. Get in there with your hands and massage it all in like you’re giving the chicken a nice little spa treatment.
Cover that bowl and let it sit for at least 15 minutes. If you’ve got time to spare, an hour in the fridge makes the flavors even happier. I usually start this first thing when I’m prepping Sunday dinner – by the time the dishes are done, the chicken’s ready to cook!
Step 2: Cook the Chicken
Now for the sizzle! Heat 2 tablespoons olive oil in your favorite skillet over medium-high heat (you’ll know it’s ready when a tiny piece of onion dances in the oil). Add those beautiful marinated chicken breasts – listen to that glorious sound! Cook for about 3-4 minutes per side until you get that perfect golden crust.
Here’s my grandma trick: don’t poke and prod it too much – let it develop that nice color. When your meat thermometer hits 165°F in the thickest part (mine beeps like an excited cricket), pull it off the heat and let it rest on a cutting board for about 5 minutes. This keeps all those delicious juices inside when we slice it. Pro tip: while it’s resting is the perfect time to chop your veggies!
Step 3: Assemble the Bowls
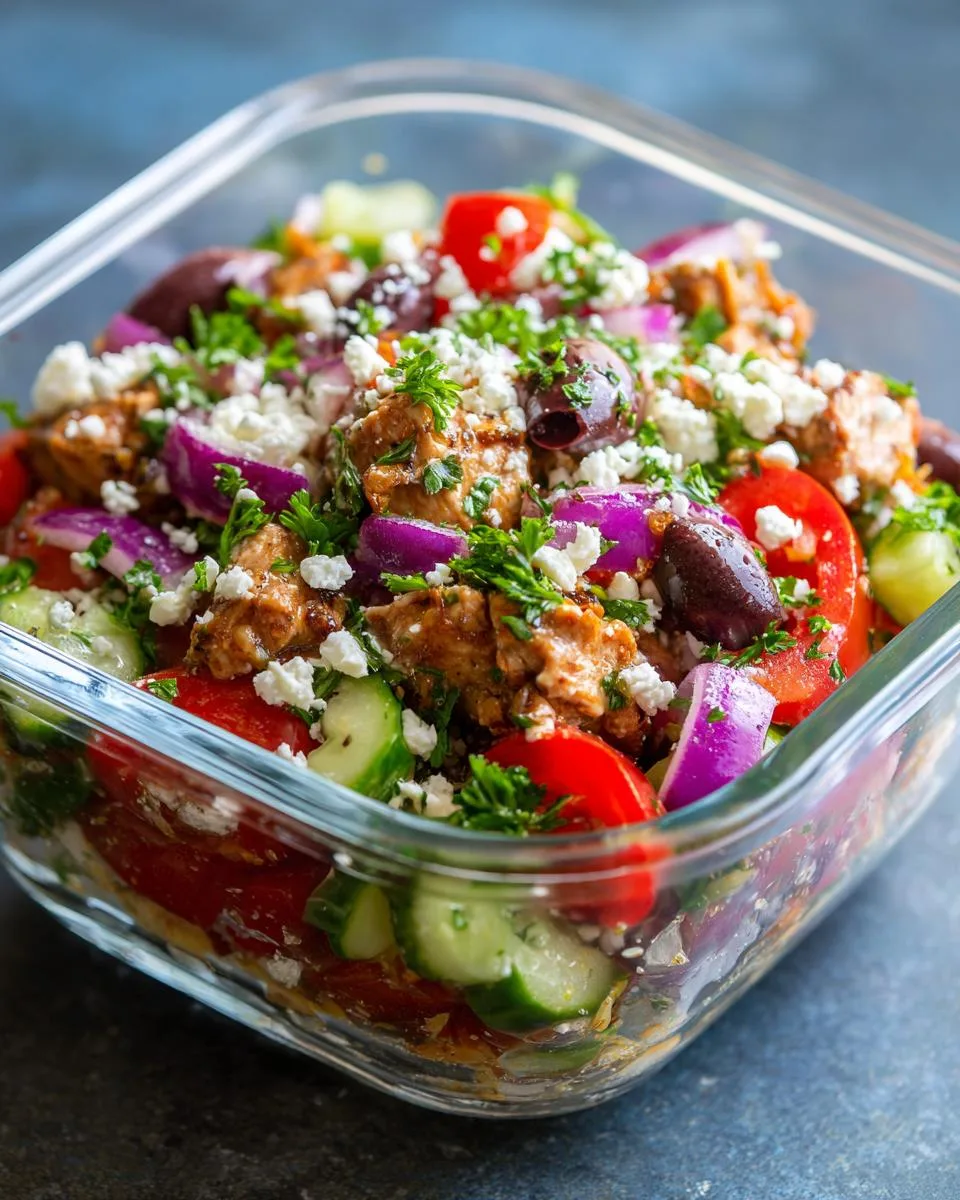
Time for the fun part! In your biggest mixing bowl (that yellow one again works great), combine the chopped bell pepper, red onions, olives, cucumber, and feta if you’re using it. In a little bowl or jar, whisk together the dressing ingredients – olive oil, garlic, lemon juice, salt, and pepper.
Now pour that dressing over your colorful veggie mix and toss it all together like you’re tossing a salad for a big family dinner. Dice your rested chicken into bite-sized pieces (I like chunky bits about the size of my thumbprint). Then just divide everything evenly between four 2-cup containers – I layer the salad first, then pile the chicken on top, finishing with a sprinkling of fresh parsley. That’s it – lunch is served (all week long)!
Print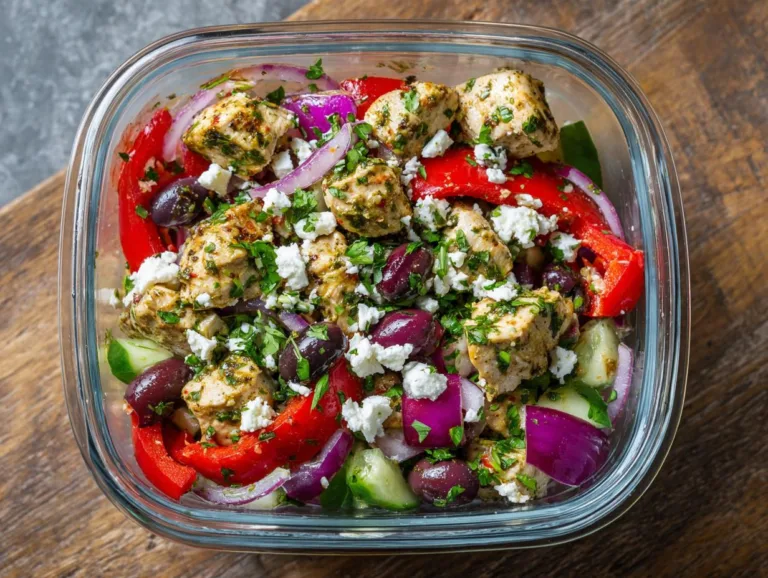
Grandma Jo’s 4-Day Chicken Salad Meal Prep Bowls
A simple and healthy chicken salad meal prep bowl that combines marinated chicken with fresh vegetables and a light dressing. Perfect for a quick and nutritious lunch.
- Total Time: 25 minutes
- Yield: 4 servings 1x
Ingredients
- 1 pound boneless skinless free-range chicken breasts
- 2 tablespoons olive oil
- 3 cloves garlic, minced
- 1 tablespoon dried oregano
- 1 teaspoon paprika
- Kosher salt and freshly ground black pepper to taste
- 1 red bell pepper, chopped
- 1 cup red onions, chopped
- ½ cup black olives, sliced
- 1 medium cucumber, diced
- 3 tablespoons feta cheese, crumbled (omit for Whole30)
- 2 tablespoons extra virgin olive oil
- ½ teaspoon garlic, minced
- 1 tablespoon lemon juice
- Salt and freshly ground black pepper
- 1 tablespoon fresh parsley, chopped
Instructions
- In a large bowl, combine all ingredients for the chicken. Toss together and marinate for 15 minutes to 1 hour.
- Heat 2 tablespoons olive oil in a large skillet over medium-high heat. Add chicken and discard marinade.
- Cook each side for 3-4 minutes or until internal temperature reaches 165°F.
- Let chicken cool on a cutting board before dicing.
- In a large bowl, toss together red bell pepper, red onions, black olives, cucumber, and feta cheese.
- In a small bowl, whisk olive oil, garlic, lemon juice, salt, and pepper.
- Pour dressing over salad mixture and toss. Top with fresh parsley.
- Divide salad and chicken evenly into four 2-cup glass containers.
- Store in fridge for up to 4 days. No need to reheat.
Notes
- Omit feta cheese for a Whole30-compliant version.
- Marinate longer for more flavor.
- Use airtight containers for meal prep.
- Prep Time: 15 minutes
- Cook Time: 10 minutes
- Category: Lunch
- Method: Stovetop
- Cuisine: Mediterranean
- Diet: Low Calorie
Nutrition
- Serving Size: 1 bowl
- Calories: 320
- Sugar: 5g
- Sodium: 450mg
- Fat: 18g
- Saturated Fat: 4g
- Unsaturated Fat: 12g
- Trans Fat: 0g
- Carbohydrates: 12g
- Fiber: 3g
- Protein: 28g
- Cholesterol: 75mg
Tips for Perfect Chicken Salad Meal Prep Bowls
After making these bowls more times than I can count (seriously, my grandkids request them weekly), I’ve picked up some tricks that take them from good to “Grandma, what’s your secret?” level. Here’s how I make sure every bite is perfect:
- The container matters: Use good airtight glass containers – they keep everything fresh and prevent that weird fridge taste. I like the ones with the locking lids that won’t pop open in your bag. Bonus – they stack nicely in the fridge!
- Double the joy: This recipe doubles beautifully if you’re feeding a crowd or want lunches for two weeks. Just use two skillets for the chicken so you don’t overcrowd them – browning is flavor!
- Texture is key: If prepping for more than 2 days, keep the dressing separate and add it the night before. Nobody likes soggy veggies – though my grandson strangely does (kids!).
- Make it yours: Don’t be afraid to tweak! Last week I added chopped artichokes and sun-dried tomatoes when my neighbor gave me some from her garden. Best batch yet!
One more thing – if your week gets crazy and you haven’t eaten them by day 4, toss the remaining bowls in a hot skillet for a quick warm-up dinner. The chicken gets nicely crisp edges – delicious over greens or stuffed in a pita!
Variations for Chicken Salad Meal Prep Bowls
One of my favorite things about this recipe is how easily it adapts to whatever’s in your fridge or whatever mood strikes you. Over the years, I’ve played with so many versions – sometimes because I was missing an ingredient, other times just to keep things interesting. Here are my tried-and-true twists that still stay true to the spirit of these bowls:
- Avocado lovers unite: Toss in diced avocado right before eating (it keeps better this way). The creaminess pairs perfectly with the tangy dressing – just add a squeeze of extra lemon to keep it bright.
- Tomato swap: Not an olive fan? Me neither some days! Cherry tomatoes (halved) add juicy sweetness. They release just enough liquid to make the dressing even more luscious as it sits.
- Greens upgrade: For extra crunch, mix in handfuls of baby spinach, arugula, or shredded kale when assembling. The leaves wilt slightly by day two, becoming tender and infused with all those Mediterranean flavors.
- Grain power: Turn this into a heartier meal by layering cooked quinoa or farro at the bottom of your bowls. The grains soak up the dressing beautifully – my son-in-law’s favorite version!
- Herb explosion: When my garden’s overflowing, I’ll swap the parsley for fresh dill or mint (or both!). These herbs make the whole bowl taste like summer in the Mediterranean.
Last winter, when the grandkids were on a “no green things” kick (eye roll), I even made a version with roasted sweet potatoes and apples instead of veggies – used a maple-mustard dressing and called it “autumn chicken bowls.” They devoured it! The moral? This recipe is your playground – don’t be afraid to get creative with what you’ve got.
How to Store Chicken Salad Meal Prep Bowls
Listen, honey, storing these bowls right makes all the difference between “oh wow” and “oh no” when you open your lunch container. Here’s exactly how I’ve kept mine fresh for years – no mushy veggies or funky smells!
First, let’s talk containers – I swear by my glass ones with those silicone-sealed lids. Plastic works in a pinch, but glass keeps everything tasting cleaner (and you won’t end up with tomato-stained containers like my granddaughter did last month). The 2-cup size is perfect for a satisfying lunch without overflow.
Once assembled, these beauties will keep like a dream for 4 days in the fridge. I usually make mine on Sunday afternoon, and they’re still crisp and delicious through Thursday’s lunch. Just pop them in the coldest part of your fridge (not the door where the temperature fluctuates).
Here’s my best tip: no reheating needed! In fact, these taste better cold – the flavors have time to mingle and get friendly. If you absolutely must have it warm (like my husband insists on sometimes), just microwave for 30 seconds to take the chill off. But trust me, room temp is where it’s at!
One last storage secret: if you’ve added avocado or delicate greens, pack them separately in little baggies or small containers to add when you’re ready to eat. This keeps everything at its peak texture. Now go forth and meal prep like the organized kitchen wizard you are!
Nutritional Information for Chicken Salad Meal Prep Bowls
Now let’s talk numbers – because good food should make you feel as good as it tastes! Each of these meal prep bowls packs a powerhouse of nutrition in one convenient package. Here’s what you’re getting in every satisfying serving:
- 320 calories – enough to keep you going without weighing you down
- 28g protein from that gorgeous free-range chicken (hello, energy!)
- 12g carbs – mostly from all those fresh, fiber-rich veggies
- 18g healthy fats thanks to olive oil and olives (your heart will thank you)
- 3g fiber to keep things moving smoothly (if you catch my grandma drift)
A little disclaimer from my kitchen to yours: these numbers can wiggle a bit depending on your exact ingredients. Use more feta? The calories creep up. Skip the olives? The fats go down. And if you’re like me and always add an extra glug of olive oil because “it tastes better that way,” well, let’s just call it a happy calorie boost!
What really matters is that you’re getting a balanced meal full of real, wholesome ingredients – no mysterious numbers or unpronounceable additives. Just the kind of food that makes your body hum with energy all afternoon (unlike those carb-heavy lunches that leave you snoring at your desk by 2pm!).
Frequently Asked Questions
Over the years, I’ve gotten all sorts of questions about these chicken salad bowls from my grandkids, neighbors, and even the ladies at my church potluck. Here are the answers to the ones I hear most often – chances are, you’ve wondered some of these too!
Can I Freeze These Bowls?
Oh honey, I don’t recommend it. While that chicken would freeze just fine on its own, those crisp veggies turn into sad, watery mush when thawed. Trust me – I learned this the hard way when I tried freezing a batch for my snowbird sister! The cucumbers and bell peppers lose all their crunch, and the texture just isn’t right. Stick to storing them in the fridge for up to 4 days – they’re so tasty, they usually don’t last that long anyway!
Is This Recipe Gluten-Free?
Absolutely! As written, this recipe is naturally gluten-free – no sneaky ingredients hiding here. Just good, simple whole foods. Of course, if you’re serving someone with celiac disease or serious gluten sensitivity, double check your spice blends (some pre-mixed spices can contain gluten) and make sure your feta cheese is gluten-free (most are, but it never hurts to check). I’ve been making this for my gluten-free granddaughter for years now, and she’s never had an issue.
Can I Use Chicken Thighs Instead of Breasts?
You betcha! I actually prefer thighs sometimes – they stay juicier and have more flavor. Just adjust your cooking time since thighs are thicker. I usually give them an extra minute or two per side, and always check that they hit 165°F internally. The dark meat pairs beautifully with the Mediterranean flavors too – gives the whole bowl a richer taste. My son swears by the thigh version with extra olives!
How Do I Keep the Onions from Being Too Strong?
Oh, I’ve got a great trick for this! After chopping your red onions, soak them in ice water for 5-10 minutes before adding to the bowl. This tames that sharp bite while keeping all the crunch. If you’re really sensitive, you can use shallots instead – they’re like onions’ milder cousin. Or on lazy days, I’ll just use less onion and make up the volume with extra cucumber. Cooking is all about adapting to your taste!
What If I Don’t Have Fresh Parsley?
No sweat, sugar! While fresh is best (that pop of green makes the bowls so pretty), you can use 1 teaspoon dried parsley in a pinch. Or get creative – fresh dill, basil, or even a sprinkle of dried oregano work nicely too. Last week I used chives from my windowsill herb pot, and it was delicious! The parsley is mostly for that fresh finish, so don’t stress if you have to improvise.
Now that you’ve got all the answers, what are you waiting for? Whip up a batch of these bowls and share your creations with me – I’d love to hear how you make them your own! Just don’t tell my grandkids I gave away all our family secrets…
For More recipes, Follow me on Facebook!






