
Oh, honey, let me tell you about the first time I whipped up these no-bake cheesecake cups for Sunday supper at my granddaughter’s request. Her eyes lit up like Christmas morning when she saw individual desserts just for her. That’s the magic of these little cups – all the creamy indulgence of cheesecake without turning on the oven! Somewhere between the graham cracker crunch and that dreamy filling, these became our family’s go-to treat when we need something sweet in a hurry. Now whenever the grandkids come over, they beg for “Grandma Jo’s special cups” – and who am I to say no to those faces?

Table of Contents
Table of Contents
Why You’ll Love These No-Bake Cheesecake Cups
Let me count the ways these little cups of joy will steal your heart – and probably become your new favorite dessert trick!
- Effortless elegance: No oven, no water bath, no stress. Just 15 minutes of mixing and an hour to chill, and you’ve got a dessert that looks like you fussed all day.
- Creamy dreamy texture: That perfect balance between light-as-air whipped cream and rich, tangy cream cheese will make you close your eyes and sigh with every bite.
- Your canvas, your masterpiece – Pile on fresh berries in summer, crushed peppermint at Christmas, or caramel sauce when you’re feeling fancy. The topping possibilities are endless!
- Just-right portions: No more fighting over who got the bigger slice. Each cup is its own perfect little world of cheesecake happiness.
Trust me, once you’ve made these once, you’ll start keeping graham crackers and cream cheese stocked at all times – I speak from experience!
Ingredients for No-Bake Cheesecake Cups
Now, let’s gather our goodies! These simple ingredients come together like magic – I’ve used this combination for years, and it never lets me down. Here’s what you’ll need to make about 6 perfect little cheesecake cups (though trust me, you might want to double this – they disappear fast!):

- 3/4 cup graham cracker crumbs – About 9 whole crackers crushed fine. I like to put mine in a bag and roll them with my rolling pin while humming a little tune. The crumbs should hold together when pinched.
- 2 tablespoons salted butter, melted – Real butter, please! None of that margarine business. Melt it just until liquid – no need to brown it.
- 8 oz cream cheese, softened – This is key! Leave it out for at least an hour until it gives easily when pressed. Cold cream cheese will leave you with lumpy filling, and we can’t have that.
- 1/2 cup granulated sugar – Regular white sugar does the trick here. No need to pack it – just scoop and level.
- 1 teaspoon pure vanilla extract – The good stuff! That imitation vanilla just doesn’t give the same warm flavor.
- 1 cup heavy whipping cream – Look for “heavy” or “heavy whipping” cream with at least 36% milk fat. Light cream won’t whip up properly.
- Optional toppings – Oh, the possibilities! Fresh raspberries, sliced strawberries, extra whipped cream, broken cookies, or even more graham cracker crumbs for crunch.
See? Nothing fancy, just good, honest ingredients that come together to make something truly special. Now let’s get mixing!
Equipment You’ll Need
Now don’t go thinking you need fancy gadgets for these cheesecake cups – I’ve made them with nothing but a fork and some elbow grease when I had to! But if you want that perfect texture (and to save your arm muscles), here’s what I recommend having ready:
- Mixing bowls – Two medium ones, preferably stainless steel or glass. Why two? One for the crust, one for the filling – keeps things neat!
- Electric mixer – My old hand mixer from 1978 still does the trick wonderfully for whipping cream and blending the filling. A stand mixer works too if you’re feeling fancy.
- Chilled beaters – Here’s my secret weapon! Pop those mixer attachments in the freezer for 15 minutes before whipping cream. Cold tools make the cream whip up faster and hold its shape better.
- Measuring cups and spoons – Dry measuring cups for the crumbs and sugar, liquid measuring cup for the melted butter, and those little spoons for the vanilla.
- Serving dishes – You’ve got options here! Pretty glass dessert cups make them fancy, mason jars give that rustic charm, or even sturdy coffee mugs work in a pinch.
- Piping bag or spoon – A piping bag with a star tip makes them look professional, but honestly? A regular spoon works just fine when you’re craving simplicity.
That’s it! No special pans, no weird tools – just basic kitchen gear that’ll have you whipping up these no-bake cheesecake cups anytime the mood strikes. Now let’s get to the fun part – making them!
How to Make No-Bake Cheesecake Cups
Alright, let’s get to the good part – making these heavenly little cups! Don’t let the fancy look fool you – it’s as easy as pie (well, easier actually, since we’re not baking anything!). Follow these steps, and you’ll have perfect no-bake cheesecake cups every single time.
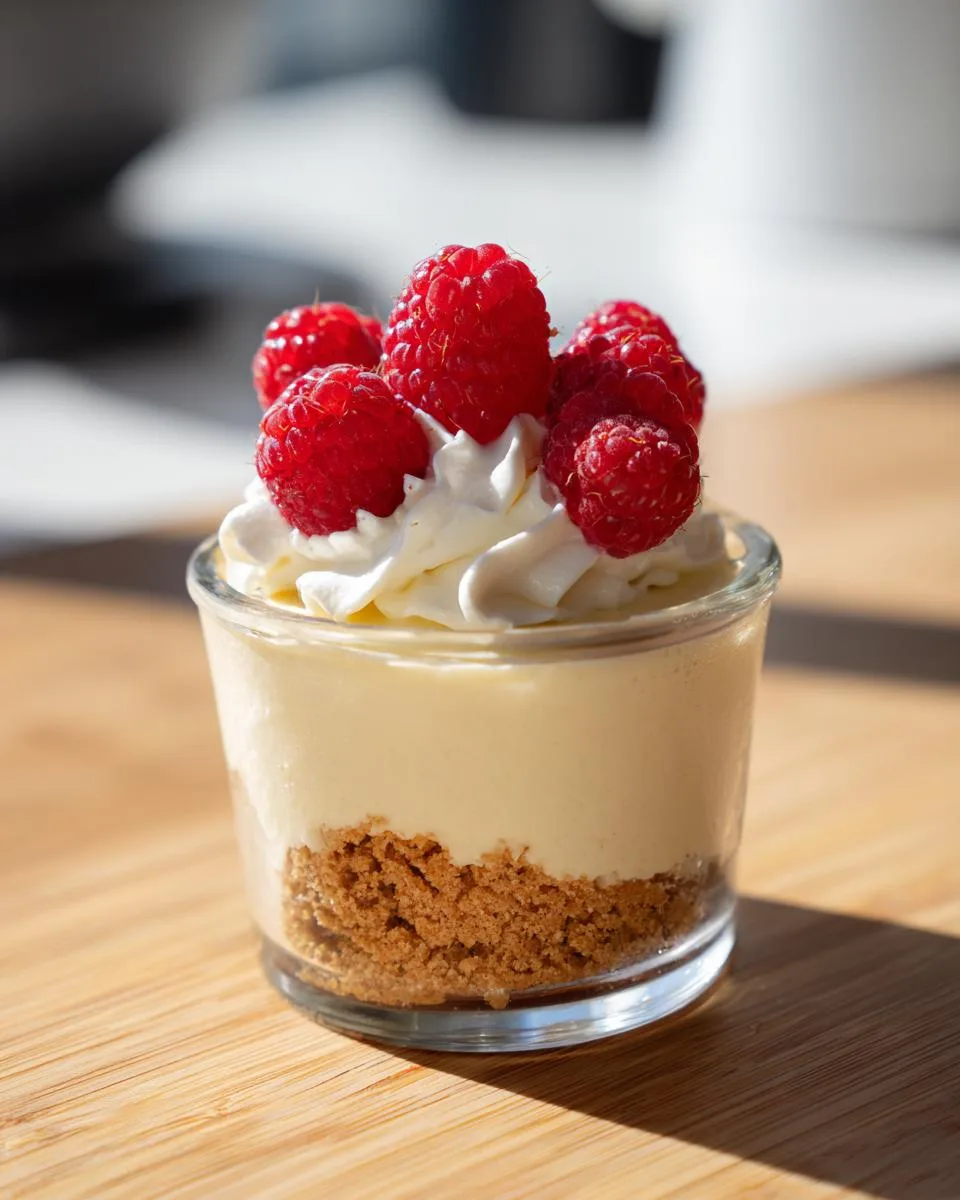
Step 1: Prepare the Graham Cracker Crust
First things first – that buttery, crunchy base that makes these cheesecake cups so special. In a medium bowl, mix together your graham cracker crumbs and melted butter until it looks like wet sand. You’ll know it’s right when you can pinch some between your fingers and it holds its shape.
Now, spoon about 2-3 tablespoons into each serving cup. Here’s my trick – use the back of a small spoon or your fingers to press it down firmly. I mean really pack it in there! This keeps the crust from crumbling when you dig in later. Don’t worry about making it perfect – rustic is charming!
Step 2: Whip the Cream to Stiff Peaks
Time to work some magic with that heavy cream! Remember those chilled beaters I mentioned? Now’s when they shine. Pour your cold cream into a chilled bowl and start mixing on medium speed. After a minute or two, it’ll start to thicken – that’s when you know things are getting exciting!
Keep going until you see those beautiful stiff peaks form. How do you know they’re stiff? When you lift the beaters straight up, the cream should stand tall without drooping. Be careful not to overdo it though – we want pillowy whipped cream, not butter!
Step 3: Mix the Cheesecake Filling
Now for the star of the show – that creamy, dreamy filling! In another bowl, beat your softened cream cheese until it’s completely smooth. No lumps allowed! Scrape down the sides of the bowl with a spatula to make sure everything gets incorporated.
Add in the sugar and vanilla, mixing just until combined. Here’s where patience pays off – take your time scraping the bowl thoroughly. Once it’s silky smooth, gently fold in your whipped cream. I like to do this in three additions, using big, sweeping motions to keep all that airy lightness we worked so hard to create.
Now comes the fun part – spoon or pipe that luscious filling onto your prepared crusts. Smooth the tops with a knife or leave them swirly for a homemade touch. Pop them in the fridge for at least an hour (though I know how hard it is to wait!), and voila – perfect no-bake cheesecake cups ready to wow your family or guests!
Print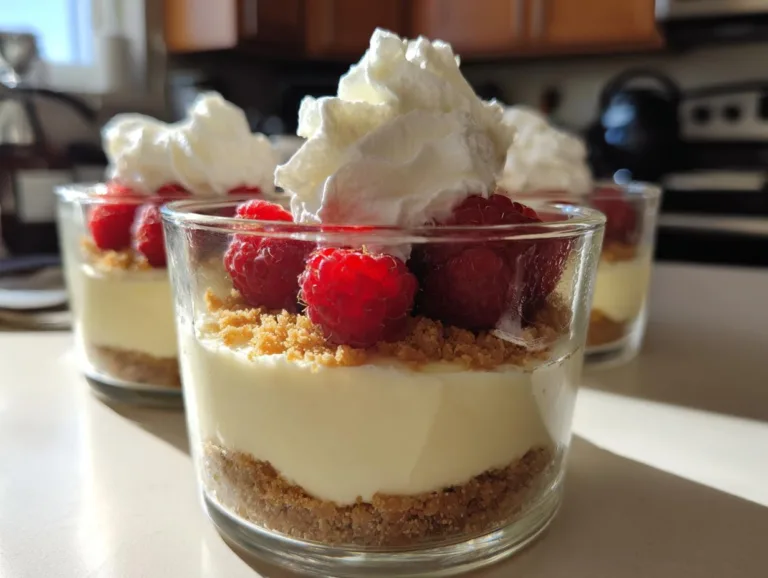
Grandma’s 15-Minute No-Bake Cheesecake Cups Recipe
Easy no-bake cheesecake cups with a graham cracker crust and creamy filling. Perfect for quick desserts.
- Total Time: 1 hour 15 minutes
- Yield: 4–6 servings 1x
Ingredients
- 3/4 cup graham cracker crumbs
- 2 tbsp salted butter, melted
- 8 oz cream cheese, softened
- 1/2 cup granulated sugar
- 1 teaspoon pure vanilla extract
- 1 cup heavy whipping cream
- Optional toppings: raspberries, strawberries, whipped cream, broken cookies, graham cracker crumbs
Instructions
- Mix melted butter and graham cracker crumbs. Press 2-3 tbsp into each serving dish.
- Whip heavy cream until stiff peaks form. Set aside.
- Beat cream cheese, sugar, and vanilla until smooth.
- Fold whipped cream into cream cheese mixture.
- Pipe or spoon filling into cups.
- Top with optional toppings. Chill for 1 hour before serving.
Notes
- Use room-temperature cream cheese for smoother texture.
- Chill bowls and beaters before whipping cream.
- Adjust sugar to taste.
- Prep Time: 15 minutes
- Cook Time: 0 minutes
- Category: Dessert
- Method: No-Bake
- Cuisine: American
- Diet: Vegetarian
Nutrition
- Serving Size: 1 cup
- Calories: 320
- Sugar: 22g
- Sodium: 180mg
- Fat: 24g
- Saturated Fat: 14g
- Unsaturated Fat: 8g
- Trans Fat: 0g
- Carbohydrates: 25g
- Fiber: 0.5g
- Protein: 4g
- Cholesterol: 70mg
Tips for Perfect No-Bake Cheesecake Cups
After making these little beauties more times than I can count, I’ve picked up some tricks that’ll take your cheesecake cups from good to “Wow, did you really make these?” Here’s the inside scoop from my kitchen to yours:
That cream cheese needs to be SOFT – I mean properly room temperature, not just “sat out for 10 minutes.” Leave it out at least an hour before starting. Press your finger into it – it should give easily without resistance. Cold cream cheese equals lumpy filling, and we’re going for silky smooth perfection here.
Sweetness is personal – Start with the 1/2 cup sugar, but taste as you go! If you like things less sweet, you can reduce it to 1/3 cup. Have a sweet tooth? Bump it up to 2/3 cup. Just remember – your toppings will add sweetness too!
Chill time is non-negotiable – I know, the waiting is the hardest part! But that full hour (or better yet, two) in the fridge lets everything set up properly. Trying to eat them too soon? You’ll have cheesecake soup instead of cups. Been there, done that – patience pays off!
Get creative with crusts – Graham crackers are classic, but try crushed Oreos, vanilla wafers, or even ginger snaps for fun twists. Just keep that same 3/4 cup crumbs to 2 tbsp butter ratio.
Presentation matters – Use clear glasses to show off those pretty layers! For parties, I like to line up all the cups and do different toppings on each – instant dessert sampler!
Remember, cooking is love made visible – and these little tips will help your no-bake cheesecake cups show just how much you care. Now go make some edible happiness!
Creative Topping Ideas
Oh darlin’, this is where the real fun begins! The beauty of these no-bake cheesecake cups is how they become your own edible canvas. I’ve spent years playing with toppings – sometimes just to hear the grandkids giggle when they see what I’ve come up with. Here are my absolute favorite ways to dress them up:
- Berry bonanza – Fresh raspberries or strawberries in summer, or warmed frozen berries in winter make the perfect tangy contrast. My Eddie always says I go overboard, but a little mountain of mixed berries never hurt anybody!
- Chocolate lover’s dream – Shave some dark chocolate right over the top, or melt it and drizzle artfully. One Thanksgiving, I sprinkled crushed peppermint sticks over chocolate-drizzled cups – the kids still talk about it.
- Caramel delight – Warm caramel sauce (the kind in a jar is fine, no judgment here!) swirled on top with a pinch of sea salt? Mercy, that’s good. Add some chopped toasted pecans if you’re feeling fancy.
- Seasonal surprises – Crushed candy canes at Christmas, pumpkin puree with cinnamon in fall, or lemon zest with blueberries in spring. The changing seasons give us endless inspiration!
- Cookie crumble – Got leftover Oreos or gingersnaps? Crush ’em up and sprinkle over the top for extra crunch. My neighbor Betty taught me that trick during a cookie emergency!
- Tropical twist – Toasted coconut flakes with a spoonful of crushed pineapple (drained well!) makes you feel like you’re on vacation, even if it’s just Tuesday.
The secret? Have fun with it! I keep little bowls of different toppings on the table sometimes and let everyone decorate their own. Makes dessert feel like playtime – and isn’t that what good cooking’s all about?
Storing and Serving Suggestions
Now, I know what you’re thinking – “Do these no-bake cheesecake cups even last long enough to store?” Bless your heart, you’re right – they usually disappear before I can blink! But just in case you’ve got willpower I can only dream of, here’s how to keep them happy:
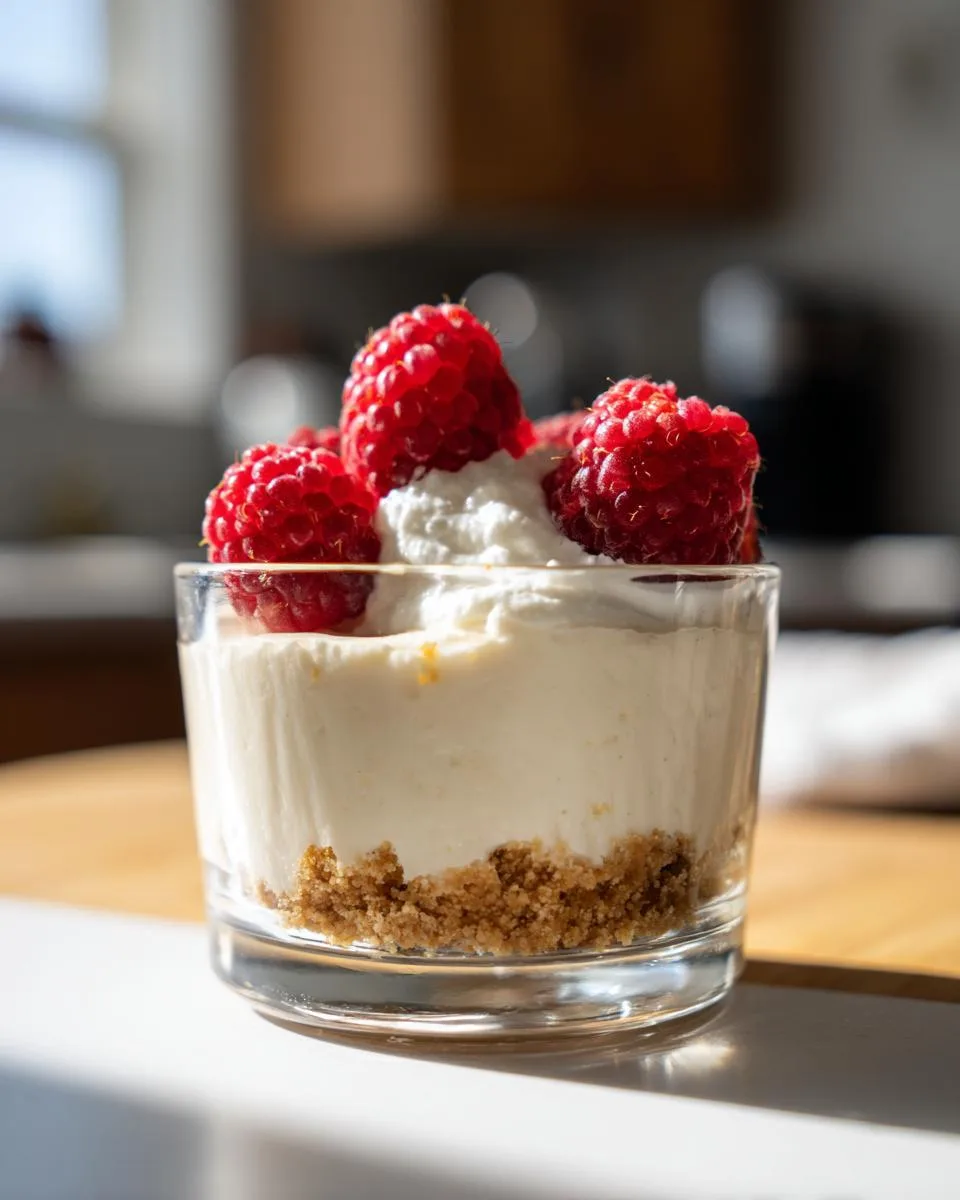
Keep ’em chilled – These little cups are happiest in the fridge, covered tightly with plastic wrap or in an airtight container. They’ll stay perfect for about 3 days – though I dare you to try keeping them that long!
Freezer? Not so much – I learned this the hard way when I tried freezing a batch for a last-minute dessert. The texture turns icy and the whipped cream separates. Better to make them fresh when the craving hits!
Garnish with gusto – but at the last minute – Fresh berries and whipped cream toppings should go on right before serving to keep them looking their best. Though between you and me, even slightly wilted strawberries still taste heavenly!
Perfect portions – These are made for easy serving! Just pull them straight from the fridge, add your final touches, and watch faces light up. No slicing, no plates needed – just hand out spoons and let the happy sighs begin.
One more tip from my kitchen to yours – if you’re making these ahead for a party, prep everything but the toppings the day before. Then when guests arrive, just a quick garnish and voila! You look like a dessert wizard with zero last-minute stress. Now that’s what I call sweet success!
Nutrition Information
Now, I’m no nutritionist, sugar, but folks always ask me about these things, so here’s the scoop on what’s in these delightful no-bake cheesecake cups. Mind you, these numbers are just estimates – your exact amounts will depend on how generous you are with those toppings!
Per serving (1 cup):
- Calories: About 320 (But who’s counting when it’s this delicious?)
- Sugar: 22g (That’s from both the added sugar and the natural sugars in the dairy)
- Sodium: 180mg
- Fat: 24g (14g saturated – but remember, fat carries flavor!)
- Carbohydrates: 25g (With just a smidge of fiber at 0.5g)
- Protein: 4g (A little bonus with your treat!)
- Cholesterol: 70mg
Now listen here – these numbers can change depending on your exact ingredients. Using low-fat cream cheese? Sugar substitutes? Different crusts? It’ll all tweak the numbers some. And let’s be honest – when something tastes this good and brings this much joy, sometimes the best nutrition is the happiness it brings to your table!
FAQs About No-Bake Cheesecake Cups
Over the years, I’ve gotten every question under the sun about these no-bake cheesecake cups – and bless your heart, I’m happy to share what I’ve learned! Here are the answers to the most common head-scratchers that come up in my kitchen:
Can I make these gluten-free?
Absolutely, darling! Just swap the graham crackers for your favorite gluten-free cookie crumbs. I’ve had great luck with gluten-free gingersnaps or shortbread cookies. Same amount – about 3/4 cup crumbs to 2 tablespoons butter. The filling is naturally gluten-free already!
What about vegan options?
You bet! Use vegan cream cheese (the kind in the tub works best) and coconut cream instead of heavy whipping cream. Chill a can of full-fat coconut milk overnight, then scoop out the thick part to whip. For the crust, coconut oil replaces butter beautifully. The texture’s slightly different but still heavenly!
Help! I don’t have an electric mixer!
Oh honey, I’ve been there! For the whipped cream, use a big whisk and some elbow grease – it’ll take about 5-7 minutes of vigorous whisking. For the cream cheese, let it get extra soft and mash it with a fork first, then whisk like crazy. It’s a workout, but worth it!
Can I use sugar alternatives?
Sure can! Powdered erythritol works wonderfully in the same amount as regular sugar. For liquid sweeteners like maple syrup or honey, reduce to 1/3 cup and maybe add an extra tablespoon of crumbs to the crust to compensate for the extra moisture. Taste as you go!
Why did my filling turn out runny?
Two likely culprits, sugar: Either your cream cheese wasn’t soft enough (those stubborn lumps prevent proper mixing) or the whipped cream wasn’t at stiff peaks yet. Don’t worry – pop the whole mixture in the fridge for 30 minutes, then gently fold again. Usually saves it!
Can I make one big cheesecake instead of cups?
Of course! Use a 9-inch springform pan, triple the crust amount, and chill at least 4 hours before serving. But between you and me – the individual cups are half the charm! There’s something magical about having your very own personal cheesecake.
Remember, cooking is all about making it work for YOU. These no-bake cheesecake cups are wonderfully flexible – just like Grandma Jo’s advice!
For More recipes, Follow me on Facebook!






