
Oh honey, let me tell you about these Cowboy Butter Steak Sliders – they’re the kind of messy, juicy, flavor-packed little sandwiches that’ll have your family fighting over the last bite! I’ve been making these since my ranch days back in Texas, when we’d throw big cookouts after branding season. That garlicky, buttery sauce with a kick of heat? It’s magic on grilled steak. Pile on those sweet caramelized onions and melty havarti cheese, and you’ve got yourself a slider that tastes like home. My grandkids go wild for these – and I bet yours will too. Trust me, once you try that cowboy butter soaking into the warm bun, you’ll be hooked just like we are.

Table of Contents
Table of Contents
Why You’ll Love These Cowboy Butter Steak Sliders
Now let me tell you why these sliders will become your new go-to for gatherings – or heck, even just a special Tuesday night! First off, that cowboy butter? It’s like a flavor explosion with every bite – garlicky, buttery, with just the right amount of kick from those red pepper flakes. Here’s what makes these sliders downright irresistible:
- The steak stays juicy and tender thanks to that perfect sear and resting time (a trick my ranch-hand husband taught me back in ’78)
- Caramelized onions add that sweet depth you can only get from slow cooking – patience pays off, darlin’
- Havarti cheese melts like a dream, creating that gooey, stretchy perfection we all crave
- They come together easier than you’d think – most of the work happens while the steak rests
- Perfect for feeding a crowd without breaking the bank (I’ve stretched one good steak to feed six hungry cowboys!)
The best part? These sliders taste like you spent all day in the kitchen, but that secret’s safe with me. Just wait till you see those happy, sauce-drizzled faces around your table!
Ingredients for Cowboy Butter Steak Sliders
Now let’s gather up everything you’ll need to make these mouthwatering sliders. I’ve organized them so you can check off each item as you go – just like I do with my old grocery lists from the feed store. Here’s what you’ll need:

- For the steak: 1 1/2 pounds boneless steak (ribeye, filet, or sirloin), trimmed of excess fat – trust me, trimming makes all the difference
- Neutral oil (as needed) – I use canola, but vegetable works fine
- Kosher salt (to taste) – none of that fine table salt now
- Freshly cracked black pepper (to taste) – get your pepper mill ready
- For the toppings: 3 sweet onions, thinly sliced – Vidalias are my favorite when they’re in season
- 9 slider buns – those soft Hawaiian ones work wonders here
- 3/4 pound sliced havarti cheese – about 9 slices
- For the cowboy butter: 1 stick unsalted butter, room temperature – real butter only, no substitutes!
- 4 garlic cloves, minced – fresh is best, but 1 teaspoon garlic powder works in a pinch
- 1/2 lemon, zested and juiced – roll it first to get more juice
- 1 tablespoon Dijon mustard – the secret tangy backbone
- 1 teaspoon paprika – smoked or sweet, your choice
- 1/2 teaspoon cayenne – adjust to your heat tolerance
- 1/2 teaspoon dried thyme – rub between your fingers to wake it up
- 1 teaspoon red pepper flakes – more or less depending on your crowd
- 1 tablespoon chives, minced – snip them fresh from the garden if you can
- 2 tablespoons fresh parsley, minced – the flat-leaf kind has better flavor
Ingredient Notes & Substitutions
Now don’t you fret if you need to make some swaps – cooking should be flexible, just like my old apron waistband! Here’s my advice:
Havarti cheese melts beautifully, but if you can’t find it, try Monterey Jack or even mild cheddar. Just steer clear of anything too sharp that might overpower the steak.
Steak cuts can vary – ribeye’s my top pick for flavor, but sirloin works great for budget meals. Heck, I’ve even used flank steak sliced thin against the grain when times were tight.
Spice levels are totally customizable. My grandkids prefer it with just a pinch of cayenne, but my old ranch hands? They’d add double the red pepper flakes! Start with less – you can always add more butter sauce at the table.
Buns should be soft but sturdy. If Hawaiian rolls aren’t available, brioche or even soft potato rolls will do the trick. Just toast them lightly so they hold up to all that juicy goodness.
Remember, cooking’s about making it work with what you’ve got – just like we did during harvest season when the grocery run wasn’t for another week!
Equipment You’ll Need for Cowboy Butter Steak Sliders
Now let’s talk tools – you don’t need anything fancy, just a few trusty kitchen helpers that have served me well for decades. Here’s what I keep within arm’s reach when making these sliders:
- A good sturdy grill (charcoal or gas both work) – mine’s older than my youngest grandbaby but still gets the job done
- Cast iron skillet – for those perfect caramelized onions that make the sliders sing
- Meat thermometer – because guessing doneness is how dried-out steaks happen, bless your heart
- Sharp chef’s knife – for trimming fat and slicing onions without tears (well, fewer tears)
- Mixing bowls – one for the cowboy butter, one for seasoning the steak
- Wooden spoon – my favorite for stirring that butter sauce without scratching pans
- Pastry brush – to slather on that glorious cowboy butter while grilling
- Tongs – get the kind with a good grip so you don’t drop precious steak on the coals
- Aluminum foil – for tenting the steak while it rests (don’t skip this step!)
See? Nothing too complicated – just the same sort of tools your grandma probably had in her kitchen. The secret’s in how you use ’em, not how fancy they are!
How to Make Cowboy Butter Steak Sliders
Alright darlin’, let’s get down to business – I’ll walk you through making these sliders step by step, just like I taught my daughter when she was first learning to cook. We’ll take it slow and steady, because good food can’t be rushed. Here’s how we’ll do it:
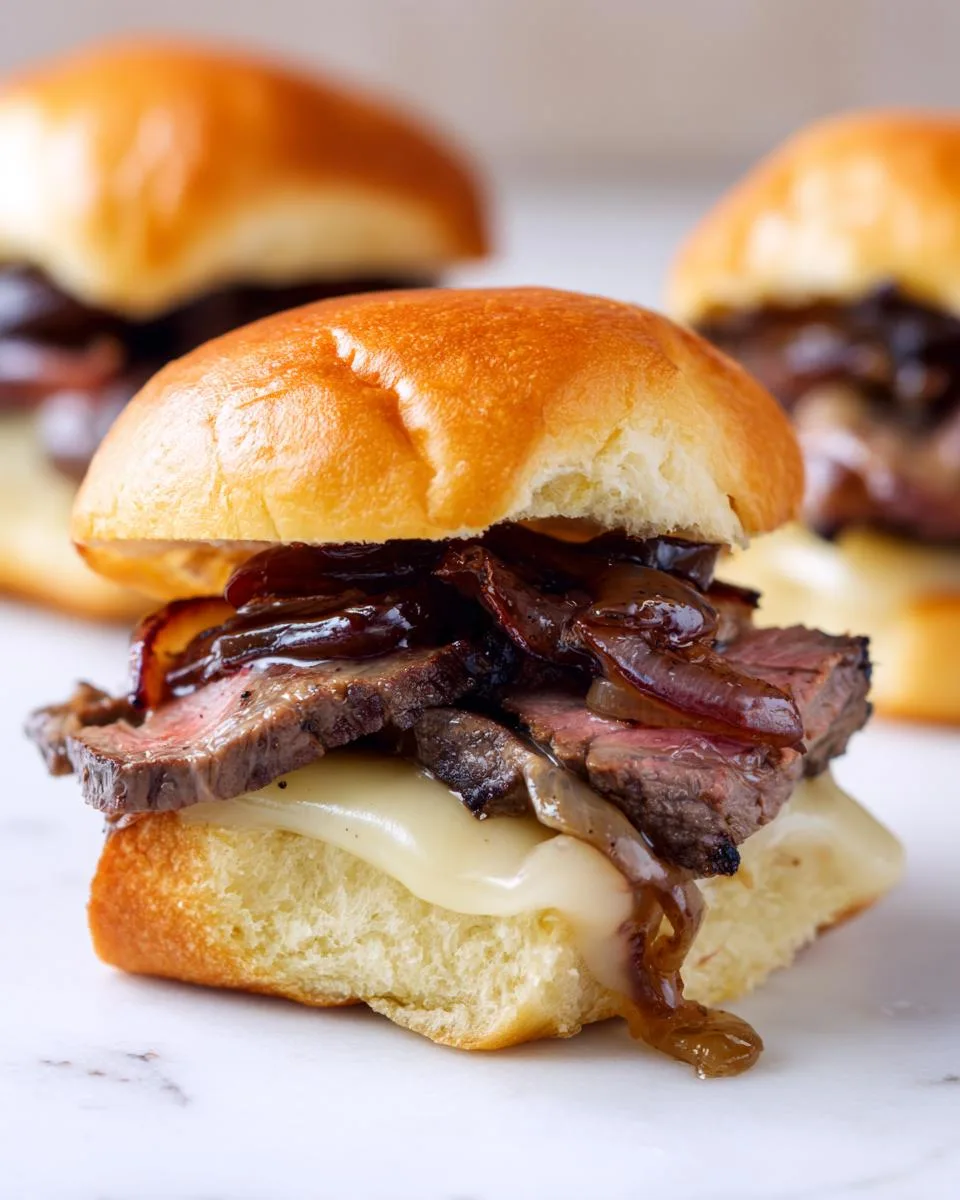
Preparing the Steak
First things first – let’s get that steak ready. I like to work on a clean cutting board with my sharpest knife. Trim off any thick chunks of fat (save those for rendering later if you’re thrifty like me). Pat the steak dry with paper towels – this helps us get that beautiful crust later.
Now, rub a light coat of oil all over the steak – just enough to make it glisten. Season generously with kosher salt and freshly cracked pepper, pressing it in gently so it sticks. Wrap that seasoned beauty in plastic wrap and let it hang out in the fridge for at least 2 hours, though overnight’s even better. This lets the salt work its magic deep into the meat.
When you’re ready to cook, pull the steak out and let it sit at room temperature for about 30 minutes – this helps it cook evenly. I use this time to slice onions and make the cowboy butter.
Making the Cowboy Butter
Oh, this butter sauce is where the magic happens! In a small saucepan over low heat, melt that stick of butter nice and slow – we don’t want any browning. Once it’s just melted, stir in the minced garlic, lemon zest and juice, Dijon mustard, and all those lovely spices (paprika, cayenne, thyme, and red pepper flakes). Let it all get cozy together for about 2 minutes, just until you can smell those spices blooming.
Now take it off the heat – this next part’s important. Stir in the fresh chives and parsley right at the end so they stay bright and vibrant. Taste and adjust the seasoning if needed – sometimes I add an extra squeeze of lemon if it needs more zing. Set this aside while we tackle the steak – it’ll keep warm just fine.
Grilling and Assembling
Fire up your grill to medium-high heat, creating two zones – one for direct high heat and one for indirect. While that heats, get your onions going in a cast iron skillet with a pat of butter over medium-low heat. Stir them occasionally while you cook the steak – they’ll need about 15 minutes to reach caramelized perfection.
Place your room-temperature steak over the direct heat. Grill for 2-3 minutes per side, brushing generously with that cowboy butter each time you flip. Then move it to indirect heat and continue cooking until it reaches your desired doneness (I pull mine at 125°F for medium-rare). Keep brushing with butter – this builds incredible flavor!
Transfer the steak to a plate, tent with foil, and let it rest for 10 minutes – no peeking! This lets the juices redistribute. Meanwhile, brush your slider buns with cowboy butter and assemble: bun bottom, slice of havarti, pile of caramelized onions, thin slices of rested steak (cut against the grain!), more cheese if you’re feeling indulgent, then the buttered bun top. Pop them under the broiler for just 1-2 minutes until the cheese gets gloriously melty.
Serve these beauties warm with extra cowboy butter for dipping and plenty of napkins – things are about to get deliciously messy! You can find more of my favorite recipes right here.
Print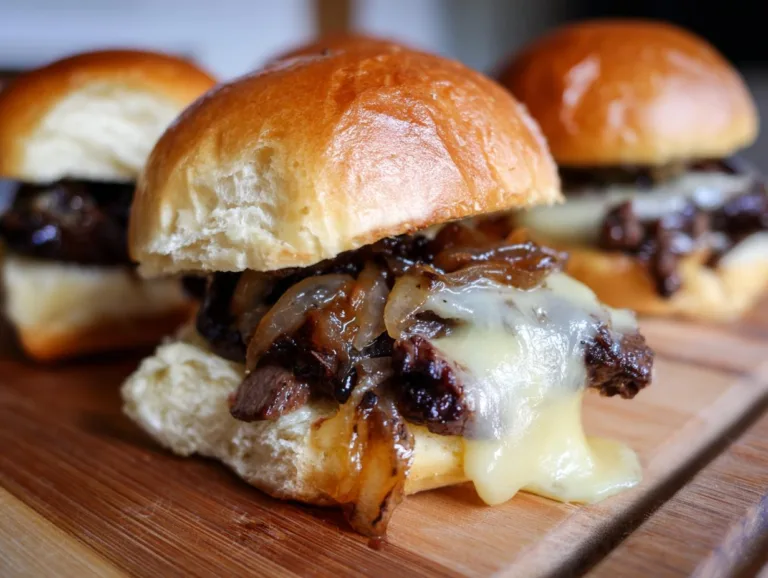
Juicy Cowboy Butter Steak Sliders That Steal the Show
Juicy steak sliders topped with caramelized onions and melted havarti cheese, brushed with a flavorful cowboy butter sauce.
- Total Time: 3 hours 30 minutes
- Yield: 9 sliders 1x
Ingredients
- 1 1/2 pounds boneless steak (ribeye, filet, or sirloin)
- Neutral oil (as needed)
- Kosher salt (to taste)
- Freshly cracked black pepper (to taste)
- 3 sweet onions (thinly sliced)
- 9 slider buns
- 3/4 pound sliced havarti cheese
- 1 stick unsalted butter (room temperature)
- 4 garlic cloves (minced)
- 1/2 lemon (zested and juiced)
- 1 tablespoon Dijon mustard
- 1 teaspoon paprika
- 1/2 teaspoon cayenne
- 1/2 teaspoon dried thyme
- 1 teaspoon red pepper flakes
- 1 tablespoon chives (minced)
- 2 tablespoons fresh parsley (minced)
Instructions
- Trim excess fat from steaks, rub with oil, and season with salt and pepper. Wrap in plastic and refrigerate for a few hours.
- Melt butter in a saucepan over low heat. Add lemon juice, zest, garlic, Dijon, and dry seasonings. Remove from heat and stir in chives and parsley. Set aside.
- Preheat grill to medium-high with an indirect heat zone. Let steaks rest at room temperature for 30 minutes.
- Grill steaks over direct heat for 2-3 minutes per side, brushing with cowboy butter. Move to indirect heat until desired doneness.
- Let steaks rest for 10 minutes under tented foil before slicing.
- Caramelize onions in a cast iron skillet on the grill with butter for about 15 minutes.
- Brush slider buns with cowboy butter, add cheese and onions, then top with sliced steak. Broil for 1-2 minutes until cheese melts.
Notes
- For best results, season steaks ahead of time.
- Adjust cayenne and red pepper flakes for desired spice level.
- Use a meat thermometer for precise doneness.
- Prep Time: 3 hours
- Cook Time: 30 minutes
- Category: Main Dish
- Method: Grilling
- Cuisine: American
- Diet: Low Lactose
Nutrition
- Serving Size: 1 slider
- Calories: 420
- Sugar: 5g
- Sodium: 480mg
- Fat: 28g
- Saturated Fat: 14g
- Unsaturated Fat: 10g
- Trans Fat: 0g
- Carbohydrates: 22g
- Fiber: 2g
- Protein: 24g
- Cholesterol: 90mg
Tips for Perfect Cowboy Butter Steak Sliders
Now let me share my hard-earned secrets for making these sliders absolutely foolproof – tricks I’ve picked up from decades of feeding hungry ranch hands and picky grandkids alike!
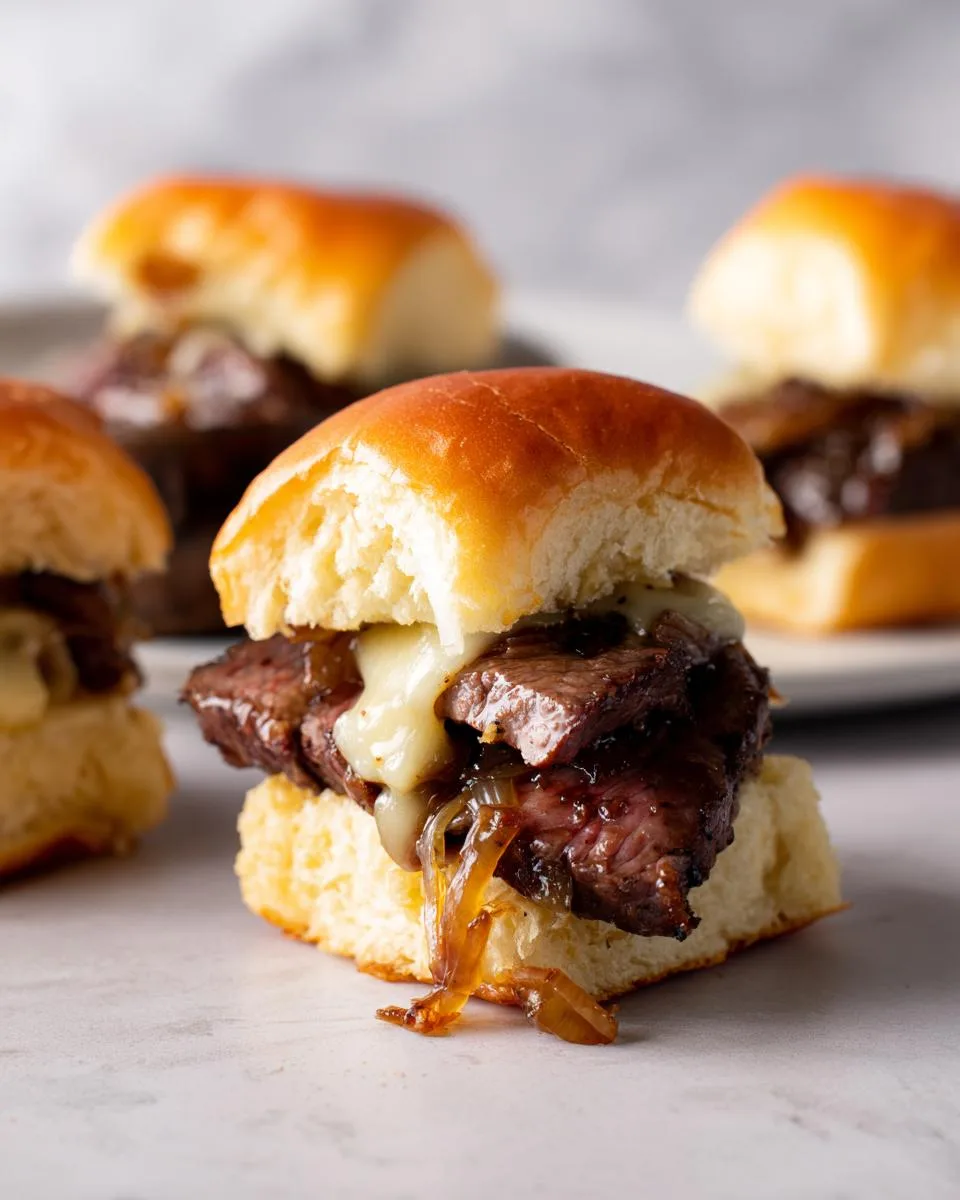
Season that steak early – I mean hours ahead if you can. That salt needs time to work its way deep into the meat, making every bite flavorful right to the center. My rule? At least 2 hours in the fridge, but overnight’s even better. Just don’t skip this step – it’s the difference between “good” and “oh-my-goodness!”
Use a meat thermometer – no guessing games here! Pull your steak at 125°F for medium-rare (it’ll carry over to 130°F while resting). Trust me, overcooked steak turns these sliders from heavenly to ho-hum real quick. That thermometer’s your best friend – mine’s got spots of cowboy butter on it from years of faithful service!
Adjust the heat to your crowd – start with half the cayenne and red pepper flakes if you’re serving kids or spice-shy folks. You can always add more cowboy butter at the table for those who want extra kick. My grandkids prefer it mild, but my old ranch buddies? They’d drink that spicy butter straight if I let ’em! If you want to see more of my family favorites, check out my Facebook page.
Don’t rush the onions – caramelizing takes patience, but it’s worth every minute. Low and slow for about 15 minutes, stirring occasionally. When they’re golden-brown and sweet as candy, you’ll know they’re perfect. And here’s a little trick – add a pinch of sugar if your onions aren’t as sweet as you’d like. Works like a charm!
Serving Suggestions for Cowboy Butter Steak Sliders
Now let’s talk about what to serve alongside these glorious sliders – because every good meal needs company, just like we do at the family table! Here’s what I love to pair with them:
- Dill pickle spears – that tangy crunch cuts right through the rich butter and cheese. I put out a big jar of my homemade pickles whenever I serve these.
- Creamy coleslaw – the cool crunch balances all that savory goodness. My simple recipe? Just cabbage, carrots, mayo, a splash of apple cider vinegar, and a pinch of sugar.
- Roasted baby potatoes – toss them in some of that leftover cowboy butter before roasting for extra flavor! They soak it up like little flavor sponges.
- Corn on the cob – grilled right alongside the steak, then brushed with – you guessed it – more cowboy butter. Can you tell I love this stuff?
- A simple green salad – something light with a lemony dressing to freshen things up between bites.
And don’t forget extra napkins – these sliders are meant to be eaten with your hands, and things are bound to get deliciously messy!
Storing and Reheating Cowboy Butter Steak Sliders
Now listen here – these sliders are best eaten fresh, but I know life happens and sometimes you end up with leftovers (though that’s rare in my house!). Here’s how to keep them tasting as good as day one:
Storing: Wrap those leftover sliders tight in aluminum foil or pop them in an airtight container. They’ll keep in the fridge for about 3 days – any longer and the buns start getting soggy, bless their hearts. Pro tip? Store the components separately if you can – steak in one container, onions in another, and the cowboy butter in its own little jar. That way everything stays fresher longer.
Reheating: The oven’s your best friend here, honey. Preheat to 350°F and warm those sliders on a baking sheet for about 10 minutes – just until the cheese gets melty again. If you stored everything separately, reassemble first, then heat. Microwave works in a pinch, but it’ll make the buns rubbery – only do this if you’re in a real hurry!
One more thing – that cowboy butter sauce? It’ll solidify in the fridge, but just warm it gently on the stove or in short bursts in the microwave, stirring between each. You don’t want to overheat it and separate the butter. A little patience goes a long way!
Now, I won’t lie to you – these sliders lose a bit of their magic after refrigeration. The steak won’t be quite as juicy, and the buns lose some of their crispness. But with a little extra cowboy butter brushed on before reheating? They’ll still taste mighty fine for lunch the next day!
Nutrition Information for Cowboy Butter Steak Sliders
Now, I’m no nutritionist – just a grandma who knows good food – but I do like to keep an eye on what we’re putting in our bodies. Here’s the breakdown per slider (based on my recipe exactly as written):
- Calories: 420 – but trust me, every one is worth it!
- Protein: 24g – that steak packs a powerful punch
- Fat: 28g (14g saturated) – most from that glorious butter and cheese
- Carbohydrates: 22g – mainly from those soft slider buns
- Fiber: 2g – thanks to the onions and whole grain in the buns
- Sugar: 5g – natural sweetness from the caramelized onions
- Sodium: 480mg – go easy on the salt if you’re watching this
- Cholesterol: 90mg – mostly from the steak and butter
Now remember, these values are estimates based on standard ingredients – your exact numbers might vary depending on the steak cut you use, bun type, or how generous you are with that cowboy butter (and I’m always generous!). The important thing is enjoying good food with good people – that’s the real nutrition that matters most in my book.
Frequently Asked Questions About Cowboy Butter Steak Sliders
Bless your heart for asking! Over the years, I’ve gotten all sorts of questions about these sliders – usually between mouthfuls at family gatherings. Here are the ones that come up most often, along with my tried-and-true answers:
Can I use a different cut of steak?
Absolutely, darlin’! While ribeye’s my favorite for its marbling, sirloin works beautifully for budget-friendly sliders. Flank steak or skirt steak are great too – just be sure to slice them thin against the grain after cooking. Heck, I’ve even used leftover roast beef in a pinch – just warm it gently in that cowboy butter first!
How do I make it less spicy?
Easy as pie! Start with half the cayenne and red pepper flakes, or leave them out entirely. The cowboy butter will still be packed with flavor from the garlic, lemon, and herbs. You can always serve extra red pepper flakes on the side for the heat-lovers at your table – that’s what I do when my grandkids are visiting.
Can I make these indoors if I don’t have a grill?
You sure can! Heat a heavy skillet (cast iron’s perfect) over medium-high until smoking hot. Sear the steak just like you would on the grill, brushing with butter and finishing in a 400°F oven if needed. Cook those onions in another skillet – no grill required! The broiler step for melting the cheese stays the same either way.
What’s the best way to slice the steak for sliders?
Oh honey, this matters more than you might think! Always slice against the grain – that means across those long muscle fibers you can see running through the meat. Makes every bite tender as can be. Keep the slices about 1/4-inch thick – thick enough to stay juicy, but thin enough to stack nicely on the buns.
Can I prepare anything ahead of time?
You’re speaking my language! The cowboy butter keeps beautifully in the fridge for up to a week (just reheat gently). Slice your onions and refrigerate them in an airtight container the day before. Even the steak can be seasoned and wrapped the night before. When it’s time to cook, you’ll just need to grill, assemble, and enjoy! If you’re looking for other easy dinner ideas, check out my dinner recipes.
For More recipes, Follow me on Facebook!






