
Oh, honey, let me tell you about my Air Fryer Blooming Onion – it’s the crispy, golden showstopper that’s become our family’s go-to appetizer! No messy deep-frying or greasy fingers here. Just that perfect crunch we all love, with way less fuss. I remember the first time I served this at a backyard barbecue – my grandkids went wild for those crispy petals, and now it’s a must-have at every gathering.

Table of Contents
Table of Contents
What makes it special? That sweet onion turns tender inside while staying gloriously crisp outside, and that zesty dipping sauce? Pure magic. Plus, it’s ready in under half the time of traditional methods. You’ll wonder why you ever bothered with all that oil!
Why You’ll Love This Air Fryer Blooming Onion
Trust me, this recipe’s a game-changer! Here’s why it’s become my go-to:
- Crispy perfection – That golden crunch rivals deep-fried versions without the oil bath
- Healthier twist – Uses just a spritz of cooking spray instead of cups of oil
- Easy prep – No thermometer, no splatter, no stress – just slice, coat, and air fry
- Crowd-pleaser – The dramatic presentation always gets “oohs” at parties
- Customizable – Adjust the spices to make it mild or fiery based on your crowd
Seriously – once you try this method, you’ll never go back to the greasy version!
Ingredients for Air Fryer Blooming Onion
Alright, let’s gather our goodies! The magic happens with simple ingredients – most probably already in your pantry. Here’s what you’ll need:

- For the onion:
- 1 large sweet onion (root intact – don’t you dare cut this off!)
- 2 large eggs (room temp works best)
- ½ cup milk (regular or your favorite plant-based)
- ½ cup plain breadcrumbs (regular or gluten-free – I’ve used both)
- ¼ cup flour (all-purpose or gluten-free)
- ¾ tsp garlic powder
- ¼ tsp onion powder (yes, onion on onion – trust me)
- ½ tsp paprika (smoked paprika adds nice depth)
- ½ tsp dried oregano (crush it between your fingers)
- ⅛ tsp cayenne pepper (optional but gives a nice kick)
- ¾ tsp salt
- ¼ tsp black pepper
- For that killer dipping sauce:
- ½ cup mayo (full-fat gives best flavor)
- 1 Tbsp ketchup
- 2-3 tsp horseradish (start with less, add more)
- ½ tsp paprika
- ¼ tsp garlic powder
- ¼ tsp dried oregano
- Pinch of cayenne pepper
- ¼ tsp salt
See? Nothing fancy – just pantry staples transformed into something spectacular!
Equipment You’ll Need
Don’t worry – you won’t need any fancy gadgets for this Air Fryer Blooming Onion! Just grab:
- Your trusty air fryer (of course!)
- A sharp chef’s knife (safety first!)
- 2 mixing bowls (one for wet, one for dry)
- A little foil for the basket
That’s it – now let’s get cookin’!
How to Make an Air Fryer Blooming Onion
Alright, let’s dive into the fun part – transforming that humble onion into a crispy masterpiece! I’ll walk you through each step just like I do with my grandkids when we cook together.
Preparing the Onion
First things first – grab your sharpest knife and that beautiful sweet onion. Here’s how we’ll work our magic:
Slice off about ½ inch from the stem end (that’s the pointy top, not the root!). Peel away the papery skin – get all those outer layers off so we’re working with clean onion. Now the fun part: flip it cut-side down and make vertical slices starting about ½ inch from the root. You’ll want 8-12 sections – think of cutting pie slices!
Important: That root is your best friend here – it holds everything together. Don’t cut through it! After slicing, flip the onion over and gently separate the petals with your fingers. Let it sit for 5 minutes – this helps the “bloom” open up beautifully.
Coating the Air Fryer Blooming Onion
Time to get messy! In one bowl, whisk together the eggs and milk – this is our “glue.” In another bowl, mix all those lovely dry ingredients (breadcrumbs, flour, spices).
Now here’s my trick: hold the onion by its root and dunk it upside-down in the egg mixture. Swirl it around to coat all those petals – I use a spoon to help get into the nooks. Let the excess drip off, then sprinkle the breadcrumb mixture all over. Really get in between those layers! Shake gently to remove any loose crumbs – we want an even coating, not clumps.
Air Frying the Blooming Onion
Almost showtime! Line your air fryer basket with foil (trust me, this makes cleanup a breeze) and preheat to 350°F for about 3 minutes.
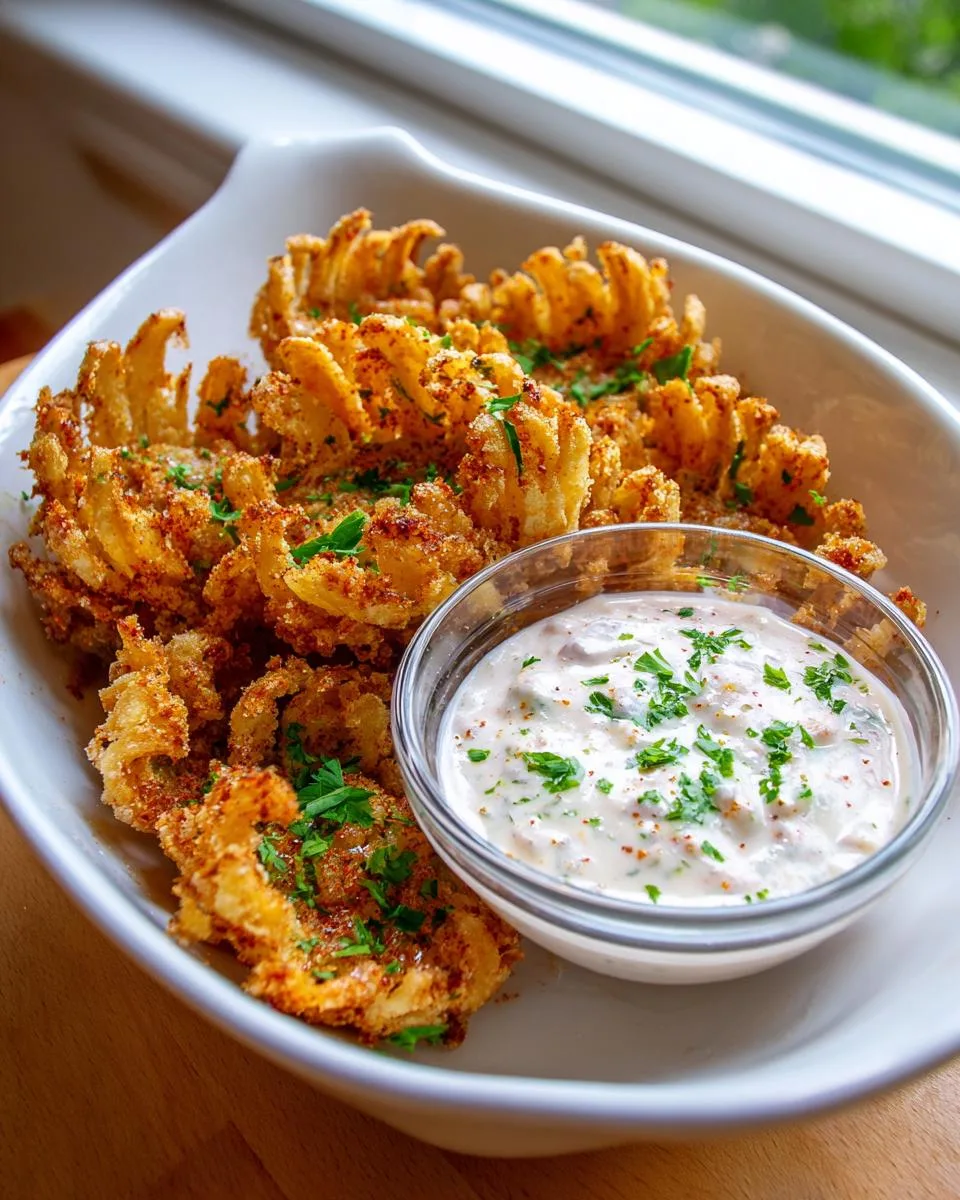
Carefully place your coated onion in the basket – root side up. Give it a good spritz with cooking spray – this helps achieve that golden crunch. Air fry for 22-25 minutes total, but here’s the key: every 7-8 minutes, pause to flip it gently and respray. This ensures even cooking and prevents any soggy spots.
You’ll know it’s done when the outer petals are crispy and golden brown, and the inner layers are tender when pierced with a fork. Oh, that smell filling your kitchen? Pure happiness!
Print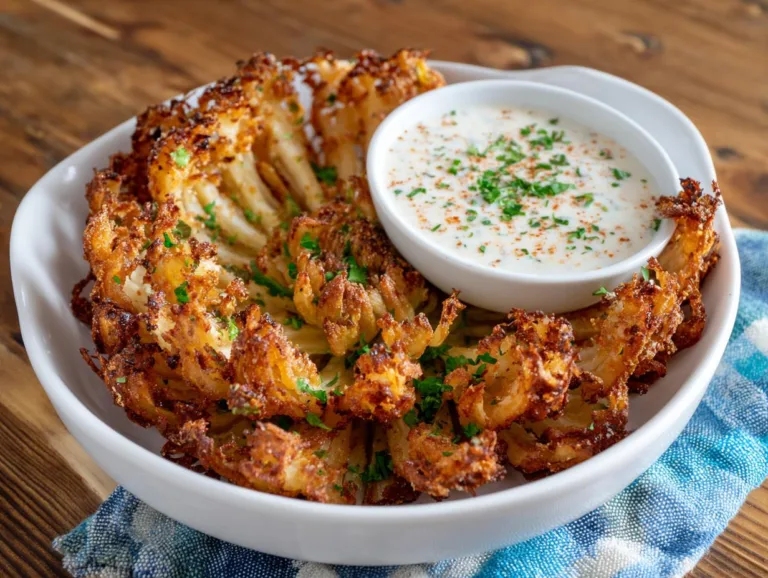
Crispy Air Fryer Blooming Onion – Irresistible In 25 Minutes
A crispy, golden Air Fryer Blooming Onion with a flavorful dipping sauce. Perfect as an appetizer or snack.
- Total Time: 40 minutes
- Yield: 1 blooming onion 1x
Ingredients
- 1 large sweet onion
- 2 large eggs
- ½ cup milk (regular or plant-based)
- ½ cup plain breadcrumbs (regular or gluten-free)
- ¼ cup flour (all-purpose or gluten-free)
- ¾ tsp. garlic powder
- ¼ tsp. onion powder
- ½ tsp. paprika
- ½ tsp. dried oregano
- ⅛ tsp. cayenne pepper (optional)
- ¾ tsp. salt
- ¼ tsp. black pepper
- ½ cup mayo
- 1 Tbsp. ketchup
- 2–3 tsp. horseradish (to taste)
- ½ tsp. paprika
- ¼ tsp. garlic powder
- ¼ tsp. dried oregano
- Pinch of cayenne pepper
- ¼ tsp. salt
Instructions
- Cut and remove ½-1 inch from the stem end of the onion, keeping the root intact. Peel the outer layer.
- Place the onion flat-side down and make cuts ½-inch from the root, dividing into 8-12 sections.
- Turn the onion over and let it rest for 5 minutes to open up.
- Whisk eggs and milk. Coat the onion with the mixture.
- Mix breadcrumbs, flour, garlic powder, onion powder, paprika, oregano, cayenne, salt, and pepper.
- Sprinkle the mixture over the onion, coating all sections. Shake off excess.
- Spray with non-stick cooking spray and coat again if needed.
- Place foil in the Air Fryer basket and preheat to 350°F for 3 minutes.
- Carefully place the onion in the Air Fryer and spray with cooking spray.
- Air Fry for 22-25 minutes, turning every 7-8 minutes and respraying.
- Whisk sauce ingredients while the onion cooks.
- Serve with sauce and fresh parsley.
Notes
- Use a sharp knife for clean cuts.
- Adjust cayenne for preferred spice level.
- Check onion tenderness before removing from Air Fryer.
- Prep Time: 15 minutes
- Cook Time: 25 minutes
- Category: Appetizer
- Method: Air Fryer
- Cuisine: American
- Diet: Vegetarian
Nutrition
- Serving Size: 1 blooming onion (with sauce)
- Calories: 350
- Sugar: 5g
- Sodium: 600mg
- Fat: 20g
- Saturated Fat: 3g
- Unsaturated Fat: 15g
- Trans Fat: 0g
- Carbohydrates: 30g
- Fiber: 2g
- Protein: 6g
- Cholesterol: 80mg
Dipping Sauce for Air Fryer Blooming Onion
Oh honey, this sauce makes the whole dish sing! While your onion’s crisping up, whisk together the mayo, ketchup, horseradish (start with 2 tsp – you can always add more kick!), and spices. Taste as you go – I usually end up adding an extra pinch of cayenne because my crew loves the heat. Let it sit while the onion cooks so those flavors really marry together. Trust me, you’ll want to put this zesty sauce on everything!
Tips for the Perfect Air Fryer Blooming Onion
After making dozens of these beauties, I’ve picked up some tricks that’ll guarantee success every time:
- Knife skills matter – Use your sharpest knife for clean cuts that bloom beautifully
- Spice to your life – Love heat? Double the cayenne. Prefer mild? Skip it entirely
- Don’t rush the bloom – Letting the cut onion rest opens those petals perfectly
- Check doneness – Pierce the center with a fork – it should be tender but not mushy
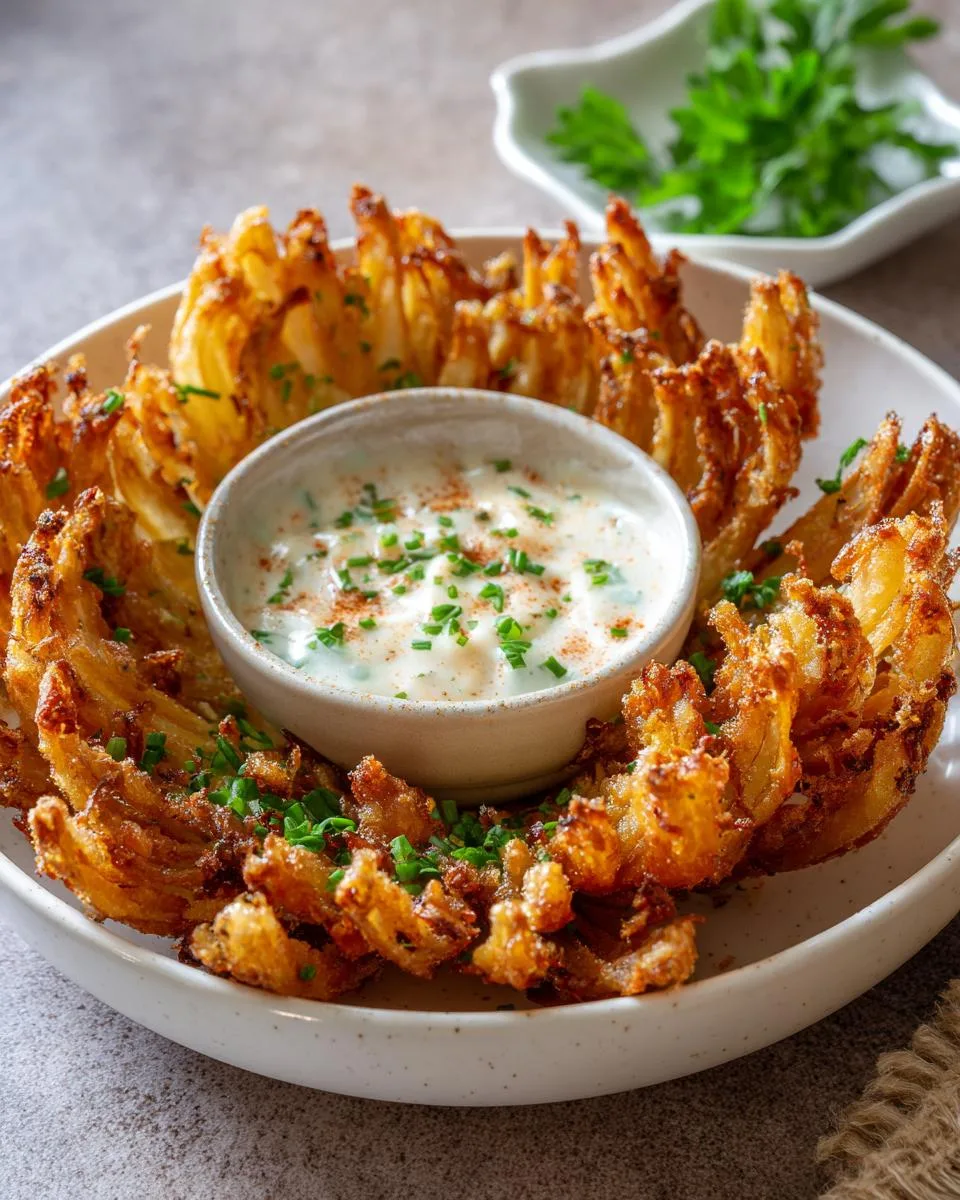
- Garnish magic – A sprinkle of fresh parsley makes it restaurant-worthy
Remember – practice makes perfect! My first attempt wasn’t pretty, but now? I could make these in my sleep.
Serving Suggestions
Oh, this Air Fryer Blooming Onion shines as the star of any spread! Serve it up with juicy burgers, crispy chicken tenders, or fresh garden salads. It’s perfect for game day – just add cold drinks and watch it disappear faster than you can say “seconds please!”
Air Fryer Blooming Onion FAQs
I get asked about this recipe all the time – here are the answers to the questions that pop up most often:
Can I use gluten-free flour for the coating?
Absolutely! I’ve made this with both regular and gluten-free flour with equally crispy results. Just make sure your breadcrumbs are gluten-free too if that’s a concern.
How do I store leftovers?
Honestly, there’s rarely any left! But if you must, wrap the cooled onion tightly in foil and refrigerate for up to 2 days. Reheat in the air fryer at 350°F for 5-7 minutes to bring back that crunch.
Why does my onion fall apart in the air fryer?
Two likely culprits: either you cut too close to the root (that’s your anchor!), or you didn’t let the coated onion rest before cooking. That 5-minute pause helps the coating set.
Can I make the sauce ahead?
You bet! The dipping sauce actually gets better after sitting overnight. Just keep it covered in the fridge and give it a stir before serving.
What if my air fryer is small?
No worries – use a medium onion instead of large, or separate the petals after cutting and cook them as “onion petals.” Same great taste, easier fit!
Nutritional Information
Now, I’m no nutritionist, but here’s the scoop – these values are estimates for the whole Air Fryer Blooming Onion (with sauce) based on my ingredients. Your exact numbers might differ a smidge depending on your brands and portions. Enjoy every crispy bite!
Well, what are you waiting for? Get that air fryer humming and make some crispy magic happen! This Air Fryer Blooming Onion has brought so much joy to our family table – I just know it’ll do the same for yours. When you try it (and you totally should), come back and tell me all about it!
Nothing makes me happier than hearing how these recipes become part of your own family traditions. Happy frying!
For More recipes, Follow me on Facebook!






