
Oh, let me tell you about my newest obsession – air fryer roasted chickpeas! I stumbled upon this trick last summer when my grandkids were begging for something crunchy to snack on. Fifteen minutes later, we were all fighting over the last crispy little nuggets. There’s something so satisfying about turning a humble can of chickpeas into this addictive, salty-crunchy treat. And the best part? They’re actually good for you – packed with protein and fiber to keep you full between meals. I love tossing them on salads for extra crunch or just munching them straight from the bowl while I watch my stories. Trust me, once you try these, you’ll be making them every week like I do.

Table of Contents
Table of Contents
Why You’ll Love These Air Fryer Roasted Chickpeas
Listen, honey – I wouldn’t steer you wrong! These little crispy gems have become my go-to snack for so many reasons:
- Crazy quick: From can to crunch in 15 minutes flat – faster than running to the store!
- Perfectly crispy: That air fryer magic gives every chickpea an irresistible crunch without all the oil.
- Good-for-you goodness: Packed with protein and fiber to keep you satisfied longer than chips ever could.
- Play with flavors: My cumin-garlic combo is just the start – try smoked paprika, ranch seasoning, or even cinnamon sugar!
Honestly, once that first batch disappears (and it will!), you’ll understand why I’m hooked.
Ingredients for Air Fryer Roasted Chickpeas
Now don’t go thinking you need fancy ingredients for this – the magic is in how simple this really is! Here’s what you’ll need:

- 1 (15 oz) can chickpeas – drained and rinsed (save that liquid for vegan baking if you’re feeling adventurous!)
- 1 tablespoon olive oil – just enough to coat, no swimming pools here
- 1 teaspoon ground cumin – my go-to for that earthy warmth
- 1 teaspoon garlic powder – the quick flavor boost that never fails me
- ¼ teaspoon kosher salt – and don’t you skimp! This makes the flavors pop
- ¼ teaspoon ground black pepper – freshly cracked if you’ve got it
Ingredient Notes & Substitutions
Listen, I know we don’t all keep the same pantry – here’s how to make it work with what you’ve got:
- Out of olive oil? Avocado oil works great, or even melted coconut oil if you don’t mind a hint of sweetness.
- Not a cumin fan? Try smoked paprika for a different kick, or Italian seasoning for a herby twist.
- Fresh garlic lover? Swap the powder for 2 minced cloves – just know they might brown faster.
- Pro tip: However you make ’em, dry those chickpeas like your snack depends on it (because it does!). Pat them down with a kitchen towel or give them a whirl in the salad spinner – soggy beans won’t crisp up right.
See? So simple even my grandkids can help measure everything out!
How to Make Air Fryer Roasted Chickpeas
Alright, let’s get these chickpeas singing in that air fryer! I’ve made this so many times I could do it in my sleep, but I’ll walk you through each step to make sure yours turn out perfect:
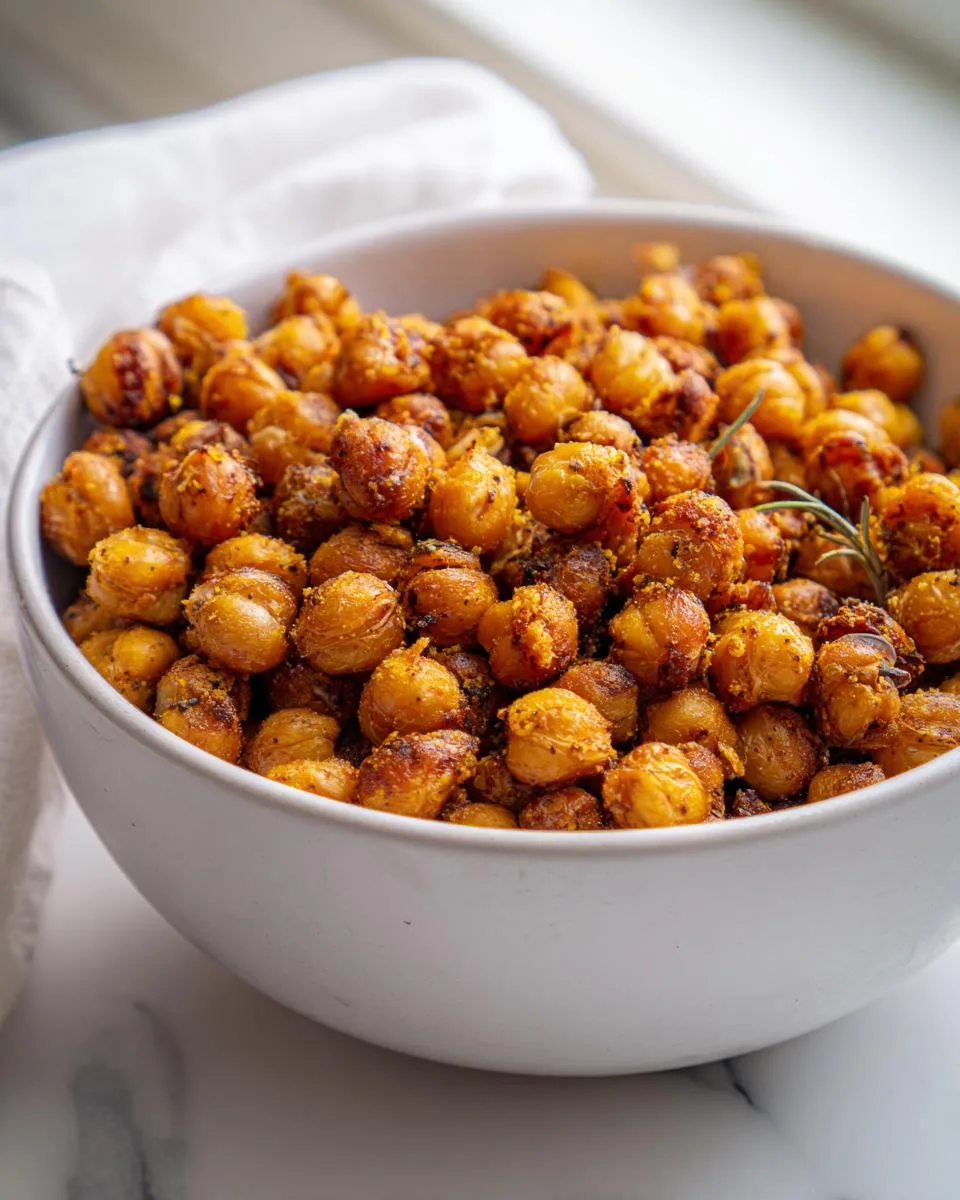
- Prep those peas: Drain and rinse your chickpeas, then dry them like you mean it! Spread them on a clean kitchen towel and rub gently – you want them completely dry so they’ll crisp up nicely.
- Seasoning time: Toss the dried chickpeas in a bowl with olive oil until they’re slick but not drowning. Mix your spices in a little dish first (that way you won’t get clumps of seasoning), then shower them over the chickpeas. Toss until every last one is coated – I use my hands to really massage the flavors in.
- Fire up the air fryer: Preheat to 400°F – yes, just like an oven, this makes a difference! Give it about 3 minutes to get good and hot while you’re prepping.
- Cook with care: Spread the chickpeas in a single layer in your air fryer basket – no piling up! Cook for 5 minutes, then pull out the basket and give it a good shake (careful, it’s hot!). Back in they go for another 5 minutes until golden and crisp.
- The taste test: Let them cool just enough so you don’t burn your tongue (trust me, I’ve learned this the hard way), then sprinkle with a tiny bit more salt if needed. Now try to stop eating them straight from the bowl – I dare you!
Tips for Perfectly Crispy Chickpeas
Now honey, I’ve burned my share of chickpeas over the years, so learn from my mistakes:
- Don’t crowd the basket: If you dump them all in at once, they’ll steam instead of crisp. Work in batches if needed – patience pays off!
- Dry, dry, dry: I can’t stress this enough – any moisture left on those chickpeas is the enemy of crunch. Spend an extra minute patting them dry.
- Shake it up: That halfway shake isn’t just for fun – it ensures even cooking so you don’t end up with some burnt and some soggy.
- Crisp to your liking: If after 10 minutes they’re not as crispy as you want, add 2-3 more minutes. Just keep an eye on them – they can go from golden to burnt real quick!
- Cool completely: They’ll keep crisping up as they cool, so resist eating them all straight out of the air fryer (though I won’t judge if you do!).
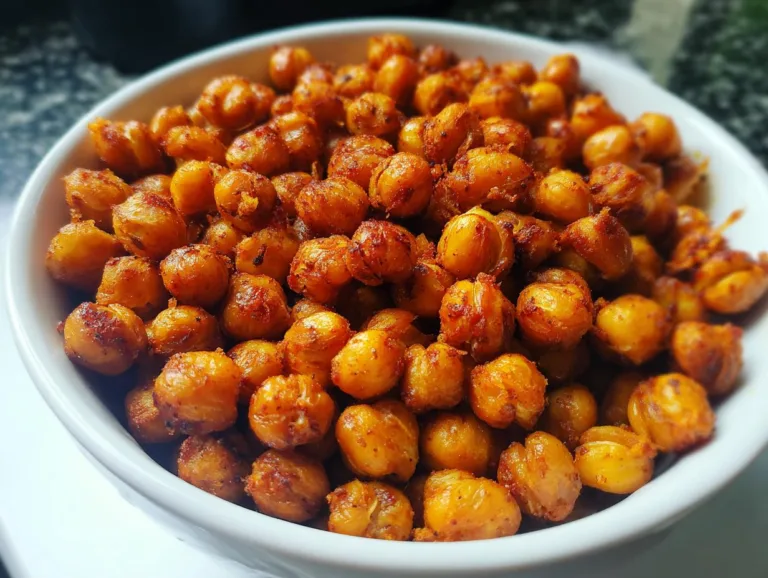
15-Minute Air Fryer Roasted Chickpeas: Crunchy Bliss
Crispy and flavorful air fryer roasted chickpeas make a healthy snack or topping.
- Total Time: 15 minutes
- Yield: 2 servings 1x
Ingredients
- 1 (15 oz) can chickpeas – drained and rinsed
- 1 tablespoon olive oil
- 1 teaspoon ground cumin
- 1 teaspoon garlic powder
- ¼ teaspoon kosher salt
- ¼ teaspoon ground black pepper
Instructions
- Prepare the chickpeas – drain and rinse the chickpeas then dry them well on a clean kitchen towel or in a salad spinner.
- Season – Place them into a bowl and drizzle them with olive oil. Combine the cumin, garlic, salt and pepper in a smaller bowl then add the seasoning to the chickpeas. Toss the chickpeas to coat them well in the oil and seasoning.
- Cook – preheat the air fryer to 400 degrees F and spray the air fryer basket with cooking spray. Place the chickpeas into the air fryer and shake the basket a little to distribute them evenly. Close and cook the chickpeas for 10 minutes, flipping them in the basket halfway through the cooking time.
- Serve – once the chickpeas are done cooking, transfer them to a bowl and sprinkle them with a little more salt and pepper to taste. Serve and enjoy!
Notes
- Store leftovers in an airtight container for up to 3 days.
- For extra crispiness, cook for an additional 2-3 minutes.
- Prep Time: 5 minutes
- Cook Time: 10 minutes
- Category: Snack
- Method: Air Fryer
- Cuisine: American
- Diet: Vegetarian
Nutrition
- Serving Size: 1/2 batch
- Calories: 120
- Sugar: 2g
- Sodium: 200mg
- Fat: 4g
- Saturated Fat: 0.5g
- Unsaturated Fat: 3g
- Trans Fat: 0g
- Carbohydrates: 18g
- Fiber: 5g
- Protein: 6g
- Cholesterol: 0mg
Serving Suggestions for Air Fryer Roasted Chickpeas
Oh, these crunchy little wonders aren’t just for snacking straight from the bowl (though I won’t stop you – I do it all the time!). Here are my favorite ways to enjoy them:
- Salad superheroes: Toss a handful over your greens instead of croutons – they add protein AND crunch to my favorite Greek salad.
- Souper stars: Sprinkle them on top of creamy soups like butternut squash or tomato basil – that contrast of crispy and creamy is downright magical.
- Snack attack: Mix ’em with nuts and dried fruit for a homemade trail mix that actually fills you up between meals.
Sometimes I even crush them slightly and use them as a breadcrumb alternative on roasted veggies or baked chicken – just gets that golden crunch without all the bread! Really, once you start experimenting, you’ll find excuses to put these on everything.
Storing and Reheating Air Fryer Roasted Chickpeas
Now listen close – these little crispy gems are best fresh, but I’ve learned a few tricks to keep them tasting great for days. Just promise me one thing – never, ever put them in the microwave unless you want sad, chewy chickpeas!
For storage: Let them cool completely (I mean it – no sneaking them while warm!), then tuck them into an airtight container. They’ll keep their crunch for about 3 days at room temperature. If your kitchen runs humid like mine does in summer, you might want to stash them in the fridge – just know they’ll lose a bit of crispness.
Bringing back the crunch: When you’re ready to enjoy them again, fire up that air fryer to 350°F. Spread the chickpeas in a single layer (don’t crowd them!) and give them 2-3 minutes to wake back up. They won’t be quite as perfect as fresh-made, but it’s the closest you’ll get!
Little tip from me to you: If you’ve got leftovers that have gone slightly soft, don’t toss them! Crumble them over soups or salads where texture isn’t as crucial. Waste not, want not – that’s what my mama always said.
Air Fryer Roasted Chickpeas FAQ
Over the years, I’ve gotten all sorts of questions about these crispy little wonders – here are the answers to the ones folks ask most often:
Can I use dried chickpeas instead of canned?
Oh honey, you absolutely can! You’ll need to soak them overnight first (about 8 hours in cool water), then simmer until tender – about 1 to 1.5 hours. Just make sure they’re completely dry before roasting, or you’ll never get that perfect crunch. Honestly though? I usually grab the can when I’m craving a quick snack – life’s too short for extra steps sometimes!
Why are my chickpeas not getting crispy?
Nine times out of ten, it’s because they weren’t dry enough before cooking. Any moisture left on those little beans turns to steam in the air fryer, and steam is the enemy of crispiness! Also check if you overcrowded the basket – they need room to breathe. And don’t skip that halfway shake – it makes all the difference for even cooking.
Can I make these in a regular oven?
You sure can, sugar! Spread them on a baking sheet at 400°F, stirring every 10 minutes or so. They’ll take about 25-30 minutes total in the oven – just keep an eye so they don’t burn. But between you and me? That air fryer gives them an unbeatable crunch in half the time!
How do I keep them crispy for days?
Here’s my little secret – store them in a paper towel-lined container with the lid slightly cracked. The paper absorbs any lingering moisture, and the air gap prevents steaming. Even so, they’re best within 2-3 days – but let’s be real, they rarely last that long in my house!
Are these chickpeas good for meal prep?
They’re perfect for it, darling! I make a big batch on Sundays to toss on salads all week. Just keep the seasoning simple if you’re using them in different dishes – you can always add more flavor when serving. And remember – that quick air fryer reheat brings back the magic!
Nutritional Information
Now, I’m no dietitian – just your average grandma who loves good food – but I know folks like to keep track of what they’re eating. Here’s the scoop on these air fryer roasted chickpeas (per serving, about half the batch):
- Calories: 120 – way better than that bag of chips you were eyeing!
- Protein: 6g – keeps you full and satisfied
- Fiber: 5g – good for your gut, just like my mama always said
- Carbs: 18g – mostly the good, complex kind
- Sugar: Just 2g naturally occurring – no added sugars here
- Fat: 4g – and it’s the heart-healthy kind from olive oil
Remember, these numbers are estimates – your exact amounts might vary depending on your specific ingredients and how much seasoning sticks to those chickpeas. But one thing’s for sure – they’re packed with way more nutrition than most snack foods, and that’s something this grandma can get behind!
For More recipes, Follow me on Facebook!






