
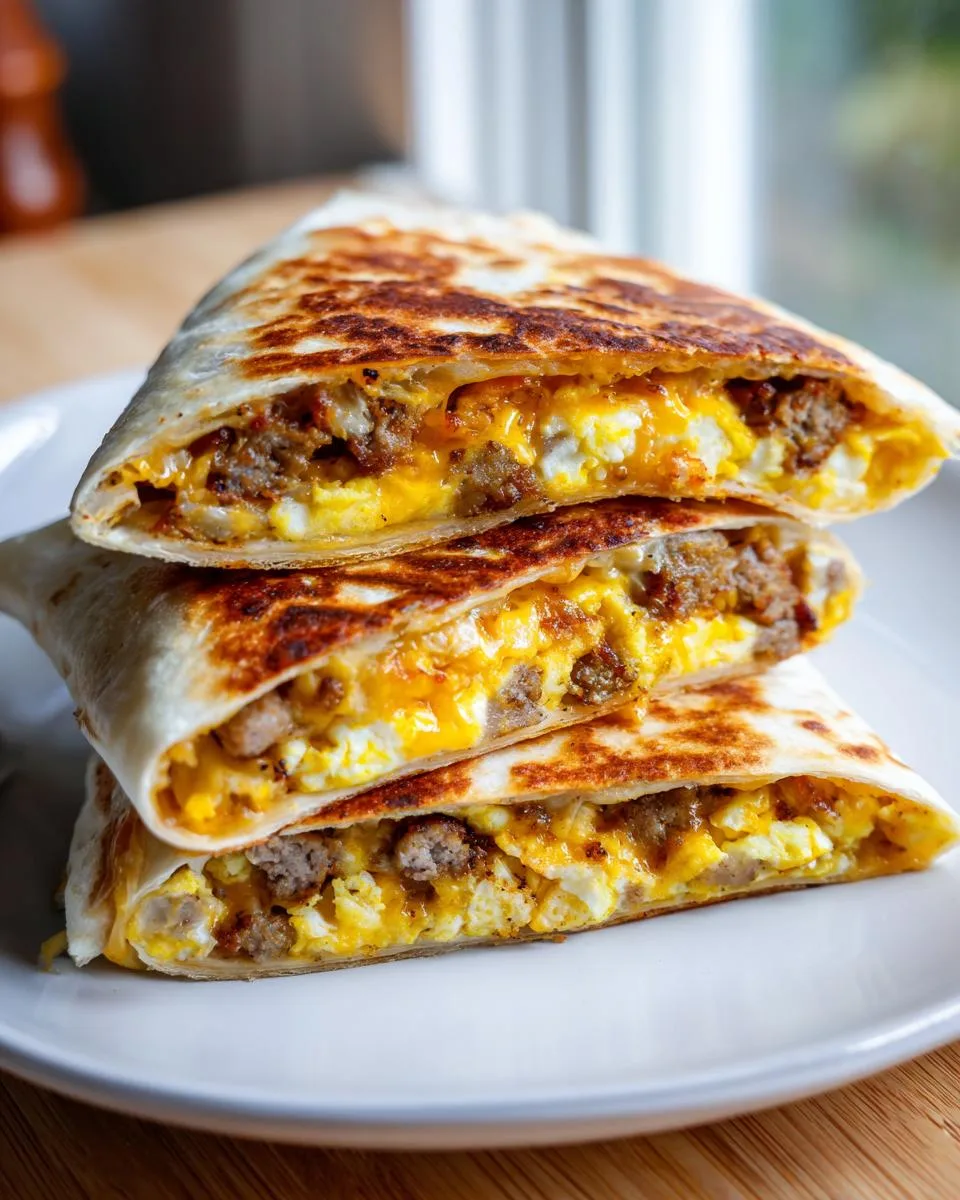
Oh honey, let me tell you about my breakfast crunchwrap – it’s the kind of morning meal that’ll make you leap out of bed! Picture this: crispy golden hashbrowns, savory sausage, fluffy scrambled eggs, and melty cheese all wrapped up in a warm tortilla that gets perfectly toasted. It’s like all the best parts of breakfast decided to have a party in your mouth.

Table of Contents
Table of Contents
I’ve been making these for decades – ever since my grandkids started begging for “something crunchy” with their eggs. Now it’s our Sunday tradition. The secret? That satisfying crunch from the hashbrowns (press ’em good with your spatula!) and folding the tortilla just right so every bite gets all the flavors. Trust me, once you try this breakfast crunchwrap, you’ll understand why my family fights over the last one!
Why You’ll Love This Breakfast Crunchwrap
Listen, darling, this isn’t just any breakfast – it’s a crispy, cheesy revelation! Here’s why it’ll become your new favorite:
- Quick as a wink: From fridge to plate in 35 minutes flat – perfect for those “I’m running late!” mornings
- Easy peasy: Just layer, fold, and toast – no fancy techniques needed
- Flavor explosion: That golden hashbrown crunch against melty cheese? Pure magic
- Your rules: Swap in bacon, veggies, or hot sauce – make it yours!
- Portable perfection: Wrap it in foil and take that deliciousness anywhere
Honestly, it’s like having breakfast tacos and hashbrowns in one glorious handheld package. What’s not to love?
Ingredients for the Perfect Breakfast Crunchwrap
Now, let’s talk ingredients – and I mean the good stuff! Every item here plays a special role in creating that perfect breakfast crunchwrap. Don’t you dare skimp on quality – your taste buds will thank you!

- 1 lb hashbrown potatoes – fresh or frozen, but pat them dry if they’re watery
- 1/4 cup oil – I use vegetable, but peanut oil gives extra crispiness
- 1 tablespoon taco seasoning – my homemade blend, but store-bought works too
- Salt to taste – just a pinch brings all the flavors together
- 1/2 lb ground pork sausage – get the good spicy kind if you like heat!
- 6 large eggs – beaten with a fork until just combined
- 7 oz shredded Chihuahua cheese – melts like a dream, but cheddar works in a pinch
- 5 burrito-sized flour tortillas – fresh and pliable, none of that stale business!
See? Simple, honest ingredients that make magic happen. Now let’s get cooking!
Equipment You’ll Need
Now don’t go thinking you need fancy gadgets for this breakfast crunchwrap! Just grab these trusty tools from your kitchen:
- Large skillet – for those perfect crispy hashbrowns
- Nonstick skillet – makes sausage and eggs a breeze
- Spatula – my trusty flipping companion
- Sharp knife – for cutting tortillas just right
- Paper towels – to drain those golden hashbrowns
That’s it! Simple tools for spectacular results.
How to Make a Breakfast Crunchwrap Step by Step
Alright, sugar, let’s get down to business! Making these breakfast crunchwraps is easier than pie, but I’ll walk you through each step like I’m right there in the kitchen with you.
Crisping the Hashbrowns
First things first – let’s get those hashbrowns golden and crispy! Heat your oil in that large skillet over medium heat. Don’t crowd the pan – cook the hashbrowns in batches if you need to. Here’s my secret: once they’re in the pan, press them down good with your spatula. Let them cook undisturbed for about 4-5 minutes until you see those beautiful golden edges peeking out.
Now flip ’em – oh, that satisfying sizzle! Season right away with your taco seasoning and a pinch of salt. Cook another 3-4 minutes until they’re crispy all over. Transfer to paper towels to drain – this keeps them from getting soggy.
Cooking the Sausage and Eggs
While those hashbrowns are crisping up, let’s tackle the sausage and eggs. Brown that pork sausage in your nonstick skillet over medium heat, breaking it up as it cooks. Once it’s nicely browned (about 5 minutes), drain off most of the grease – leave just a teaspoon or so for flavor.
Pour in your beaten eggs and reduce the heat to medium-low. Now here’s the trick – stir gently but constantly until the eggs are just set. They’ll keep cooking from residual heat, so pull them off when they’re still slightly wet-looking. Overcooked eggs? No thank you!
Assembling and Folding the Crunchwrap
Time for the fun part! Take one whole tortilla and place it on your work surface. Cut another tortilla into quarters – these will be our “filler” pieces. Layer your ingredients in the center of the whole tortilla: hashbrowns first (that’s our crunch!), then sausage-egg mixture, then a generous handful of cheese.
Top with one of those quarter tortilla pieces – this helps everything stay put when we fold. Now here’s where the magic happens: fold the edges of the large tortilla inward, working your way around to create a hexagon shape. Press down gently to seal.
Finally, cook your masterpiece in a dry skillet over medium heat for about 2 minutes per side until beautifully golden brown and crispy. Flip carefully with your spatula – and voila! Breakfast perfection ready to devour.
Print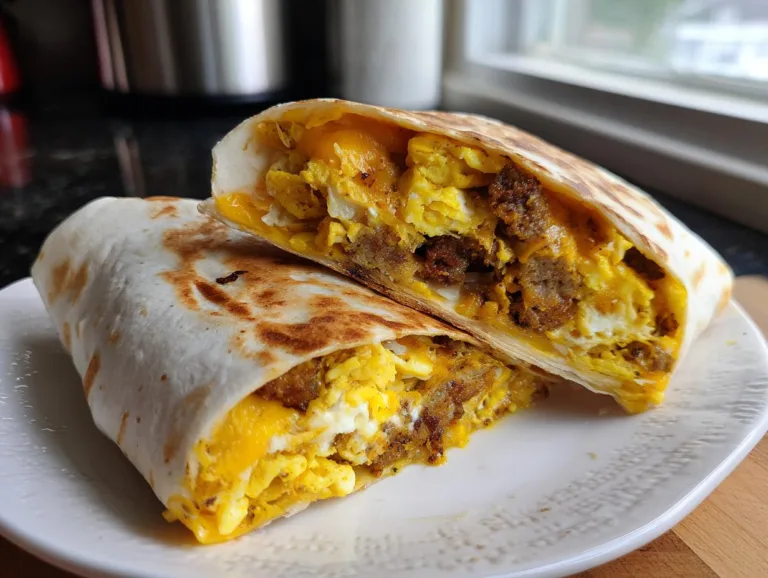
35-Minute Breakfast Crunchwrap That’ll Steal Your Heart
A hearty breakfast crunchwrap with crispy hashbrowns, savory sausage, eggs, and melted cheese wrapped in a tortilla.
- Total Time: 35 minutes
- Yield: 5 crunchwraps 1x
Ingredients
- 1 lb. hashbrown potatoes
- 1/4 cup oil for frying
- 1 tablespoon taco seasoning, Southwestern spices, or Cajun spices
- Salt to taste
- 1/2 lb. ground pork sausage
- 6 eggs, beaten
- 7 oz. shredded V&V Supremo® Chihuahua® Brand Quesadilla Cheese
- 5 burrito-sized flour tortillas
Instructions
- Heat oil in a large skillet over medium heat. Add hashbrowns in batches, press with a spatula, and cook until crispy. Flip, season, and transfer to a paper towel-lined plate.
- Brown sausage in a nonstick skillet. Drain excess oil, then add eggs. Stir until just set.
- Cut a tortilla into fourths for filler pieces.
- Layer hashbrowns, sausage-egg mixture, and cheese on a tortilla. Top with a filler piece, fold edges inward, and cook in a hot skillet until crispy and golden brown.
Notes
- Use a spatula to press the hashbrowns for extra crispiness.
- Fold the tortilla tightly to prevent filling from spilling.
- Prep Time: 15 minutes
- Cook Time: 20 minutes
- Category: Breakfast
- Method: Stovetop
- Cuisine: American
- Diet: Low Lactose
Nutrition
- Serving Size: 1 crunchwrap
- Calories: 450
- Sugar: 2g
- Sodium: 600mg
- Fat: 25g
- Saturated Fat: 8g
- Unsaturated Fat: 12g
- Trans Fat: 0g
- Carbohydrates: 35g
- Fiber: 3g
- Protein: 20g
- Cholesterol: 220mg
Tips for the Best Breakfast Crunchwrap
Listen close, darlin’ – these little tricks make all the difference between a good crunchwrap and a knock-your-socks-off masterpiece:
- Press those hashbrowns! I mean really lean on that spatula – the more contact with the pan, the crispier they’ll get
- Fresh tortillas are key – stale ones crack when folding (trust me, I learned the hard way!)
- Keep fillings centered – spread them no wider than your palm so everything folds neatly
- Medium heat is your friend – too hot burns the tortilla before the cheese melts
- Let it rest a minute – that molten cheese needs 60 seconds to settle down
Follow these tips and you’ll be making crunchwraps like a pro in no time!
Variations and Substitutions
Oh honey, the beauty of this breakfast crunchwrap is how easily you can make it your own! Here are my favorite twists after years of tinkering:
- Meat lovers: Swap sausage for crispy bacon or diced ham – just reduce salt since they’re already salty
- Lighter option: Turkey sausage works great, and sweet potato hashbrowns add nice color
- Vegetarian delight: Skip the meat, add sautéed peppers and onions – mushrooms add meaty texture too
- Dairy-free: Vegan cheese melts surprisingly well, or try smashed avocado for creaminess
- Spice it up: A dash of hot sauce in the eggs or jalapeños in the filling wakes up sleepy taste buds
See? Endless possibilities to match whatever’s in your fridge or whatever mood strikes you!
Serving and Storing Your Breakfast Crunchwrap
Oh, the joy of biting into a warm breakfast crunchwrap! I always serve mine with a dollop of cool sour cream and some zesty salsa – the contrast is heavenly. For a real diner-style treat, add a side of fresh fruit or crispy breakfast potatoes.
Now listen close – these store beautifully! Wrap any leftovers tightly in foil and refrigerate for up to 3 days. To reheat, just pop them in a dry skillet over medium-low heat for a few minutes per side until warmed through and crispy again. No microwave sogginess allowed!
Breakfast Crunchwrap FAQs
Bless your heart for asking! Here are the questions I get most about these heavenly breakfast crunchwraps:
Can I freeze crunchwraps?
Absolutely! Just wrap each cooled crunchwrap tightly in foil, then pop them in a freezer bag. They’ll keep for up to 2 months. To reheat, bake at 350°F for 15-20 minutes straight from frozen – that keeps the tortilla crispy.
What’s the best cheese substitute?
If you can’t find Chihuahua cheese, pepper jack or Monterey Jack work beautifully. For extra meltiness, try adding a slice of American cheese with your shredded cheese – that’s my grandson’s favorite trick!
Why do my tortillas keep tearing?
Oh honey, they’re either too cold or too old! Let tortillas sit at room temperature for 15 minutes before assembling. And always check the date – fresh tortillas fold like a dream.
Can I make these ahead?
You sure can! Assemble uncooked crunchwraps the night before, wrap in plastic, and refrigerate. Just cook as usual in the morning – they might need an extra minute per side since they’re cold.
How do I keep them crispy for lunch?
Let them cool completely before wrapping in parchment paper (not plastic!). The parchment lets steam escape so they don’t get soggy. Toss in a lunchbox and they’ll stay crispy till noon!
Nutritional Information
Now sugar, I’m no nutritionist, but I can tell you this breakfast crunchwrap packs plenty of protein to start your day right! Keep in mind these numbers are just estimates – they’ll change depending on your exact ingredients and how generous you are with that cheese. My advice? Enjoy every bite and save the calorie counting for another day!
For More recipes, Follow me on Facebook!






