
There’s something magical about a meal that’s both quick and comforting, isn’t there? That’s why my cheesy garlic chicken wraps have been a family favorite for years—simple, satisfying, and packed with flavor. When my grandkids come rushing in after school, I know I can whip these up in a flash, and they’ll disappear just as fast. The secret? Tender chicken, creamy garlic aioli, and melty cheddar all wrapped up in a warm tortilla—just like my mama used to make. Trust me, once you try these, they’ll become your go-to for busy weeknights or lazy Sundays. Nothing says “home” quite like a bite of cheesy, garlicky goodness.

Table of Contents
Table of Contents
Why You’ll Love These Cheesy Garlic Chicken Wraps
Oh, where do I start? These wraps are the kind of meal that makes you wonder why you ever bothered with takeout. Here’s why they’ll steal your heart (and your appetite):
- Quick as a wink – Ready in just 15 minutes, perfect for those “I’m starving NOW” moments.
- Flavor bomb – That garlic aioli? It’s like a cozy blanket for your taste buds.
- Crazy versatile – Swap in leftover turkey, add some greens, or go wild with pepper jack cheese.
- Kid-approved – My grandkids beg for these more than chicken nuggets (and that’s saying something!).
Honestly, the hardest part? Not eating all four wraps yourself. Not that I’d judge—I’ve done it!
Ingredients for Cheesy Garlic Chicken Wraps
Now, let’s talk ingredients – and I mean real ingredients, none of that “a little bit of this, a pinch of that” business. I learned long ago that good cooking starts with knowing exactly what goes in your bowl.

Here’s what you’ll need to make these wraps sing:
- 2 cups cooked chicken – shredded (rotisserie chicken works like a charm when you’re in a hurry)
- 1/2 cup garlic aioli – store-bought is fine, but oh honey, homemade takes it to another level
- 1 cup cheddar cheese – freshly shredded, please! The pre-shredded stuff just doesn’t melt right
- 4 large tortillas – flour works best, but corn’ll do in a pinch
- Salt and pepper – to taste (don’t you dare skip seasoning that chicken!)
That’s it! Five simple things – six if you count salt and pepper separately, but who’s counting? The beauty’s in the simplicity. Just wait till you smell that garlic and cheese mingling in the skillet – it’ll have everyone drifting into the kitchen like they’re following a breadcrumb trail.
Equipment You’ll Need
Now, don’t go rummaging through every drawer—you likely have everything you need already! Here’s the short list of trusty tools that’ll get these cheesy garlic chicken wraps on your table in no time:
- Mixing bowl – Any ol’ bowl will do, but I’m partial to my chipped ceramic one (40 years and still going strong!)
- Skillet – A good nonstick or cast-iron pan is perfect for getting those wraps golden and toasty
- Spatula – For flipping without disaster (we’ve all had wrap tragedies—no shame!)
- Knife and cutting board – Only if you’re shredding your own chicken (but store-bought rotisserie? Smart move)
See? Nothing fancy. Though I will say—if you’ve got a grandma-approved wooden spoon for mixing, now’s its time to shine. That’s the kind of kitchen magic no gadget can replace!
How to Make Cheesy Garlic Chicken Wraps
Alright, let’s get down to business—the part where that pile of ingredients turns into something downright irresistible. I’ve made these wraps more times than I can count (and burned a few along the way—lesson learned!), so follow these steps, and you’ll have perfect cheesy garlic chicken wraps every time.
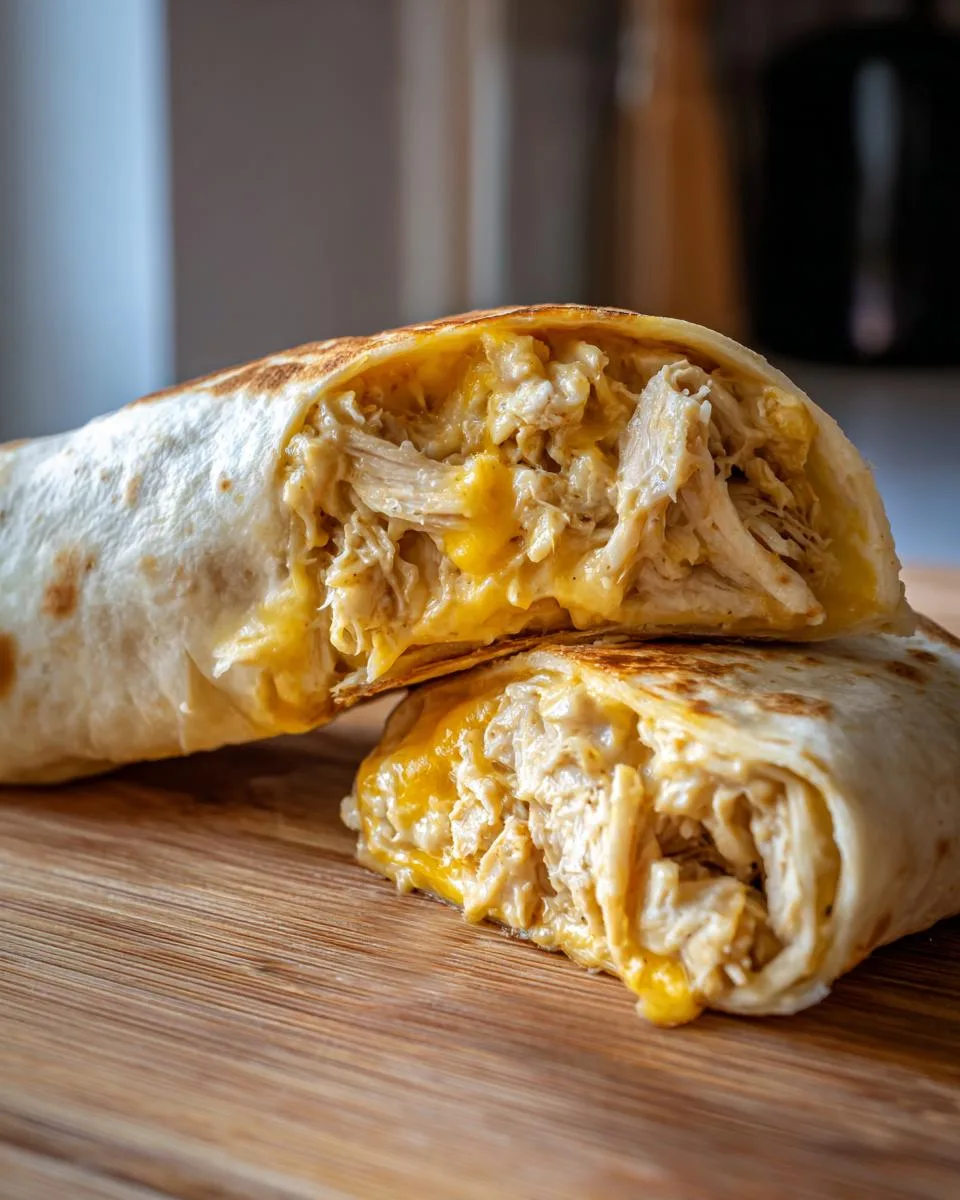
Step 1: Prepare the Chicken Mixture
First things first: grab that bowl and let’s make magic. Toss your shredded chicken in there—whether it’s leftovers, rotisserie, or freshly cooked, it’ll work. Now, dollop in that glorious garlic aioli. Here’s my trick: start with the 1/2 cup, but don’t be afraid to add an extra spoonful if your chicken’s looking a tad dry. Mix it all up until every shred is coated in that creamy, garlicky goodness. Season with a good pinch of salt and pepper—taste as you go!—because bland chicken is a crime in my kitchen.
Step 2: Assemble the Wraps
Time to build your masterpiece! Lay out those tortillas—if they’re cold from the fridge, give ‘em a 10-second zap in the microwave or a quick toast in a dry skillet. It makes rolling SO much easier. Spoon a generous heap of the chicken mixture onto each tortilla, then shower it with that glorious cheddar cheese. Don’t skimp—cheese is the glue that holds this whole operation together!
Now, the folding: fold the sides in first, then roll from the bottom up, tucking as you go. Pretend you’re wrapping a burrito for a very hungry toddler—tight is right! If it’s messy, no worries. The skillet will seal the deal.
Step 3: Cook to Perfection
Heat your skillet over medium heat—no need to go wild with high temps here. A little butter or oil in the pan adds crispness, but it’s optional. Place your wraps seam-side down first—this helps them stay closed. Let them cook for about 2-3 minutes per side, or until they’re golden brown and the cheese starts oozing like a little edible waterfall. (Resist the urge to peek too soon—let that cheese melt properly!)
When they’re done, let them rest for a minute—if you can wait—then slice ‘em in half and watch that cheese pull. Oh, and that sizzle? That’s the sound of success, my friend.
Print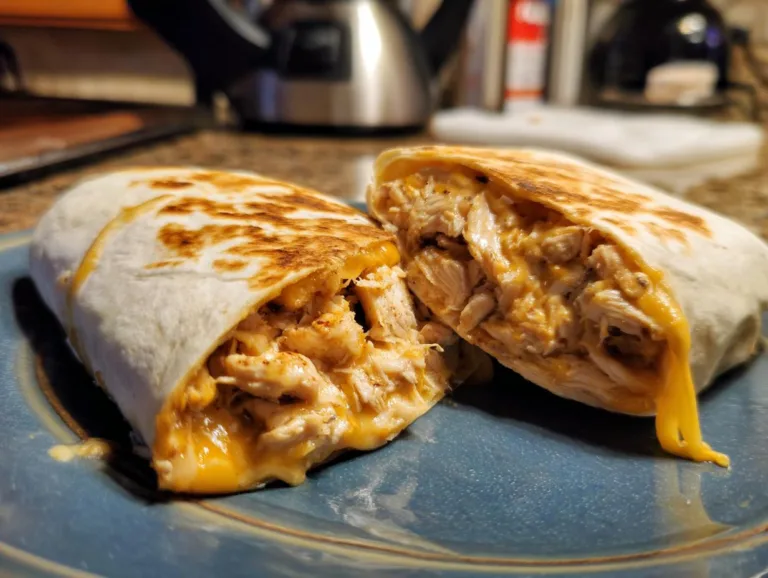
Cheesy Garlic Chicken Wraps in Just 15 Minutes – Heavenly!
Cheesy garlic chicken wraps are a quick and delicious meal with tender chicken, creamy garlic aioli, and melted cheddar cheese wrapped in a warm tortilla.
- Total Time: 15 minutes
- Yield: 4 wraps 1x
Ingredients
- 2 cups cooked chicken (shredded)
- 1/2 cup garlic aioli
- 1 cup cheddar cheese (shredded)
- 4 large tortillas
- Salt and pepper to taste
Instructions
- Mix shredded chicken with garlic aioli in a bowl. Season with salt and pepper.
- Place the chicken mixture and cheddar cheese on each tortilla.
- Fold the tortillas tightly around the filling.
- Heat the wraps in a skillet over medium heat until golden and the cheese melts.
- Slice and serve warm.
Notes
- Use rotisserie chicken for a quicker option.
- Add lettuce or tomatoes for extra freshness.
- Warm tortillas slightly for easier rolling.
- Prep Time: 10 minutes
- Cook Time: 5 minutes
- Category: Main Course
- Method: Stovetop
- Cuisine: American
- Diet: Low Lactose
Nutrition
- Serving Size: 1 wrap
- Calories: 420
- Sugar: 2g
- Sodium: 680mg
- Fat: 22g
- Saturated Fat: 8g
- Unsaturated Fat: 12g
- Trans Fat: 0g
- Carbohydrates: 32g
- Fiber: 2g
- Protein: 25g
- Cholesterol: 75mg
Tips for Perfect Cheesy Garlic Chicken Wraps
After decades of wrapping, flipping, and occasionally rescuing rogue fillings from the skillet, I’ve picked up a few tricks to make these cheesy garlic chicken wraps foolproof. Here’s the inside scoop:
- Warm those tortillas! Cold tortillas crack like dry leaves. Pop them in the microwave between damp paper towels for 15 seconds—just until pliable. Or better yet, char them lightly over an open flame for that authentic taqueria touch.
- The rotisserie shortcut is your friend. That grocery store chicken? It’s basically edible gold for busy nights. Just pull the meat while it’s still warm—it mixes with the aioli like a dream.
- Don’t overstuff (she says, having learned the hard way). About 1/2 cup of filling per large tortilla is perfect. Any more and you’ll have a cheesy landslide on your hands—delicious, but messy.
- Low and slow wins the melt. Medium heat is key—too hot and the tortilla burns before the cheese melts. If you hear frantic sizzling, turn it down! Patient cooking means gooey perfection.
And one bonus tip from my many kitchen disasters: If a wrap does burst, just call it a “deconstructed version” and serve it with a fork. We’ll keep that between us.
Variations for Cheesy Garlic Chicken Wraps
Now, here’s where the fun begins—because recipes aren’t meant to be prisons, they’re springboards! My cheesy garlic chicken wraps are like a blank canvas waiting for your personal touch. Here are some of my favorite twists (and the ones my grandkids fight over):
- Go green – Toss in a handful of baby spinach or crisp shredded lettuce right before rolling. Adds a fresh crunch that plays nice with all that gooey cheese.
- Cheese swap – Cheddar’s classic, but oh, try pepper jack for a kick or mozzarella for that epic stringy pull. My neighbor swears by smoked gouda—divine!
- Veggie boost – Sautéed mushrooms or bell peppers mixed into the chicken? Yes please. Or for crunch, throw in some diced celery—my Aunt Edna’s secret.
- Spice it up – A dash of hot sauce or a sprinkle of chili flakes wakes everything up. For the brave souls, chopped pickled jalapeños are life-changing.
- Breakfast edition – Scramble some eggs right into the filling. Trust me, with that garlic aioli? Brunch just got upgraded.
The beauty is, there’s no wrong answer—except maybe skipping seconds. And hey, if you stumble upon a combo that knocks your socks off, write it down! That’s how the best family recipes are born.
Serving Suggestions
Now, these cheesy garlic chicken wraps are mighty fine on their own—but why stop there?
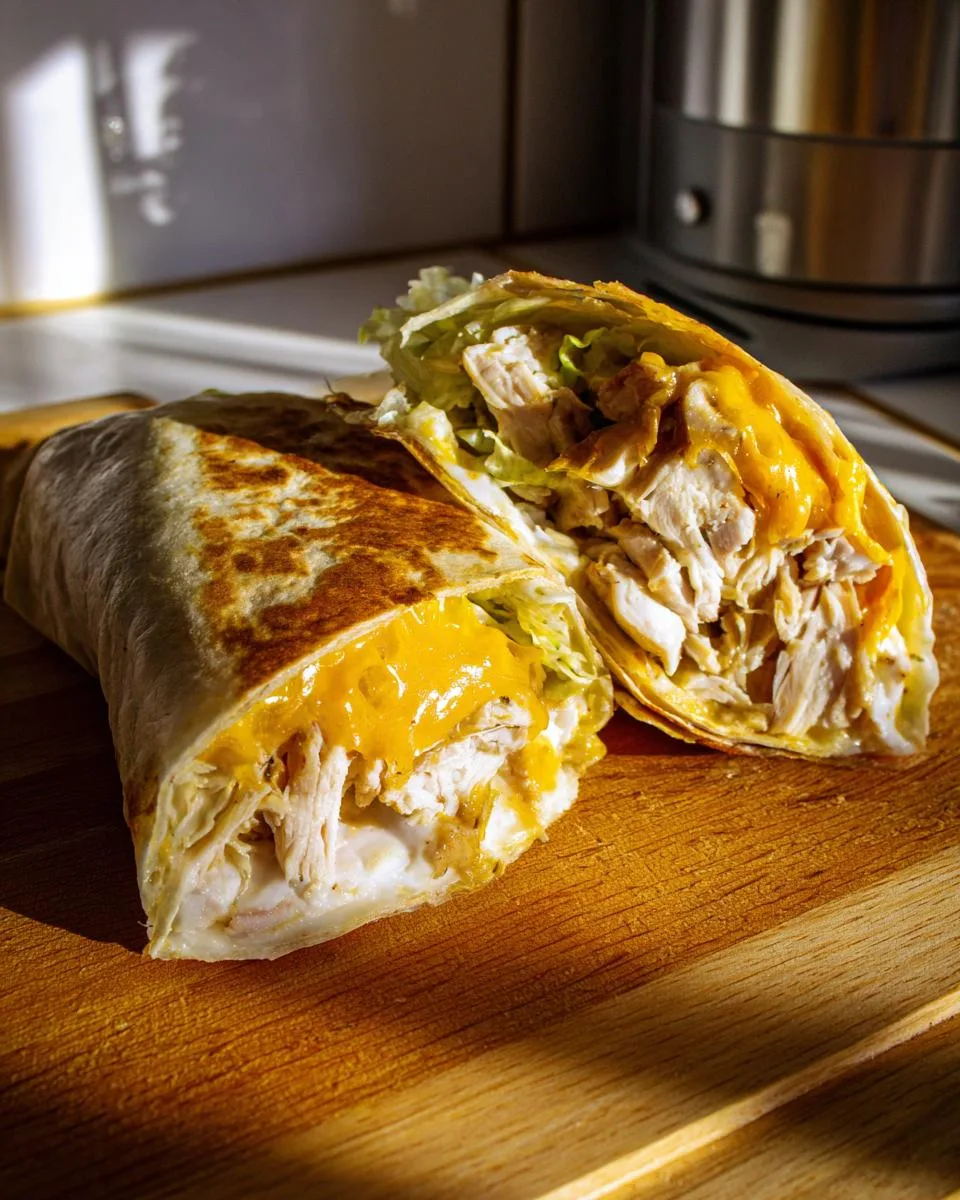
Here’s how I love to round out the meal (and trust me, after 60 years of feeding hungry families, I’ve tried every combo under the sun):
- The classic crisp – A simple green salad with a tangy vinaigrette cuts through all that richness perfectly. My go-to? Iceberg lettuce, cucumber slices, and a squeeze of lemon—old-school and oh-so-right.
- Pickle power – A side of dill spears or spicy bread-and-butter chips adds that punchy contrast these wraps crave. My grandson insists on eating them tucked inside his wrap—the little rebel.
- Soup’s on – Tomato soup isn’t just for grilled cheese! Dunk these wraps in a steaming bowl like the fanciest dippers you ever did see. (Bonus: It’s what we did back in the ‘70s when soup-and-sandwich nights were all the rage.)
- Crunch time – Potato chips right on the plate—no shame! The saltiness plays off the garlic like they were made for each other. Kettle-cooked are my weakness.
- Veggie vibes – Roasted carrots or a quick cucumber salad keep things fresh. Pro tip: Toss veggies with a spoonful of that garlic aioli for instant “fancy.”
And if it’s just one of those nights? Forget sides—double up on wraps and call it a celebration. I won’t tell a soul.
Storing and Reheating Cheesy Garlic Chicken Wraps
Now, I know what you’re thinking—”Leftover wraps? As if there’d be any!” But just in case you manage to resist eating all four (no judgment if you don’t), here’s how to keep those cheesy garlic chicken wraps tasting fresh-as-can-be:
- Fridge smarts – Wrap leftovers tightly in foil or pop them in an airtight container. They’ll keep for up to 3 days, though the tortilla might get slightly softer. Pro tip: Store any extra filling separately—it stays fresher longer.
- Reheating magic – That microwave will work in a pinch (30 seconds, tops!), but for crispy perfection, use a skillet over medium-low heat. A minute per side brings back that golden crunch without drying out the chicken. My secret? Spritz the tortilla lightly with water first—steam helps revive it.
- Freezer friend – These wraps freeze surprisingly well! Wrap each one in parchment paper, then foil, and stash for up to 2 months. Thaw in the fridge overnight, then reheat as above. Perfect for those “I forgot to plan dinner” emergencies.
Word to the wise: That melty cheese might lose some oomph after refrigeration, but a quick sprinkle of fresh cheddar before reheating fixes everything. Learned that one when my grandson declared day-old wraps “not cheesy enough”—kids keep you honest!
Nutritional Information
Now, I’m no dietitian—I’m just a grandma who believes food should taste good first—but I know some folks like to keep track of these things. Here’s the skinny on my cheesy garlic chicken wraps (though let’s be honest, “skinny” isn’t exactly the word I’d use for something this delicious!):
- Serving Size: 1 wrap (because let’s face it, who’s stopping at half?)
- Calories: About 420 – give or take depending on how generous you are with the cheese (and trust me, I’m always generous)
- Protein: 25g – that chicken’s doing the heavy lifting!
- Carbs: 32g – mostly from those trusty tortillas
- Sugar: 2g – just enough to make you smile without the crash
- Sodium: 680mg – hey, flavor’s gotta come from somewhere
A little disclaimer from my flour-dusted recipe box: These numbers can wiggle around depending on your ingredients. Use low-carb tortillas? Swap in light mayo? Bless your heart—your totals will be different than mine. But remember what my mama always said: “Good food feeds more than just the body,” and that’s math I can get behind.
Frequently Asked Questions
After sharing this recipe with neighbors, grandkids, and even the sweet cashier at my grocery store (who begged for it after smelling my shopping bag), I’ve heard every question under the sun about these cheesy garlic chicken wraps. Here are the ones that come up most often:
“Can I use corn tortillas instead of flour?”
Bless your heart – of course you can! Corn tortillas give a lovely earthy flavor, but they’re a bit more… let’s call them “fragile.” Warm them extra well before filling, and maybe double up to prevent tearing. My granddaughter Lily prefers them this way – says it tastes like “fancy restaurant food.”
“How long do leftovers keep in the fridge?”
About 3 days in an airtight container, though the tortilla loses some crispness. Here’s my trick: Store the filling separately and assemble fresh wraps when you’re ready. Though between you and me? They rarely last past lunch the next day in my house!
“My wraps keep falling apart – help!”
Oh darling, we’ve all been there! Three secrets: 1) Don’t overfill (I know, it’s tempting), 2) Make sure your tortillas are pliable (that 10-second microwave zap is magic), and 3) Start with the seam side down in the pan – it seals everything up nice and tight. If all else fails? Call it a “cheesy chicken taco bowl” and eat with a fork – problem solved!
“Can I make these ahead for a party?”
Absolutely! Assemble them up to 4 hours ahead, wrap in foil, and keep at room temp. Then just crisp them in the skillet when guests arrive – the cheese will be gorgeously gooey. I did this for my bridge club last month and Martha Wilkins asked for the recipe three times. Three!
“What’s your garlic aioli shortcut?”
Between us? Mix 1/2 cup mayo with 2 minced garlic cloves, a squeeze of lemon, and a pinch of salt. Let it sit 10 minutes – boom, instant “fancy.” Though if you’re really in a rush, that bottled stuff works just fine. My philosophy? Fed is best – even if it’s not perfectly homemade!
For More recipes, Follow me on Facebook!






