
There’s something magical about waking up to the smell of homemade pastries baking in the oven. My cherry cream cheese danish recipe brings back those cozy Sunday mornings at Grandma Jo’s house – when she’d pull golden, flaky pastries from the oven while we set the table. After fifty years of baking, I’ve perfected this simple yet impressive breakfast treat that combines buttery puff pastry with sweet-tart cherries and creamy filling.

Table of Contents
Table of Contents
What makes this cherry cream cheese danish special? It’s that perfect balance of textures – crisp pastry giving way to velvety cream cheese filling, with juicy cherries bursting in every bite. The secret’s in Grandma Jo’s technique of braiding the pastry just right so the fruit peeks through beautifully. Whether you’re serving it for a special brunch or treating yourself with coffee, this danish always feels like a little celebration.
Trust me, once you try this recipe, you’ll understand why it’s been our family favorite for generations. The combination of cherries and cream cheese wrapped in flaky pastry is simply irresistible. And the best part? It comes together faster than you’d think – just forty minutes from start to finish!
Cherry Cream Cheese Danish Ingredients
Here’s everything you’ll need to make my favorite cherry cream cheese danish:

- 1 sheet puff pastry (thawed but still cool)
- 6 oz cream cheese, softened to room temperature
- ¼ cup granulated sugar
- 1 egg yolk (save the white for another use!)
- ¼ tsp vanilla extract
- ¼ tsp fresh lemon juice
- Pinch of salt (trust me – it makes a difference)
- 21 oz can of Original Country Cherry (well drained)
- 1 egg yolk for brushing on top
- ¼ cup powdered sugar
- 3 Tbsp milk (whole works best)
Ingredient Notes & Substitutions
Puff pastry needs careful handling – let it thaw in the fridge overnight or on the counter for 30 minutes MAX. Never unfold frozen pastry – it’ll crack!
Room-temp cream cheese mixes smoother – take it out 2 hours before baking. No time? Microwave in 5-second bursts (don’t let it melt!). Fresh cherries? Pit and reduce juice by half. Out of vanilla? Almond extract makes a lovely substitute.
The secret to avoiding a soggy bottom? Drain those cherries WELL ->& I pat mine dry with paper towels too!
How to Make Cherry Cream Cheese Danish
Ready to create pastry magic? Here’s exactly how I make my cherry cream cheese danish – step by step, just like Grandma Jo taught me:
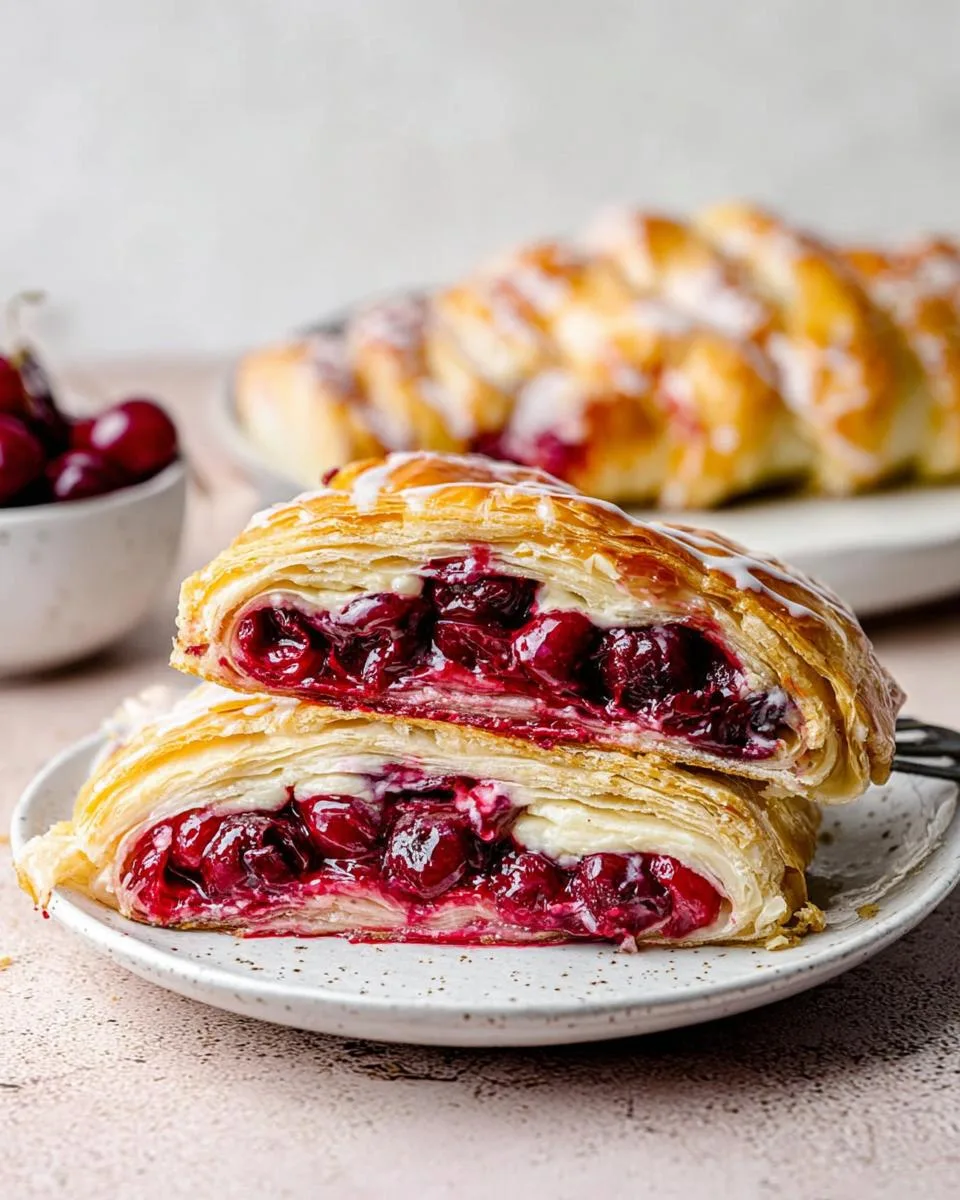
- Start with thawed puff pastry – about 30 minutes on the counter (still folded!). Unwrap carefully and place on a parchment-lined baking sheet.
- Roll it out gently to smooth any creases – I use a floured rolling pin and just 2-3 passes. No need to make it paper-thin!
- Whip up the filling: Beat cream cheese and sugar until creamy, then add yolk, vanilla, lemon juice, and that pinch of salt. Mix until smooth as silk.
- Spread this dreamy filling down the pastry’s center in a 3-inch strip – I use an offset spatula for perfect lines.
- Arrange drained cherries over the filling – leave about 1 inch uncovered at each end for sealing later.
- Now the fun part: With kitchen scissors, snip 1-inch strips diagonally from each side toward the filling. Don’t cut all the way!
- Working quickly, alternate folding strips over the filling, slightly overlapping them. It should look like a braid when done.
- Seal the ends by pressing gently – this keeps all that goodness inside while baking.
- Brush the pastry with beaten egg yolk – this gives that gorgeous golden shine!
- Bake at 400°F for 20-25 minutes until puffed and golden brown. Your kitchen will smell incredible!
- Let cool 10 minutes before drizzling with glaze (powdered sugar + milk).
Shaping & Braiding the Danish
The braiding technique is easier than it looks! Just imagine you’re folding ribbon – left side over filling, then right side, repeat. Angle each strip slightly diagonally to create that beautiful woven effect.
Here’s my trick: leave some cherries peeking through the folds – it makes the danish look professionally baked and shows off that gorgeous fruit. If strips tear? No worries – just press them back together. The egg wash will help seal everything during baking!
Print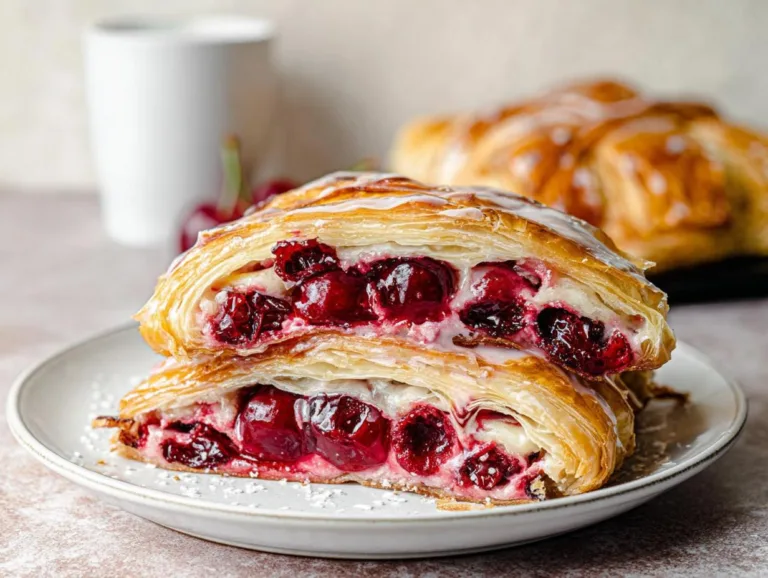
Cherry Cream Cheese Danish: Grandma’s Irresistible Secret
A delicious cherry cream cheese danish made with puff pastry, cream cheese, and cherries. Perfect for breakfast or dessert.
- Total Time: 40 minutes
- Yield: 8 servings 1x
Ingredients
- 1 sheet puff pastry
- 6 oz cream cheese, softened
- ¼ cup sugar
- 1 egg yolk
- ¼ tsp vanilla extract
- ¼ tsp lemon juice
- 1 pinch salt
- 21 oz Original Country Cherry, 1 can, drained
- 1 large egg yolk, for brushing on the danish
- ¼ cup powdered sugar
- 3 Tbsp milk
Instructions
- Take the frozen pastry out of the freezer and let it thaw on the counter for about 30 minutes (do not unfold- it will easily break).
- Beat cream cheese and sugar on low speed until creamy. Add egg yolk, vanilla extract, lemon juice, and salt and continue mixing until smooth.
- Place the puff pastry on a tray lined with parchment paper, dust it with flour, and roll it out carefully.
- Place the cream cheese mixture down the middle of the puff pastry sheet lengthwise- creating about a 3-inch strip of filling.
- Spread the cherries on top of the filling.
- Using a pizza cutter or kitchen scissors, cut the sides of the pastry into 1-inch wide strips. Cut towards the filling, leaving about 1 inch before reaching the filling.
- Alternating the sides, fold them in over the filling until it looks like a braided pastry with fruit peeking out.
- Brush the dough with the beaten egg yolk.
- Bake at 400°F for 25 minutes until golden brown.
- Mix powdered sugar and milk until well blended.
- Let it cool before glazing the pastry.
Notes
- Use room-temperature cream cheese for easier mixing.
- Drain cherries well to avoid excess moisture.
- Let the pastry cool slightly before glazing.
- Prep Time: 15 minutes
- Cook Time: 25 minutes
- Category: Dessert
- Method: Baking
- Cuisine: American
- Diet: Vegetarian
Nutrition
- Serving Size: 1 danish
- Calories: 280
- Sugar: 18g
- Sodium: 150mg
- Fat: 16g
- Saturated Fat: 7g
- Unsaturated Fat: 8g
- Trans Fat: 0g
- Carbohydrates: 30g
- Fiber: 1g
- Protein: 4g
- Cholesterol: 60mg
Tips for the Perfect Cherry Cream Cheese Danish
After making hundreds of these danishes over the years, I’ve picked up some foolproof tricks for bakery-quality results every time:
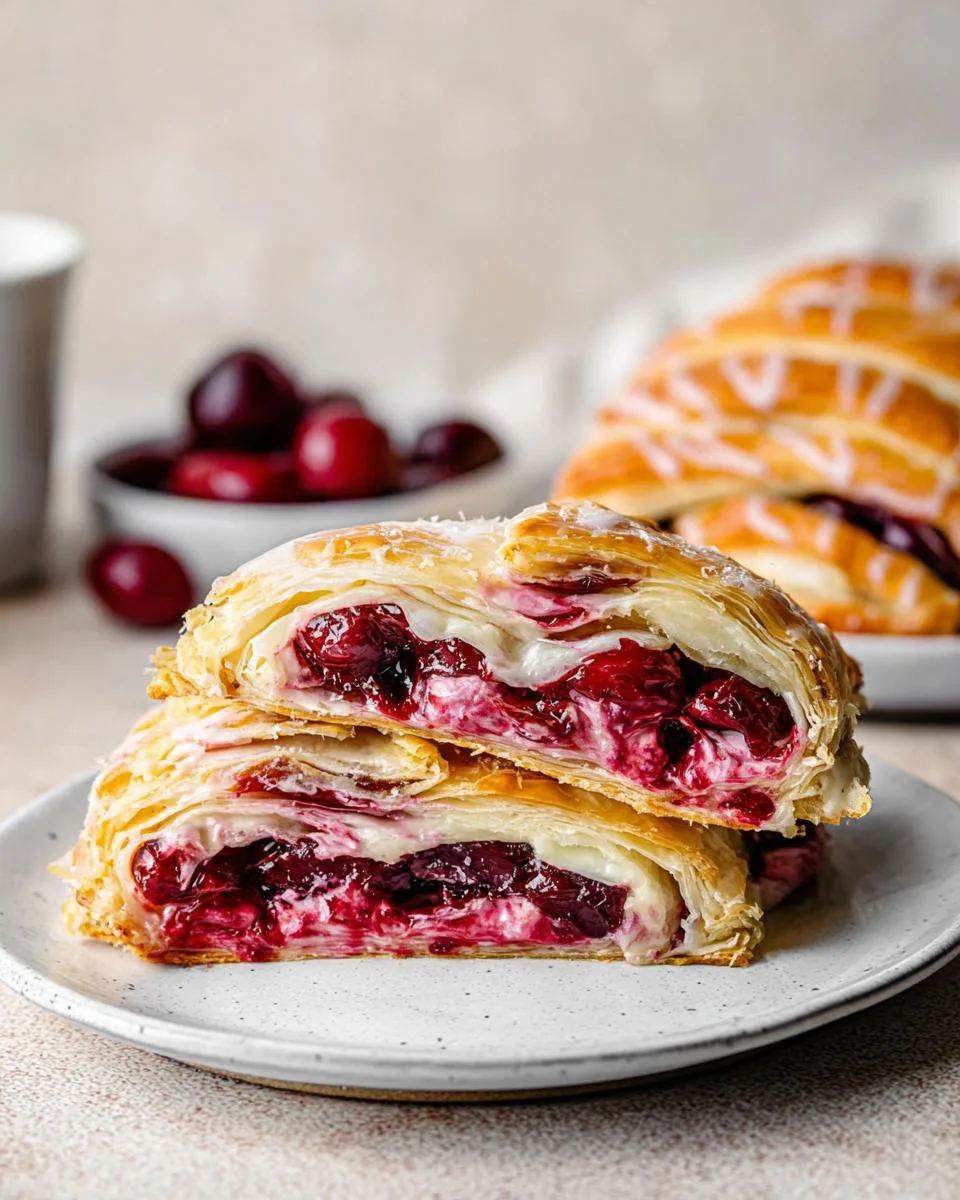
- Drain those cherries like your pastry depends on it – I let mine sit in a strainer for 15 minutes, then pat dry with paper towels. Wet fruit = soggy pastry disaster!
- Egg wash is your secret weapon – brush it generously on all exposed pastry edges for that perfect golden-brown shine.
- Resist cutting into it too soon – let it cool at least 10 minutes before glazing so the filling sets properly.
- Keep your pastry cold – if the dough gets too soft while working, pop the whole tray in the fridge for 5 minutes.
- Watch your oven – mine always finishes in 22 minutes exactly, but ovens vary. Look for deep golden color and puffed layers.
The biggest mistake I see? Rushing the prep work. Take your time with each step – it makes all the difference between good and grandma-level great!
Cherry Cream Cheese Danish Variations
Oh, the possibilities with this recipe! Sometimes I swap the cherries for blueberries – just reduce the juice first so they’re not too wet. For fall mornings, spiced apple filling (toss diced apples with cinnamon and brown sugar) makes a cozy twist. Want extra zing? Add lemon zest to the cream cheese filling. And oh my – drizzle with almond glaze (sub half the milk for almond extract) for that bakery-shop finish!
Serving & Storing Cherry Cream Cheese Danish
Nothing beats serving this cherry cream cheese danish warm from the oven – the pastry stays crisp, the filling creamy, and those cherries just burst with flavor. I always brew a fresh pot of coffee to go with it – the tart-sweet danish and rich coffee are a match made in heaven!
Got leftovers? Cover loosely with foil and keep at room temp for up to a day. For longer storage, refrigerate for 3 days max. Here’s my trick for reviving that fresh-baked texture: pop slices in a 350°F oven for 5-7 minutes to crisp up again. Microwaving makes the pastry soggy – trust me, I learned that the hard way!
Cherry Cream Cheese Danish Nutrition
Now, I’m no nutritionist, but here’s what I’ve figured out about my cherry cream cheese danish over the years. Each generous serving (about 1/8th of the pastry) comes out to roughly 280 calories. You’re looking at 16g of fat (that rich cream cheese and buttery pastry working their magic!), 30g of carbs, and about 4g of protein per slice.
Keep in mind – these numbers can vary depending on your exact ingredients. Different brands of puff pastry or cream cheese might change things slightly. And if you’re like me and can’t resist an extra drizzle of glaze? Well, let’s just say some things are worth the extra sweetness!
Frequently Asked Questions
Can I use fresh cherries instead of canned?
Absolutely! Just pit them first and toss with a tablespoon of sugar to draw out some juice. Let them sit for 15 minutes, then drain well – you want about half the liquid you’d get from canned cherries. I sometimes lightly cook fresh cherries with a splash of lemon juice to soften them up first.
Can I freeze the unbaked danish?
Yes, and it’s such a timesaver! Assemble completely, then freeze on the baking sheet until solid (about 2 hours). Wrap tightly in plastic wrap and foil – it’ll keep for a month. When ready to bake, no need to thaw – just add 5-7 minutes to the baking time and watch for that golden color.
Why did my pastry turn out soggy?
Oh honey, I’ve been there! Two main culprits: either the cherries weren’t drained well enough (I pat mine dry with paper towels too!), or you might’ve overfilled the center. That cream cheese mixture should stay in a neat 3-inch strip – any wider and the pastry can’t crisp up properly during baking.
Can I make these ahead for a brunch?
You sure can! Bake them the night before and store uncovered at room temp. Right before serving, pop them in a 350°F oven for 5 minutes to crisp up. Add the glaze fresh – it keeps that perfect drizzle texture.
Share Your Cherry Cream Cheese Danish Creations!
I’d love to see your beautiful danish creations – snap a photo and tag #GoodOlRecipes so I can admire your handiwork! Nothing makes me happier than seeing families enjoy these recipes just like we have for generations.
For More recipes, Follow me on Facebook!






