
Oh, honey, let me tell you about these Chocolate Thumbprint Cookies – they’re the kind of treat that makes you close your eyes and sigh with happiness after just one bite. I’ve been baking these little gems since my grandbabies were knee-high to a grasshopper, and they still beg me to make them every Christmas. After testing more batches than I can count (and eating every single “failed” experiment – what a hardship!), I’ve perfected this recipe that balances rich cocoa flavor with that dreamy chocolate ganache center.

Table of Contents
Table of Contents
There’s something magical about pressing your thumb into that soft dough – it reminds me of baking with my own grandma back in Tennessee. Her hands were always dusted with flour, just like mine are now when I make these cookies for my family. The secret? Using real butter and Dutch process cocoa – none of that shortcut business. These Chocolate Thumbprint Cookies aren’t just dessert; they’re edible memories.
Why You’ll Love These Chocolate Thumbprint Cookies
Oh, these cookies – where do I start? They’re the kind of treat that makes people sneak seconds when they think you’re not looking. Here’s why they’ll become your new favorite:
- Rich, fudgy goodness – That double chocolate hit (cocoa in the dough plus ganache filling) is pure bliss
- Simple as can be – Just mix, chill, bake, and fill – no fancy techniques needed
- Perfect texture every time – Crisp edges with a tender center that melts in your mouth
- Customizable cuties – Dress them up with sprinkles or keep them classic
Honestly, these Chocolate Thumbprint Cookies disappear faster than I can make them – and that’s saying something after 40 years of baking! If you’re looking for more great baking ideas, check out our full collection of recipes.
Chocolate Thumbprint Cookies Ingredients
Now, let’s gather our goodies – I always tell my grandkids baking starts with quality ingredients. You’ll need two simple groups: the cookie dough and that luscious ganache filling. Measure carefully now, but don’t stress – baking should be fun!

For the cookie dough:
- 1 1/2 cups (188 g) all-purpose flour, spooned and leveled – none of that scooping business!
- 1/2 cup (40 g) cocoa powder, Dutch process – trust me, the extra flavor is worth it
- 1/2 tsp salt – just enough to make the chocolate sing
- 1/2 tsp baking powder – our little rising helper
- 3/4 cup (168 g) unsalted butter, softened – real butter only, please
- 3/4 cup (165 g) light brown sugar, packed – packed tight like my grandma taught me
- 1/4 cup (50 g) granulated white sugar – for that perfect crisp edge
- 2 egg yolks, at room temperature – save those whites for meringues!
- 1 1/2 tsp vanilla bean paste or extract – the good stuff makes all the difference
For the ganache filling:
- 1 cup (200 g) semi-sweet chocolate chips – I like Ghirardelli, but use what you love
- 1/2 cup (120 ml) heavy whipping cream – none of that skim milk nonsense
- Nonpareils for sprinkling on top (optional) – because pretty food tastes better
See? Nothing too fancy – just honest ingredients that come together to make something magical. Now roll up those sleeves – we’re about to make some cookie magic!
How to Make Chocolate Thumbprint Cookies
Alright, sugar, let’s get baking! These Chocolate Thumbprint Cookies come together in three simple stages – dough, shaping, and that heavenly ganache. I’ll walk you through each step just like I did with my granddaughter Lily last Christmas. She’s twelve now and already makes these better than most adults!
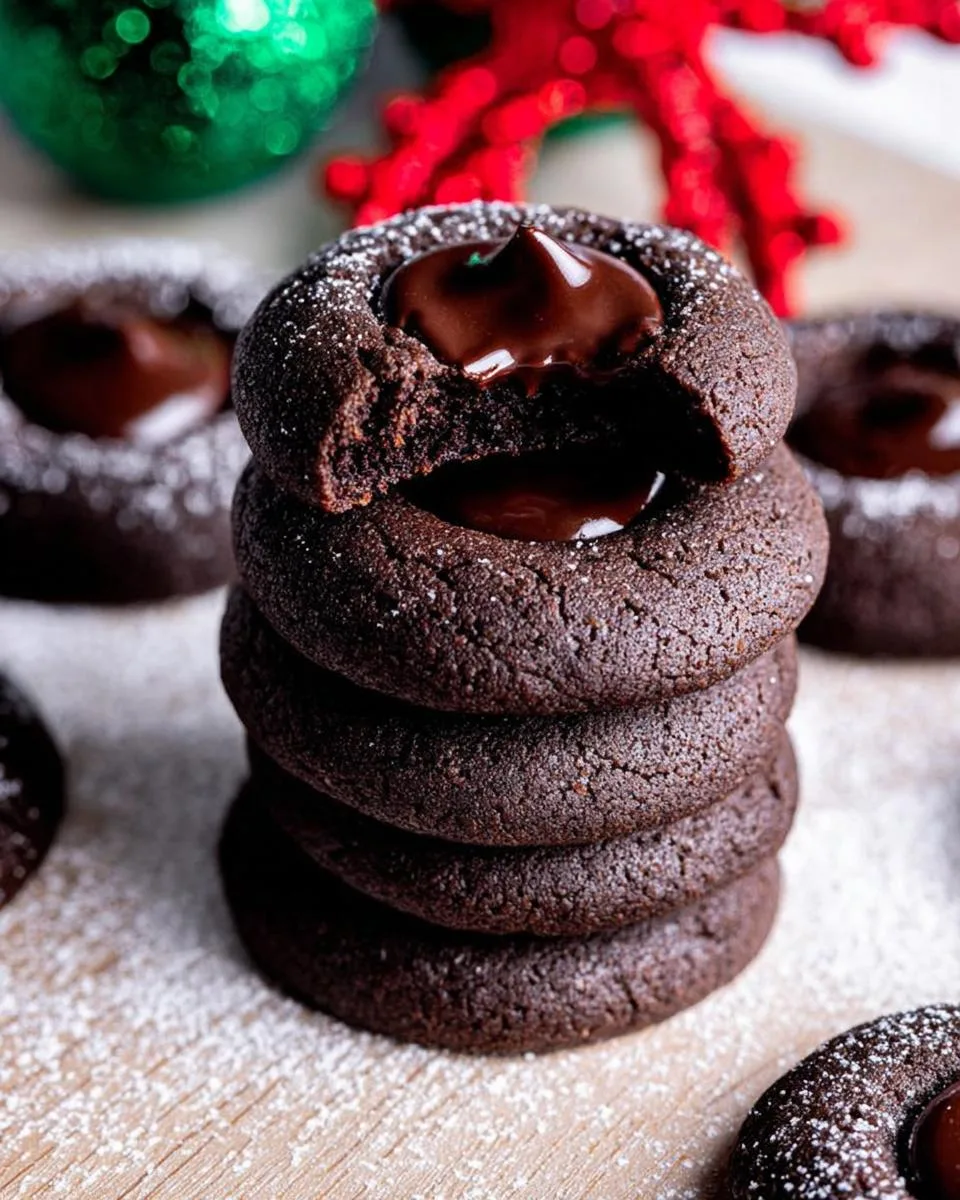
Prepare the Cookie Dough
First things first – grab your favorite mixing bowl (mine’s that chipped yellow one from 1978) and let’s cream that butter and sugar. Beat the softened butter with both sugars for a good 2 minutes – you want it light and fluffy like a summer cloud. Add those egg yolks and vanilla next, mixing until everything turns pale and dreamy.
Now for the dry ingredients – gently whisk together your flour, cocoa powder, salt, and baking powder first. This little trick ensures everything gets evenly distributed. Gradually mix the dry ingredients into the wet until just combined – don’t overwork it! The dough should look like dark chocolate velvet when it’s right.
Here’s the secret step – chill that dough for at least an hour, wrapped tight in plastic. I know, waiting’s the hardest part, but trust me – this keeps our Chocolate Thumbprint Cookies from spreading too much. Use this time to wash up or have a cup of tea like I do!
Shape and Bake the Cookies
Once chilled, scoop tablespoon-sized portions – I use my trusty #60 scoop for perfect cookies every time. Roll them between your palms into neat little balls and arrange them on parchment-lined sheets. Now comes the fun part – making those signature thumbprints!
Press gently with your thumb (or the back of a 1/4 teaspoon if you’re fancy) to make indentations. Don’t go all the way through! Pop them back in the fridge for 10 minutes if your kitchen’s warm. Bake at 350°F for 9-11 minutes – they’ll look slightly underdone but firm up as they cool.
Here’s my grandma’s trick – right after baking, use a round cookie cutter to gently nudge any uneven edges back into shape. Works like magic! Let them cool on the sheet for 5 minutes before transferring to a rack.
Make the Chocolate Ganache Filling
While the cookies cool, let’s make that silky ganache. Heat your heavy cream just until steaming (don’t boil it!) and pour over the chocolate chips. Let it sit untouched for a full minute – this patience pays off, I promise! Then stir gently until you’ve got the smoothest, shiniest chocolate sauce you ever did see.
Use a teaspoon to fill each cookie’s well with warm ganache. If you’re feeling festive, sprinkle on some nonpareils now before the chocolate sets. Chill the cookies for 10-15 minutes to firm up that ganache – if you can wait that long!
And there you have it – perfect Chocolate Thumbprint Cookies just like Grandma used to make. Well, almost as good – mine have forty years of love baked into them!
Print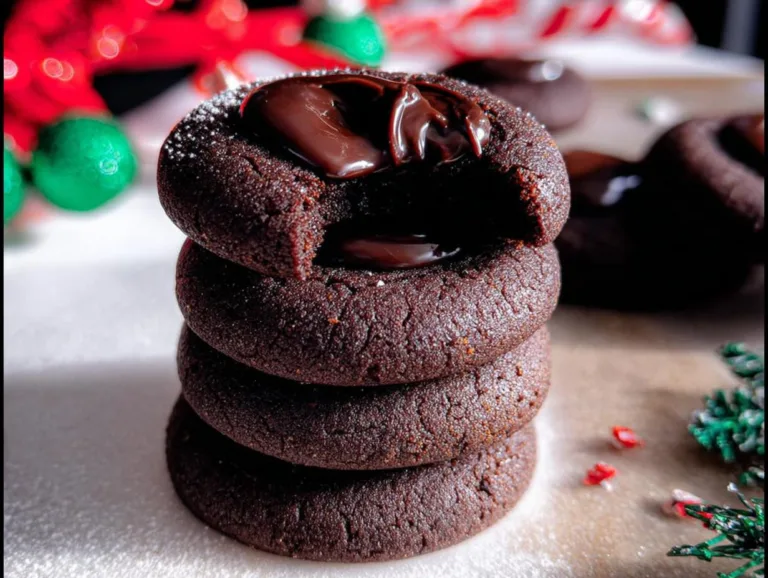
60-Year-Old Secret Chocolate Thumbprint Cookies Recipe
Chocolate Thumbprint Cookies are a classic treat with a rich cocoa base and a smooth chocolate ganache filling. Perfect for holidays or any occasion, these cookies are easy to make and irresistibly delicious.
- Total Time: 1 hour 30 minutes (includes chilling)
- Yield: 34 cookies 1x
Ingredients
- 1 1/2 cups (188 g) all-purpose flour, spooned and leveled
- 1/2 cup (40 g) cocoa powder, Dutch process
- 1/2 tsp salt
- 1/2 tsp baking powder
- 3/4 cup (168 g) unsalted butter, softened
- 3/4 cup (165 g) light brown sugar, packed
- 1/4 cup (50 g) granulated white sugar
- 2 egg yolks, at room temperature
- 1 1/2 tsp vanilla bean paste or extract
- 1 cup (200 g) semi-sweet chocolate chips
- 1/2 cup (120 ml) heavy whipping cream
- Nonpareils for sprinkling on top (optional)
Instructions
- Line two baking sheets with parchment paper and set aside.
- Whisk flour, cocoa powder, salt, and baking powder in a bowl. Set aside.
- Cream butter, brown sugar, and granulated sugar with an electric mixer for 2 minutes.
- Add egg yolks and vanilla. Mix until pale and fluffy, 1-2 minutes.
- Mix in dry ingredients just until combined.
- Scoop dough into 34 portions and roll into balls (about 1 tbsp each).
- Place dough balls on baking sheets. Press a 1/4 tsp indent into each.
- Chill dough for at least 1 hour.
- Preheat oven to 350°F.
- Arrange cookies 1.5 inches apart on baking sheets.
- Bake for 9-11 minutes.
- Press indents again if needed. Use a cookie cutter to shape while warm.
- Cool on sheets for 5 minutes, then transfer to a rack.
- For ganache: Pour hot heavy cream over chocolate chips. Let sit 1 minute, then stir.
- Fill cookie wells with ganache (1 tsp each). Sprinkle with nonpareils if desired.
- Chill 10-15 minutes to set ganache.
- Store in an airtight container for up to 3 days.
Notes
- Use Dutch process cocoa for best flavor.
- Chilling dough prevents spreading.
- Reshape cookies while warm for uniform appearance.
- Ganache sets faster in the fridge.
- Prep Time: 20 minutes
- Cook Time: 10 minutes
- Category: Dessert
- Method: Baking
- Cuisine: American
- Diet: Vegetarian
Nutrition
- Serving Size: 1 cookie
- Calories: 120
- Sugar: 8g
- Sodium: 45mg
- Fat: 6g
- Saturated Fat: 3.5g
- Unsaturated Fat: 2g
- Trans Fat: 0g
- Carbohydrates: 15g
- Fiber: 1g
- Protein: 1g
- Cholesterol: 25mg
Expert Tips for Perfect Chocolate Thumbprint Cookies
After more batches than I can count, I’ve learned a thing or two about making these cookies just right. First – don’t skip that chilling time! Warm dough spreads faster than gossip at a church social. Second, splurge on Dutch process cocoa – it makes the chocolate flavor richer than my Uncle Earl’s barbecue sauce.
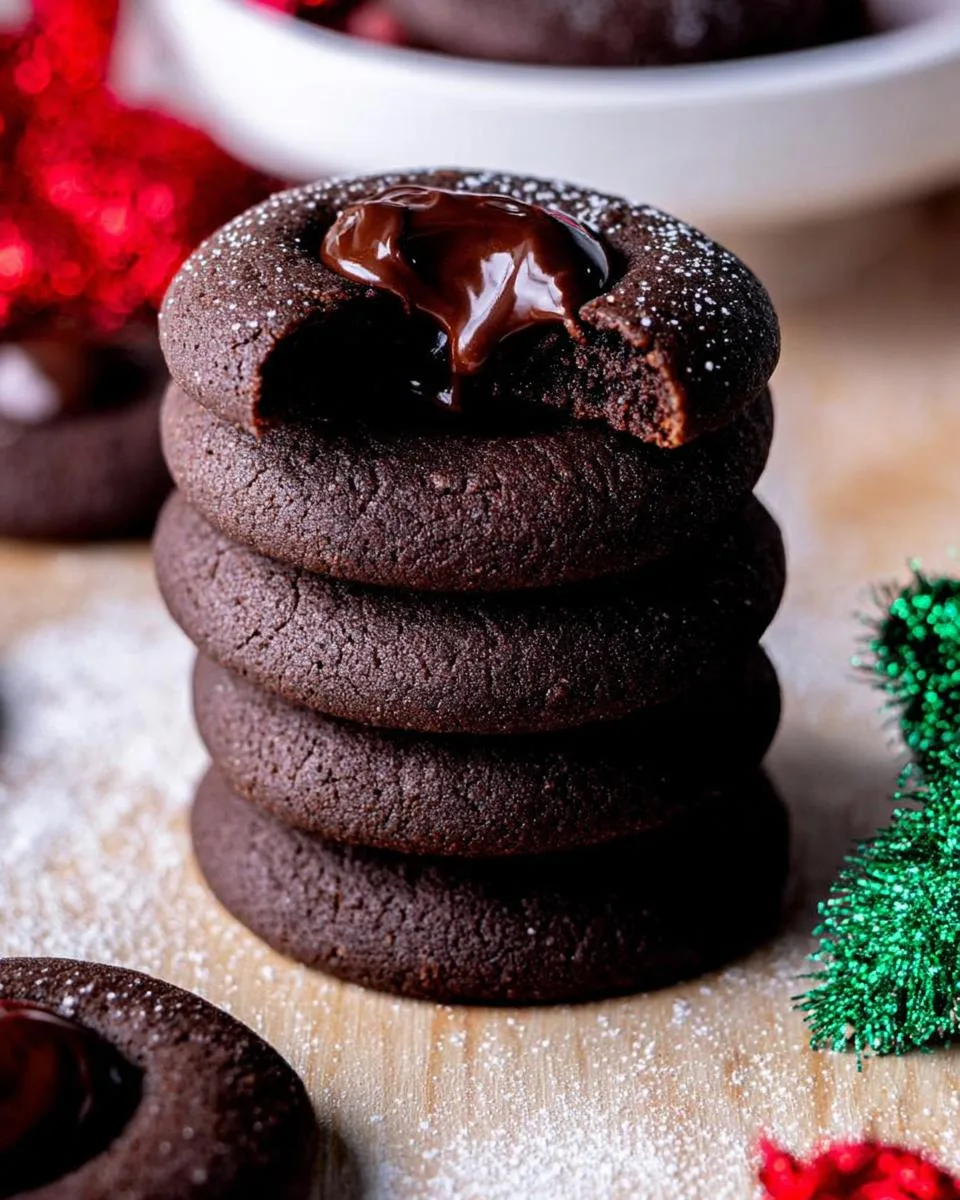
When making ganache, heat the cream until it’s steaming but not boiling – too hot and your chocolate will seize up like my knees in cold weather. And here’s a little secret: if your ganache starts setting too fast, just give it a quick zap in the microwave for 5 seconds. Works like a charm!
Chocolate Thumbprint Cookies Variations
Now don’t get me wrong – I adore these Chocolate Thumbprint Cookies just as they are, but sometimes it’s fun to play dress-up! For Christmas, I’ll drizzle white chocolate over half the batch – looks like snow on a chocolate landscape. Or add 1/4 tsp peppermint extract to the ganache for a festive twist that’ll make your taste buds dance. My neighbor Mary swears by swapping the ganache for caramel filling, but between you and me – that’s just showing off! You can see what Mary is up to on her page here.
Storing and Serving Chocolate Thumbprint Cookies
Now, these Chocolate Thumbprint Cookies never last long in my house, but if by some miracle you have leftovers, here’s how to keep them fresh. Tuck them into an airtight container at room temperature for up to 3 days – if they last that long! In hotter weather, I pop them in the fridge (the ganache stays prettier that way). Just let chilled cookies sit out for 10 minutes before serving – that chocolate center tastes best when it’s just slightly soft. Pro tip: hide a few in the freezer behind the peas for when you need a secret chocolate fix!
Chocolate Thumbprint Cookies Nutritional Information
Now, I don’t know about you, but when I’m eating one of these Chocolate Thumbprint Cookies, the last thing on my mind is counting calories – life’s too short for that! But for those who like to know, here’s the general scoop (and remember, these numbers can vary depending on your exact ingredients).
Each little piece of heaven comes out to about 120 calories, with 6 grams of that good butter fat we love and 15 grams of carbs to keep you going. Not too shabby for a homemade treat, if I do say so myself! The way I see it, a moment of pure chocolate joy is worth every bite – and these cookies deliver that in spades.
Just between us? The real nutrition is in the memories you make baking them – that’s the stuff that truly nourishes the soul. But if anyone asks, you can tell them Grandma Jo said portion control is for people who don’t know how to savor life properly! If you’re looking for other sweet treats, you might enjoy our recipe for Dark Chocolate Chess Pie.
Chocolate Thumbprint Cookies FAQs
Bless your heart – I know you’ve got questions about these Chocolate Thumbprint Cookies, so let me answer the ones my grandkids ask most often. First up: “Can I freeze the dough?” Honey, you absolutely can! Roll those dough balls, freeze them on a tray, then pop them in a bag for up to a month. When the cookie craving hits, just thaw for 30 minutes and bake as usual.
Now, “What if I don’t have heavy cream?” Don’t you worry – coconut cream works beautifully in the ganache. Just use the thick part from the can (not the watery stuff) and you’ll get that same silky texture. My vegan neighbor Sue swears by this trick! For another great holiday cookie, try our Christmas White Chocolate Dipped Chewy Maple Cookies.
And for those asking “Why did my cookies spread?” – well sugar, that butter was probably too soft or you skipped the chilling step. I’ve done it myself when I got impatient! Next time, make sure your butter gives just slightly when pressed and never skip that fridge time. Your cookies will stay perfectly shaped, just like Grandma likes ’em.
For More recipes, Follow me on Facebook!






