
Oh, let me tell you about my Creme Brulee Pie – it’s like someone took the best parts of a silky vanilla custard and a buttery pie crust, then topped it with that irresistible crackly sugar crust we all love. I’ve been making this beauty for family gatherings since my grandkids were little, and let me tell you, nothing disappears faster from the dessert table.

Table of Contents
Table of Contents
What makes my version special? That perfect wobble in the center when you pull it from the oven, those specks of real vanilla bean throughout, and that magical moment when your spoon breaks through the caramelized sugar topping. It’s fancier than your everyday pie but surprisingly simple to make – just six ingredients and some patience while it chills (though I won’t judge if you sneak a spoonful of the filling before it’s fully set).
This recipe came from my dear friend Marie back in the 70s when we’d trade recipes at our monthly bridge club. After tweaking it for years, I landed on this foolproof version that works just as well with gluten-free crust for my granddaughter. Whether it’s for a holiday or just because Tuesday needed something sweet, this creme brulee pie never fails to impress.
Why You’ll Love This Creme Brulee Pie
Listen, darling, if you’re going to spend time baking, it ought to be something spectacular—and this creme brulee pie delivers every single time. Here’s why folks keep begging me to make it:
- That dreamy texture – Imagine the creamiest custard you’ve ever tasted, nestled in a crisp, buttery crust. The filling sets just right—firm enough to slice but still melts on your tongue.
- The sugar crackle – There’s nothing quite like tapping your spoon through that caramelized sugar shell. It’s pure magic every time.
- Surprisingly simple – Don’t let the fancy name fool you. With just six main ingredients and easy steps, even beginners can pull this off beautifully.
- Crowd-pleasing versatility – Works for birthdays, holidays, or when you just need to treat yourself on a Wednesday afternoon.
The secret? That slow bake at low heat keeps the custard creamy instead of rubbery—just like my friend Marie taught me all those years ago.
Ingredients for Creme Brulee Pie
Now, let’s talk ingredients – and I mean the good stuff. This isn’t the time to skimp, trust me. Here’s what you’ll need to make that showstopping creme brulee pie:

- 1 pie crust – Homemade or store-bought, your choice! I use my classic butter crust, but the gluten-free version works just as well if that’s your need.
- 2 cups heavy cream – None of that half-and-half business. We want that rich, velvety texture only full-fat cream delivers.
- 1/2 cup granulated sugar plus 2 tbsp for the topping – Pack it lightly when measuring, and save the good stuff for that crackly finish.
- 1/2 tsp salt – Just a pinch to balance all that sweetness.
- 2 vanilla beans – Split and scraped (or 2 tsp quality vanilla extract in a pinch). Those little black specks make all the difference!
- 6 large egg yolks – Save the whites for meringues later. These golden yolks are our custard’s best friends.
See? Nothing too fancy – just simple, quality ingredients that do all the heavy lifting. Now let’s make some magic!
Equipment You’ll Need
Don’t worry – you won’t need any fancy gadgets for this creme brulee pie! Just gather these basics from your kitchen:
- 9-inch pie dish – Glass or ceramic works best for even baking
- Pie weights or dried beans – To keep that crust from bubbling up
- Mixing bowls – One large, one medium
- Whisk – For that silky smooth custard
- Kitchen torch – For the signature caramelized sugar top (or your broiler in a pinch!)
That’s it! Now let’s get baking, shall we?
Ingredient Substitutions & Notes
Listen, honey, we’ve all been caught short on ingredients before – here’s how to adapt without sacrificing that perfect creme brulee pie texture:
- Vanilla beans – Use 2 tsp pure vanilla extract if you can’t find beans. Add it after tempering the eggs to preserve flavor.
- Heavy cream – Half-and-half works in a pinch, but your custard won’t be quite as rich. Whatever you do, don’t use milk!
- Sugar – White sugar works fine, but dark brown adds lovely caramel notes if you’re feeling fancy.
- Egg yolks – No substitutes here, darling – those yolks are the magic that sets our custard.
- Gluten-free – My almond flour crust works beautifully for those who need it – just bake a few minutes longer.
Remember – baking is part science, part love. These swaps work, but for your first try, stick to the original. You’ll taste why!
How to Make Creme Brulee Pie
Alright, let’s dive into the good stuff! I’ll walk you through each step just like I taught my granddaughter – with plenty of tips and tricks along the way. Don’t let the fancy name intimidate you – this creme brulee pie comes together beautifully if you follow these simple steps.
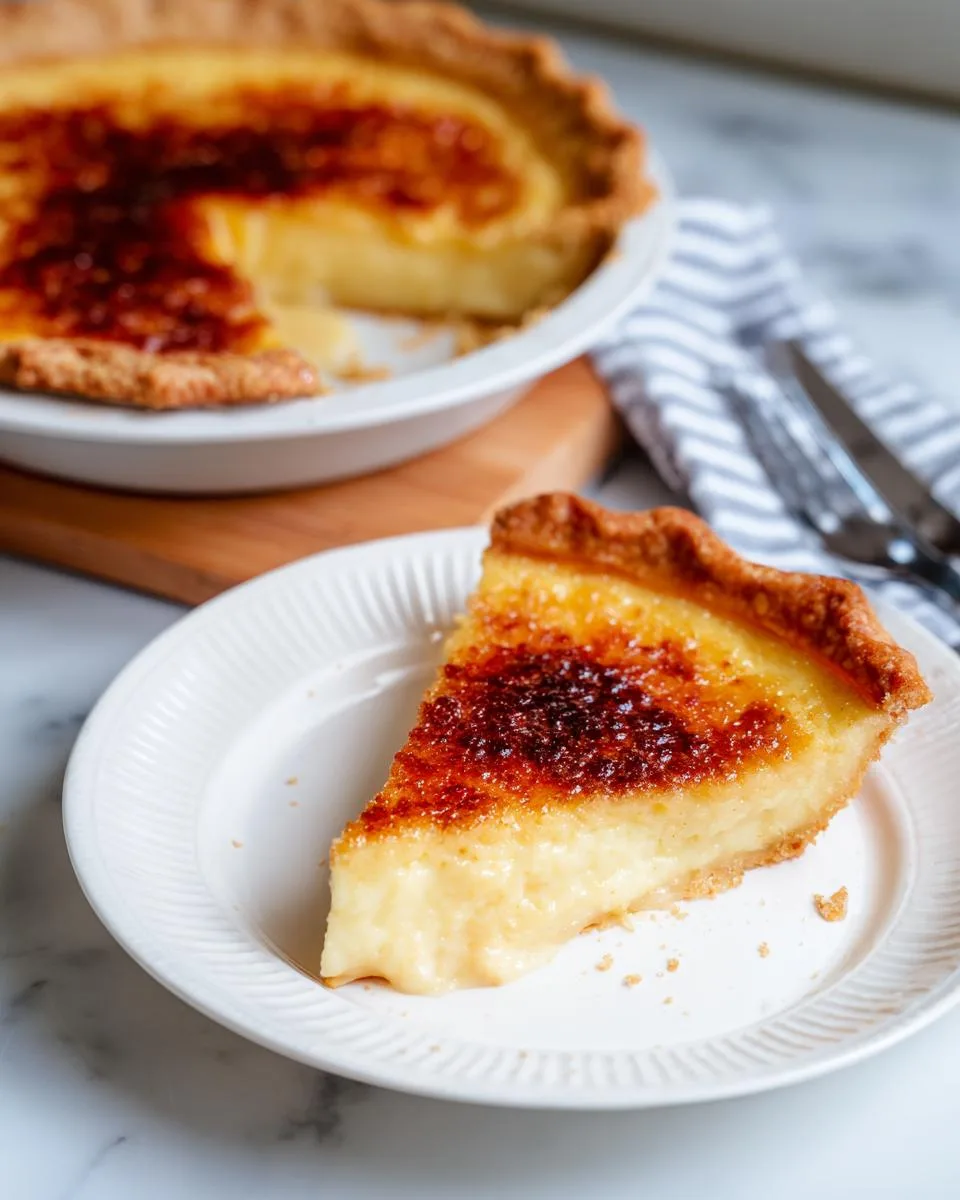
Prepare the Pie Crust
First things first – that buttery foundation! Roll out your chilled pie dough (homemade or store-bought) to about 1/8-inch thickness. Gently fit it into your pie dish, letting the excess hang over the edges. Now here’s my secret – tuck that overhang under itself to create a thick rim that won’t burn. Prick the bottom all over with a fork, then line with parchment and fill with pie weights (or dried beans – I’ve used the same bag of beans for decades!).
Bake at 400°F for 15 minutes (20 if using gluten-free crust), then carefully remove the weights and parchment. Bake another 5-7 minutes until golden brown. Let it cool completely – rushing this step leads to soggy bottoms, and nobody wants that!
Make the Custard Filling
While the crust cools, let’s make that luscious filling. Heat your cream, sugar, salt, and those gorgeous vanilla bean seeds (scrape every last bit!) in a saucepan until steaming but not boiling – tiny bubbles around the edges are your cue. Meanwhile, whisk those egg yolks until smooth in a separate bowl.
Here comes the important part – tempering! Slowly drizzle the hot cream into the yolks while whisking constantly. Go slow – we’re making custard, not scrambled eggs! Once combined, strain it through a fine mesh sieve for that ultra-smooth texture grandma would approve of.
Bake and Chill
Pour your strained custard into the cooled crust – it should fill right to the brim. Bake at 300°F for 35-45 minutes. You’ll know it’s done when the edges are set but the center still has a slight jiggle – like jello that’s not quite firm. Resist the urge to overbake!
Let it cool at room temperature for a full hour (yes, patience is key!), then refrigerate for at least 4 hours, though overnight is even better. This slow chill prevents cracks and lets the flavors develop beautifully.
Caramelize the Sugar Topping
The grand finale! Right before serving, sprinkle that reserved 2 tbsp sugar evenly over the chilled pie. Now grab your torch and work in small circles about 4 inches away until the sugar melts and turns amber – it’ll harden as it cools. No torch? Your broiler works too – just watch closely!
Serve immediately for that perfect crackle. Oh, and don’t be surprised when everyone asks for seconds – this creme brulee pie disappears faster than cookies at a bake sale!
Print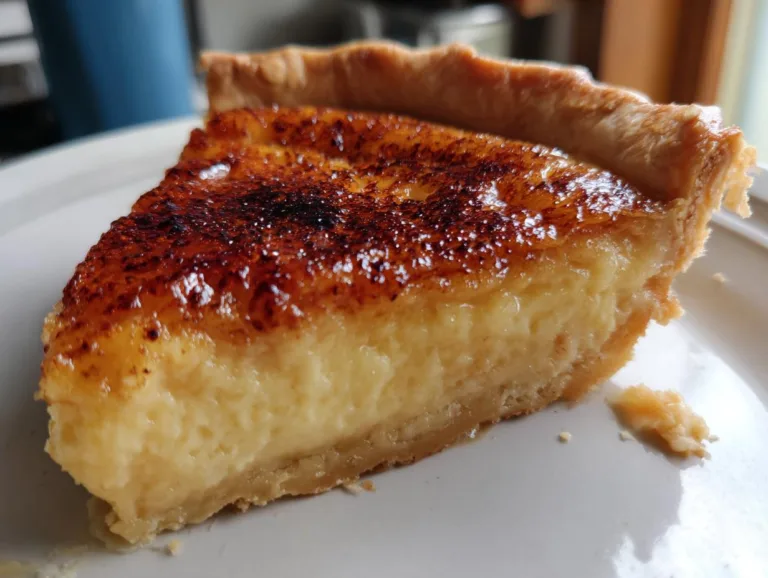
6-Ingredient Creme Brulee Pie Recipe: Melts in Your Mouth
A rich and creamy Creme Brulee Pie with a flaky crust and caramelized sugar topping.
- Total Time: 5 hours 30 minutes (includes chilling)
- Yield: 8 servings 1x
Ingredients
- Normal pie crust or gluten-free pie crust
- 2 cups heavy cream
- 1/2 cup granulated sugar, plus 2 tbsp for the top
- 1/2 tsp salt
- 2 vanilla beans, insides scraped out
- 6 egg yolks
Instructions
- Make the pie dough. Follow the instructions for the normal crust or gluten-free version. Chill the dough for 30 minutes before rolling out.
- Preheat the oven to 400°F. Roll out the pie dough and bake with weights for 15 minutes (normal crust) or 20 minutes (gluten-free crust). Remove weights and bake until golden. Cool to room temperature. Reduce oven temperature to 300°F.
- Make the custard filling by heating heavy cream, sugar, salt, and vanilla. Slowly whisk into beaten egg yolks.
- Pour the custard into the pie crust. Bake at 300°F for 35-45 minutes until edges are set but the center slightly wiggles. Cool at room temperature for 1 hour, then refrigerate for 4 hours or overnight.
- Sprinkle 2 tbsp sugar on top before serving and caramelize with a torch.
Notes
- You can make the pie dough up to 3 days in advance.
- Use dried beans as pie weights if you don’t have pie weights.
- Ensure the custard cools completely before refrigerating.
- Prep Time: 30 minutes
- Cook Time: 60 minutes
- Category: Dessert
- Method: Baking
- Cuisine: French
- Diet: Vegetarian
Nutrition
- Serving Size: 1 slice
- Calories: 350
- Sugar: 25g
- Sodium: 150mg
- Fat: 22g
- Saturated Fat: 13g
- Unsaturated Fat: 7g
- Trans Fat: 0g
- Carbohydrates: 30g
- Fiber: 0g
- Protein: 5g
- Cholesterol: 200mg
Tips for Perfect Creme Brulee Pie
After making this creme brulee pie more times than I can count, I’ve picked up a few tricks that make all the difference:
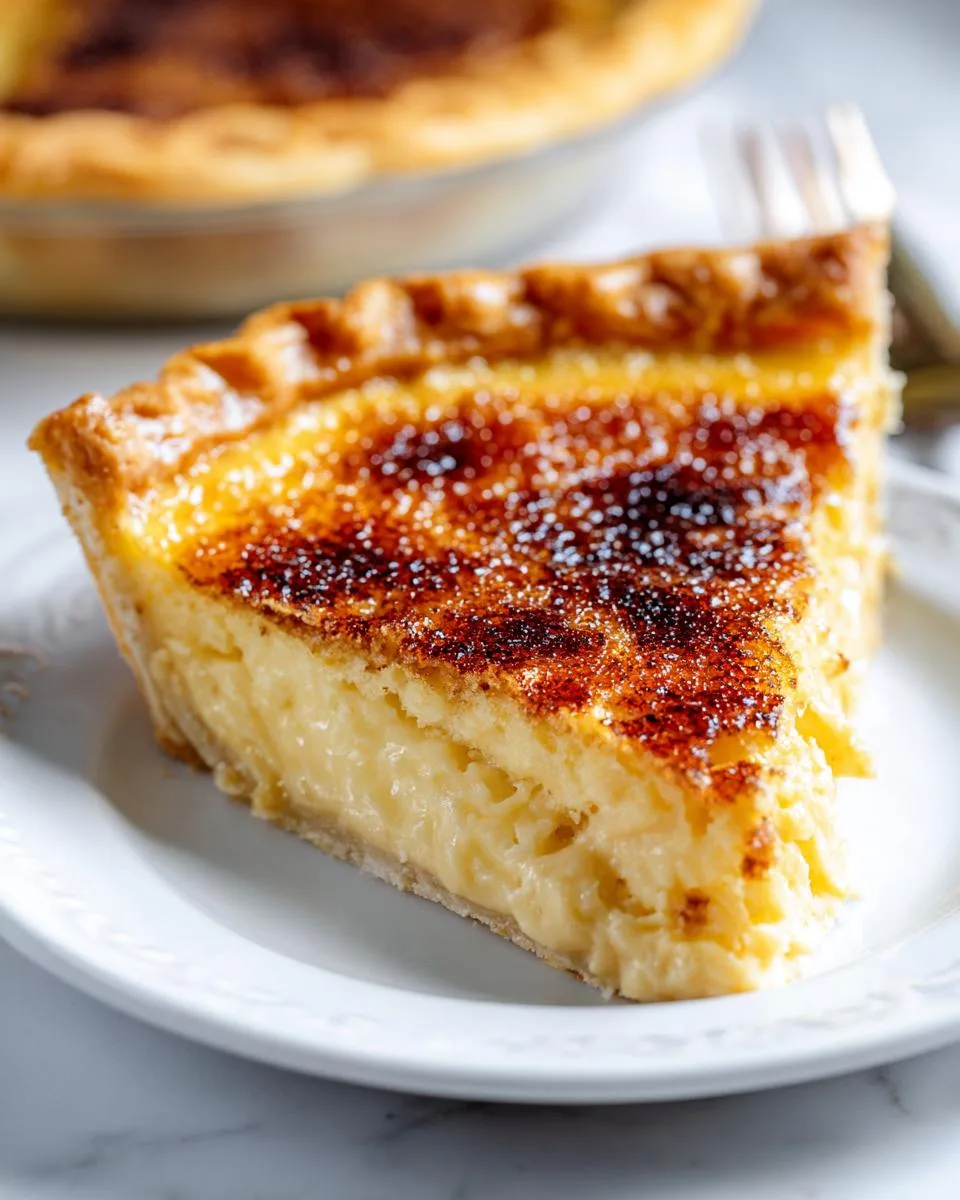
- Room temp is your friend – Let those egg yolks sit out for 30 minutes before mixing. Cold eggs can make your custard grainy.
- The jiggle test never lies – Pull the pie when the edges are set but the center wobbles like a bowl of jello. It’ll firm up as it cools.
- Chill out – I know it’s tempting, but rushing the cooling process leads to cracks. Let it set properly in the fridge for at least 4 hours.
- Torch technique – Hold the flame 4 inches away and move constantly for even caramelization. Burnt sugar tastes bitter!
- Make ahead magic – The pie keeps beautifully in the fridge for 2 days – just wait to caramelize the sugar until right before serving.
Oh, and one last thing – always save a slice for yourself before the family descends! Trust me on this one.
Serving and Storing Creme Brulee Pie
Now that you’ve made this beauty, let’s talk about showing it off! I always serve my creme brulee pie chilled with a little flourish – fresh berries on the side or a dollop of barely sweetened whipped cream. The contrast between the warm, crackly sugar top and cool custard is simply divine.
Leftovers? Ha – as if! But if by some miracle you have some, cover it loosely with plastic wrap (press it right against the caramelized top to prevent weeping) and refrigerate for up to 3 days. The sugar topping will soften, but you can always re-crisp it with a quick torch pass before serving again. Just don’t freeze it – custard and ice crystals don’t play nice together!
One last tip – if you’re bringing this to a gathering, wait to caramelize the sugar until you arrive. That satisfying crack is half the fun, and it stays crisp for about an hour before starting to soften. Happy slicing, dear!
Creme Brulee Pie FAQs
Oh sugar, I’ve been asked these questions more times than I can count! Here’s everything you need to know about my famous creme brulee pie:
Can I make creme brulee pie ahead of time?
Absolutely, doll! The pie keeps beautifully in the fridge for up to 2 days. Just wait to add and caramelize the sugar topping until right before serving – that crackle is best fresh.
Why did my custard crack?
Bless your heart – likely from overbaking or cooling too fast. Next time, pull it when the center still jiggles slightly and let it cool gradually at room temperature before refrigerating.
No kitchen torch – now what?
No worries! Your broiler works in a pinch. Just watch like a hawk – sugar goes from golden to burnt in seconds. Keep the pie 6 inches from the heat and rotate for even browning.
Can I use vanilla extract instead of beans?
You sure can, honey! Use 2 teaspoons of good quality extract. Add it after tempering the eggs to keep that lovely vanilla flavor.
Is the pie crust necessary?
Well now, the crust makes it a pie! But if you’re craving just the custard, bake it in ramekins like traditional creme brulee – just reduce the baking time by 10 minutes.
Nutritional Information
Now, let’s be real – nobody eats creme brulee pie for the health benefits! But for those keeping track, here’s the scoop on one slice (based on my exact recipe): about 350 calories, with most coming from that dreamy custard and buttery crust. Remember, these are just estimates – your exact numbers might dance around a bit depending on your ingredients.
Fair warning: This pie packs a decadent punch with 22g fat per serving (mostly the good kind from cream and eggs!) and 25g sugar. That’s why we savor small slices – or not! Life’s too short not to enjoy dessert sometimes.
For More recipes, Follow me on Facebook!






