
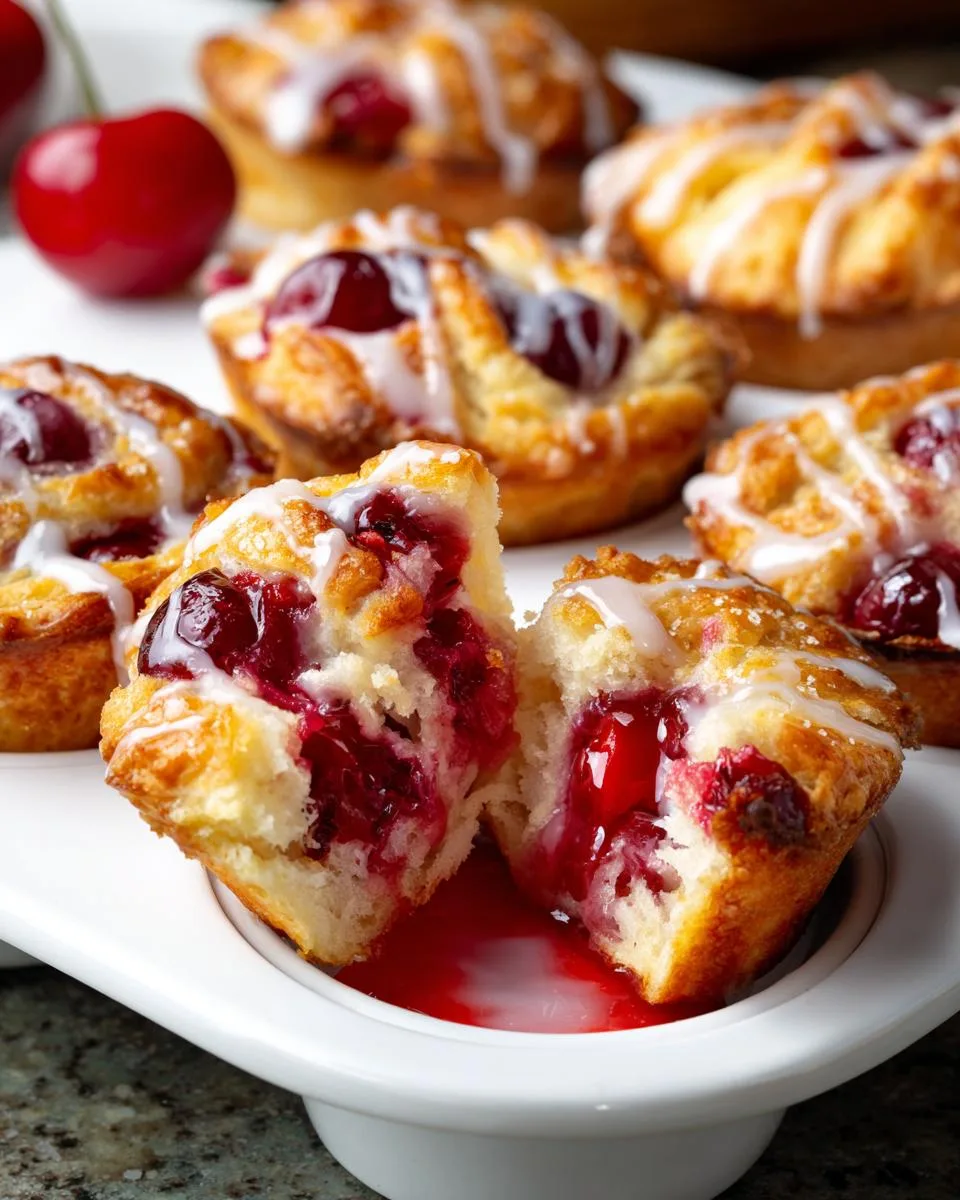
Oh, honey, let me tell you about these little bites of heaven! Cherry pie bites have been my go-to quick dessert since my grandkids were knee-high to a grasshopper. Nothing beats that moment when the sweet cherry filling bubbles up through the golden crescent dough – it’s like magic in a muffin tin!

Table of Contents
Table of Contents
I remember teaching my granddaughter Lily how to fold the dough corners just right. She’d get cherry juice all over her tiny fingers, giggling while we worked. Now she makes them for her college friends, and they swear they’re better than any fancy bakery treat.
The best part? You probably have everything you need right in your pantry – just grab some crescent rolls and cherry pie filling. In less time than it takes to brew a pot of coffee, you’ll have warm, gooey cherry bites that’ll disappear faster than you can say “seconds please!”
Why You’ll Love These Cherry Pie Bites
Listen here, sugar – these cherry pie bites are about to become your new best friend in the kitchen. Let me count the ways you’ll adore them:
- Faster than a hiccup: From fridge to table in under 30 minutes – perfect for when surprise guests show up or your sweet tooth strikes!
- Pantry superhero: Just 4 simple ingredients you likely have already (no fancy grocery runs needed).
- Crowd-pleaser magic: Kids go wild for the handheld size, adults swoon over that nostalgic cherry pie flavor.
- No-fuss fancy: Looks like you spent hours, but our little secret? Barely any cleanup!
Trust me, once you taste that warm cherry filling oozing through flaky dough, you’ll understand why I’ve made these every Christmas since 1982!
Ingredients for Cherry Pie Bites
Now don’t you go thinking you need fancy ingredients for these little gems! Here’s what you’ll need to make magic happen:

- 1 can (21 oz) cherry pie filling – I always keep a few cans in my pantry for emergencies (and by emergencies, I mean sudden dessert cravings)
- 2 tubes (8 oz each) crescent roll dough – The kind that pops open and makes you jump every single time
- 1 cup confectioners’ sugar (sifted) – Trust me, sifting makes all the difference for that silky glaze
- 1-2 tbsp milk – Whole milk gives the richest glaze, but whatever you’ve got will do in a pinch
See? Told you it was simple! Now let’s get those hands messy – that’s half the fun!
Equipment You’ll Need
Bless your heart, you barely need any tools for these cherry pie bites! Just grab:
- A standard muffin tin (no fancy shapes needed)
- One trusty mixing bowl
- A whisk or fork for that dreamy glaze
Now, if you want to get fancy like my granddaughter Lily, keep a pastry brush handy for picture-perfect glaze drizzles. But honestly? A spoon works just fine – the taste is what matters!
How to Make Cherry Pie Bites
Alright, sugar, let’s get these beauties in the oven! Don’t let that crescent dough intimidate you – we’re gonna make magic happen together. Just follow these simple steps, and you’ll have cherry pie bites that’ll make your kitchen smell like heaven.
Step 1: Prep the Dough
First things first – preheat that oven to 375°F (190°C). While it’s warming up, grab your muffin tin and give it a quick spritz with cooking spray. Now, here comes the fun part – pop open those crescent rolls! Don’t jump when the tube “pops” – gets me every time!
Unroll the dough and gently press each triangle into your muffin cups. No perfection needed here – those rustic edges give them character! Just make sure to press the dough up the sides a bit to create little cups for our cherry goodness.
Step 2: Add Cherry Filling
Time for the star of the show! Spoon about 3-4 tablespoons of that gorgeous cherry pie filling into each dough cup. Now, I won’t lie – some filling might try to escape during baking, but that’s okay! Those little caramelized cherry bits around the edges? Pure gold.
Pro tip: Use a fork to gently fold the dough corners over the filling. Don’t worry about sealing them completely – we want those cherries to peek through!
Step 3: Bake to Golden Perfection
Slide those beauties into the oven and set your timer for 13-14 minutes. Now, ovens can be sneaky, so keep an eye out around the 12-minute mark. You’re looking for golden, flaky perfection!
When they’re done, let them cool just a minute in the pan – that filling will be hotter than a summer day in Georgia. Then transfer them to a wire rack. Trust me, you’ll want to resist eating them straight away (but I won’t judge if you sneak one!).
Step 4: Make the Glaze
While your cherry pie bites are cooling (as if!), whisk together that sifted powdered sugar and milk. Start with 1 tablespoon of milk and add more if needed – we want it thick enough to drizzle but thin enough to flow.
Now the best part – drizzle that sweet glaze over your warm cherry pie bites. Watch how it cascades down those golden folds… pure poetry! Let it set just a minute before serving – if you can wait that long!
Print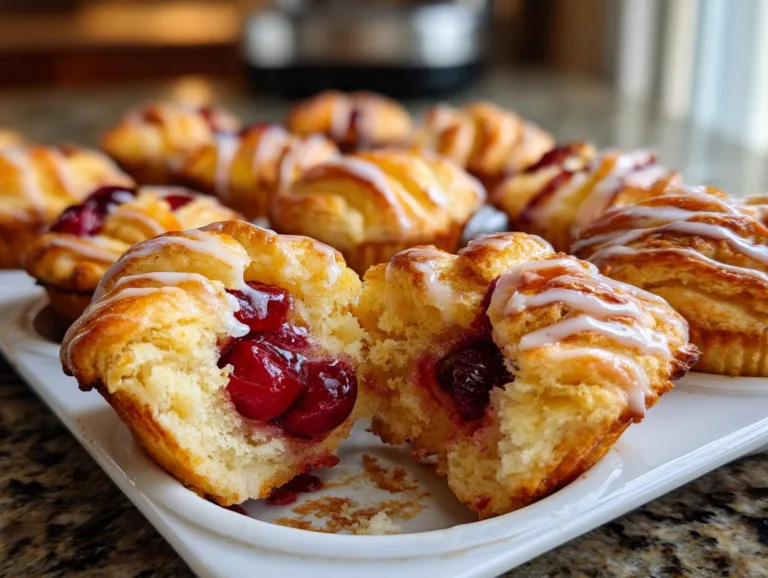
Irresistible Cherry Pie Bites That’ll Steal Your Heart
Easy-to-make cherry pie bites using crescent roll dough and cherry pie filling, topped with a simple glaze.
- Total Time: 24 mins
- Yield: 12 bites 1x
Ingredients
- 1 can cherry pie filling (21 oz)
- 2 tubes crescent roll dough (8 oz each)
- 1 to 2 tbsp milk
- 1 cup confectioners’ sugar (sifted)
Instructions
- Preheat oven to 375°F (190°C). Lightly grease a muffin tin.
- Unroll crescent dough and place each piece into muffin cups.
- Spoon cherry filling into each dough cup (3-4 tbsp per cup).
- Fold dough corners over the filling and bake for 13-14 minutes until golden.
- Whisk powdered sugar and milk to make the glaze.
- Drizzle glaze over warm cherry bites and serve.
Notes
- Adjust milk for desired glaze consistency.
- Sifting powdered sugar makes smoother glaze.
- Filling may overflow slightly—this adds rustic charm.
- Prep Time: 10 mins
- Cook Time: 14 mins
- Category: Dessert
- Method: Baking
- Cuisine: American
- Diet: Vegetarian
Nutrition
- Serving Size: 1 bite
- Calories: 180
- Sugar: 15g
- Sodium: 220mg
- Fat: 7g
- Saturated Fat: 2g
- Unsaturated Fat: 4g
- Trans Fat: 0g
- Carbohydrates: 28g
- Fiber: 1g
- Protein: 2g
- Cholesterol: 0mg
Tips for Perfect Cherry Pie Bites
Now listen close, darlin’ – these little tricks will take your cherry pie bites from good to “can I have the recipe?” status:

- Sift that sugar! Lumpy glaze is a tragedy – take the extra minute to sift your powdered sugar for that silky-smooth drizzle.
- Milk magic: Add milk slowly to your glaze – you can always add more, but you can’t take it out! Aim for honey-like consistency.
- Patience pays: Let the bites cool just 5 minutes before glazing. Too hot and the glaze melts right off; too cold and it won’t stick.
- Cherry control: If your filling’s extra juicy, spoon off some syrup first to prevent overflow (but keep it for pancake topping!).
Remember – imperfect pies taste just as sweet, so don’t stress over every little detail!
Variations for Cherry Pie Bites
Oh honey, don’t think we’re stuck with just cherries! These little bites are as versatile as my Sunday hat collection. Here are some of my favorite twists:
- Berry bliss: Swap cherry filling for blueberry or strawberry – equally delicious and just as easy!
- Spiced up: Skip the glaze and dust warm bites with cinnamon sugar for a cozy twist.
- Chocolate dreams: Add mini chocolate chips to the dough before baking – cherries and chocolate? Yes please!
The possibilities are endless – just like my love for these sweet little treats! If you want more dessert ideas, check out all my dessert recipes!
Serving and Storing Cherry Pie Bites
Oh, you’ll want to serve these cherry pie bites warm – that’s when the glaze melts just right and the filling oozes like sweet summer sunshine! If you’ve got leftovers (bless your heart if you do), tuck them in an airtight container for up to 2 days. Want that fresh-baked feel again? Pop ’em in a 350°F oven for 5 minutes – the crust will crisp right back up like magic!
Cherry Pie Bites Nutritional Info
Now sugar, let’s be honest – we’re not eating these for the health benefits! But for those curious minds, each bite has about 180 calories. Remember, nutrition varies by brand – my homemade filling makes ’em a tad sweeter than store-bought. Everything in moderation, right?
FAQs About Cherry Pie Bites
Q1. Can I use homemade cherry pie filling?
Absolutely, sugar! Homemade filling makes these extra special – just make sure it’s thick enough so your bites don’t get soggy. My secret? Add a tablespoon of cornstarch to your cherry mixture before cooking. Works like a charm!
Q2. Can I freeze cherry pie bites?
You betcha! Freeze them before baking – just assemble, wrap tight, and freeze up to 2 months. When that sweet craving hits, pop ’em straight in the oven (add 2-3 extra minutes). Already baked? They’ll keep frozen for a month, but the glaze is best added fresh.
Q3. My filling overflowed – did I do something wrong?
Oh honey, that’s not wrong – that’s character! Some overflow is normal and makes ’em look homemade (which is the best kind). Next time try slightly less filling or fold those dough corners tighter – but honestly, those caramelized bits are my favorite part!
Q4. Can I make these ahead for a party?
Smart thinking! Bake them the morning of your gathering and glaze right before serving. They’ll stay fresh-tasting for about 8 hours at room temperature. Want to prep further ahead? Freeze the unbaked bites like I mentioned – lifesaver for busy hostesses!
Share Your Cherry Pie Bites
Oh darlin’, I’d love to see your cherry pie bite creations! Snap a photo of those golden beauties and share your masterpiece – tag me so I can ooh and aah over your handiwork. And honey, if you tweaked the recipe just right, don’t be shy – we all want to hear your brilliant ideas!
For More recipes, Follow me on Facebook!






