
Oh, honey, let me tell you about my garlic herb roasted chickpeas – they’re the little crispy miracles that changed snack time in our house forever. I first started making these back when my grandkids were little and always begging for chips. Now they beg for these instead! That golden crunch, the way the garlic and herbs cling to every nook and cranny… it’s like magic in your mouth.

Table of Contents
Table of Contents
What I love most is how something so simple – just chickpeas, some olive oil, and my special herb blend – transforms into this addictive, healthy treat. Perfect for munching straight from the bowl, sprinkling over salads, or sneaking into lunchboxes. And the smell while they roast? Pure comfort. It’s the kind of snack that makes you close your eyes and sigh with happiness after every bite.
Why You’ll Love These Garlic Herb Roasted Chickpeas
Let me count the ways these little flavor bombs will steal your heart. First off, they’ve got that perfect crunch – like nature’s answer to potato chips, but with way more going for them. Here’s why these garlic herb roasted chickpeas have been my go-to snack for decades:
- That addictive texture – Crispy outside, slightly chewy inside, with all those herbs clinging to every nook
- Healthy but doesn’t taste like it – Packed with protein and fiber to keep you full
- Ready in under an hour – Most of that’s hands-off roasting time
- Endlessly versatile – Eat ’em plain, toss on salads, or use as soup croutons
- Grandkid-approved – My picky eaters go crazy for these (shh… don’t tell them they’re good for you!)
The best part? One batch disappears fast, but luckily they’re just as easy to make again. I always keep the ingredients on hand for when snack attacks hit.
Ingredients for Garlic Herb Roasted Chickpeas
Now let’s gather our simple ingredients – you’ll be amazed how these pantry staples transform into something magical. I’ve been using this exact combination for years, and trust me, each one plays a special role in creating that perfect garlic herb roasted chickpea crunch.

- Chickpeas: 2 cans (15 ounces each), drained and rinsed (this is key – no one wants soggy chickpeas!)
- Olive Oil: 3 tablespoons (my secret – the good stuff makes all the difference)
- Garlic: 4 cloves, minced (fresh only – none of that jarred nonsense)
- Dried Rosemary: 1 teaspoon
- Dried Thyme: 1 teaspoon
- Dried Oregano: 1 teaspoon
- Salt: 1 teaspoon
- Black Pepper: ½ teaspoon
Optional but wonderful extras:
- Red Pepper Flakes: ¼ teaspoon (for my spicy-loving folks)
- Fresh Parsley: 2 tablespoons, chopped (makes it pretty for company)
See? Nothing fancy, just honest ingredients that work together beautifully. I always tell my grandkids – good food starts with good ingredients, and this simple list proves it!
Equipment You’ll Need
Don’t you worry – we’re keeping things nice and simple here. Just a few trusty kitchen tools you probably already have:
- Baking sheet – My old sturdy half-sheet pan has roasted thousands of batches
- Parchment paper – No sticking and easy cleanup (grandma’s little helper)
- Mixing bowl – Medium-sized does the trick nicely
- Kitchen towel – The secret weapon for drying those chickpeas thoroughly
That’s it, sugar! No fancy gadgets needed – just good ol’ reliable basics that have stood the test of time in my kitchen.
How to Make Garlic Herb Roasted Chickpeas
Alright, let’s get these beauties roasting! I’ve made this recipe so many times I could do it in my sleep, but I’ll walk you through each step carefully. The secret’s in the details – dry those chickpeas well, spread ’em right, and keep an eye on them. Before you know it, you’ll have a bowl of golden, crispy goodness that’ll make your taste buds sing!
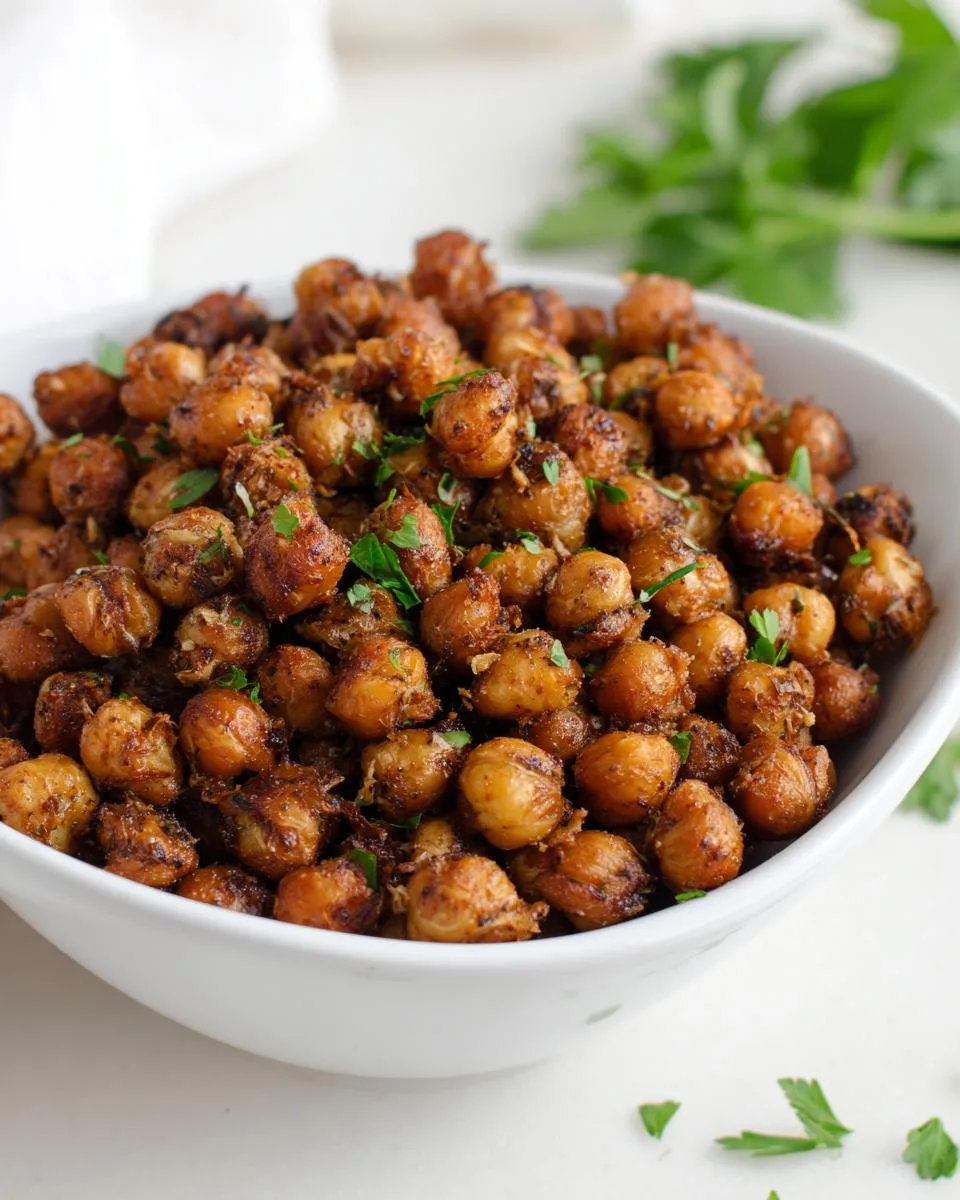
Prep the Chickpeas
First things first – we gotta dry those chickpeas like there’s no tomorrow. I can’t stress this enough, sugar! Wet chickpeas mean steamed chickpeas, and nobody wants that. Here’s how I do it:
After draining and rinsing, I spread them out on my trusty kitchen towel (the one with the little chickens on it – makes me smile every time). Then I roll ’em up gently and pat-pat-pat until they’re as dry as can be. Sometimes I’ll even leave them uncovered for 10 minutes to air-dry a bit more. You want those little guys bone dry – it’s the golden rule for maximum crispiness!
Seasoning the Chickpeas
Now for the fun part – making them taste amazing! In my favorite mixing bowl (the yellow one my granddaughter painted for me), I toss the dried chickpeas with all those glorious seasonings. Here’s my technique:
Drizzle the olive oil first, then add the minced garlic and all the dried herbs. I use my hands to mix – there’s something magical about feeling every chickpea get coated evenly. Don’t be shy – really massage those flavors in! The chickpeas should glisten with oil and be speckled with herbs in every nook. That’s when you know they’re ready for their oven spa treatment.
Roasting to Perfection
Here’s where the magic happens! Spread those seasoned chickpeas in a single layer on your parchment-lined baking sheet. No crowding now – give each one some personal space to crisp up properly. Into the oven they go at 400°F, and here’s my golden rule:
Set your timer for 20 minutes, then give ’em a good stir. This is when I do my little happy dance because the kitchen starts smelling divine! Roast another 10-20 minutes, keeping an eye out for that perfect golden brown color. They’ll make the most satisfying clinking sound when they’re ready. Let them cool slightly – they’ll crisp up even more as they sit. Then try not to eat the whole batch in one sitting (no promises though)!
Print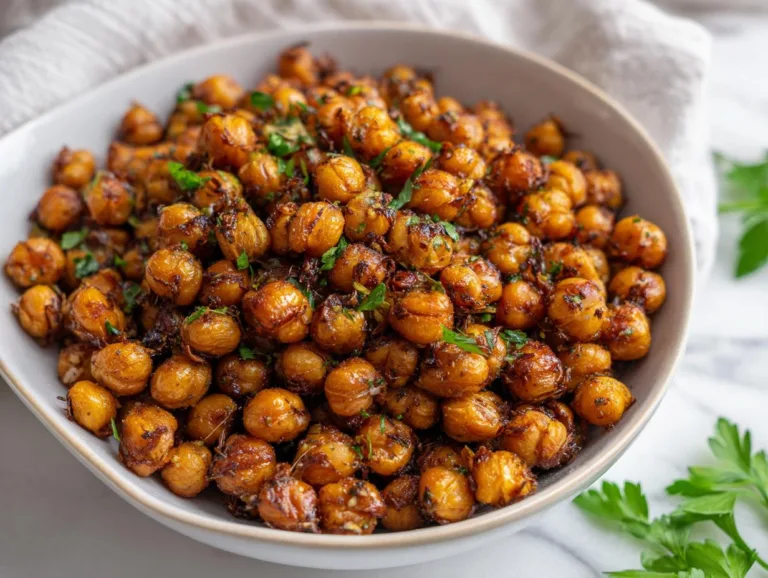
Grandma Jo’s Perfect Garlic Herb Roasted Chickpeas Recipe
Crunchy garlic herb roasted chickpeas make a perfect healthy snack or salad topping.
- Total Time: 50 minutes
- Yield: 4 servings
Ingredients
- Chickpeas: 2 cans (15 ounces each), drained and rinsed
- Olive Oil: 3 tablespoons
- Garlic: 4 cloves, minced
- Dried Rosemary: 1 teaspoon
- Dried Thyme: 1 teaspoon
- Dried Oregano: 1 teaspoon
- Salt: 1 teaspoon
- Black Pepper: ½ teaspoon
- Optional: Red Pepper Flakes: ¼ teaspoon
- Optional: Fresh Parsley: 2 tablespoons, chopped
Instructions
- Preheat oven to 400°F (200°C). Drain and rinse chickpeas.
- Dry chickpeas thoroughly with a kitchen towel.
- Mix chickpeas with olive oil, garlic, herbs, salt, and pepper.
- Toss until evenly coated.
- Spread in single layer on parchment-lined baking sheet.
- Roast 30-40 minutes until golden brown.
- Stir halfway through cooking.
- Check for crispiness and adjust time if needed.
- Let cool slightly before serving.
- Garnish with fresh parsley if desired.
Notes
- Dry chickpeas well for maximum crispiness.
- Don’t overcrowd the baking sheet.
- Chickpeas will crisp more as they cool.
- Store leftovers in airtight container.
- Prep Time: 10 minutes
- Cook Time: 40 minutes
- Category: Snack
- Method: Roasting
- Cuisine: Mediterranean
- Diet: Vegetarian
Nutrition
- Serving Size: 1/2 cup
- Calories: 180
- Sugar: 2g
- Sodium: 300mg
- Fat: 8g
- Saturated Fat: 1g
- Unsaturated Fat: 6g
- Trans Fat: 0g
- Carbohydrates: 22g
- Fiber: 6g
- Protein: 7g
- Cholesterol: 0mg
Tips for Crispy Garlic Herb Roasted Chickpeas
Oh honey, after fifty years of roasting chickpeas, I’ve learned all the tricks to get them perfectly crispy every time. First – don’t skimp on drying! I pat them twice just to be sure. Spread them like you’re tucking little chickpea babies into bed – no overlapping allowed. And here’s my secret: if they’re not crispy enough after cooling, pop ’em back in for 5 more minutes. Oven running hot? Drop to 375°F and add 10 minutes. Too cool? Crank it to 425°F but watch closely. The perfect crunch is worth the wait!
Serving Suggestions for Garlic Herb Roasted Chickpeas
Oh, the possibilities! These garlic herb roasted chickpeas are like the little black dress of snacks – they go with everything. My favorite way? Straight from the bowl while they’re still warm (careful, they’re addictive!). But let me tell you about some other wonderful ways to enjoy them:
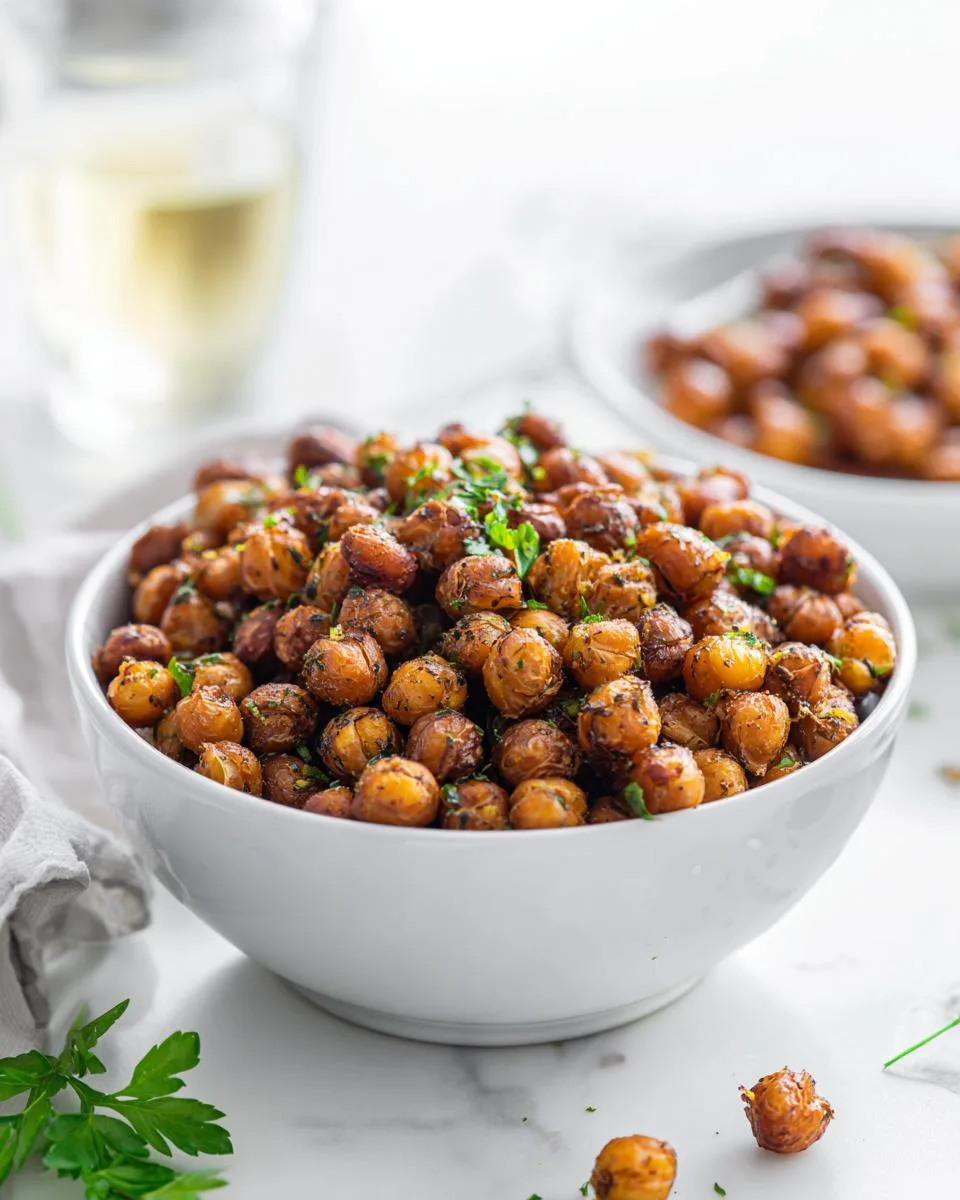
- Salad superstars – Toss them on greens instead of croutons for a protein punch
- Soup toppers – They add the perfect crunch to creamy tomato or butternut squash soup
- Snack mix – Combine with nuts and dried fruit for hiking fuel
- Fancy garnish – Sprinkle with fresh parsley and lemon zest when company comes
Honestly? I’ve even seen my grandkids use them like cereal with milk (kids these days!), but I prefer mine with a cold glass of sweet tea on the porch.
Storing and Reheating Garlic Herb Roasted Chickpeas
Now listen here – these garlic herb roasted chickpeas never last long in my house, but when they do (miracle of miracles!), here’s how I keep ’em crispy. Pop them in an airtight container – my old cookie tin works wonders. They’ll stay crunchy for about 4 days at room temperature, though I doubt they’ll last that long! If they soften up, just spread them on a baking sheet and warm at 350°F for 5 minutes to bring back that perfect crunch. No microwave – trust me, we tried that once and let’s just say… lesson learned!
Nutritional Information
Now don’t you go thinking I’m some fancy nutritionist, but after all these years of feeding my family, I’ve learned a thing or two about what’s good for you. These garlic herb roasted chickpeas pack quite the nutritional punch – and they taste so good you’d never guess! Remember, these numbers are just estimates based on standard ingredients.
- Serving Size: 1/2 cup (about a good handful)
- Calories: 180 (perfect for guilt-free snacking)
- Protein: 7g (keeps you full longer than chips!)
- Fiber: 6g (your tummy will thank you)
- Sugar: 2g (all natural from the chickpeas)
- Fat: 8g (mostly the good kind from olive oil)
- Sodium: 300mg (easy to adjust if you’re watching salt)
Now here’s what makes me smile – compared to potato chips or pretzels, these garlic herb roasted chickpeas give you way more nutrition for your crunch. They’ve got plant-based protein, fiber to keep you regular, and all those good herbs doing their magic. Of course, if you’re watching certain nutrients, you can always tweak the recipe – less salt, different oil, you name it. But in my book, food should be both good for you and good to eat, and these chickpeas hit that sweet spot perfectly!
Frequently Asked Questions
Can I use fresh herbs instead of dried?
Oh honey, I love your enthusiasm! Fresh herbs can work, but listen close – they contain more moisture, which might make your garlic herb roasted chickpeas less crispy. If you must use fresh, triple the amount (1 tablespoon fresh for every 1 teaspoon dried) and pat them as dry as possible. My advice? Stick with dried for the first try – they cling better and give that perfect herbal punch we all love.
Why aren’t my chickpeas getting crispy?
Bless your heart, let’s troubleshoot! Nine times out of ten, it’s one of three things: not dry enough before roasting (I double-pat mine), overcrowded on the pan (give ’em space to breathe!), or not roasted long enough (they’ll keep crisping as they cool). Next time, try leaving them in the turned-off oven with the door cracked to dry out completely. Works like a charm!
Can I make these without oil?
Now sugar, I’ll be honest – the oil helps them crisp up beautifully and carries all those lovely garlic and herb flavors. But if you must skip it, try a light spritz of cooking spray instead. They won’t get quite as golden, but they’ll still taste mighty fine. Just watch them extra close so they don’t dry out too much.
How do I know when they’re done roasting?
Oh, you’ll know! First, your kitchen will smell like heaven. Second, they’ll turn a beautiful golden brown and make a light “clink” sound when you shake the pan. But my foolproof test? Take one out, let it cool a minute, then bite – if it’s crunchy not chewy, they’re ready! If not, give ’em 5 more minutes.
Can I use other seasonings?
Why, of course you can! That’s the beauty of this recipe, darling. I’ve tried everything from curry powder to smoked paprika – just keep the total seasoning amount about the same. My grandson loves them with chili powder and lime zest. But I’ll tell you a secret – nothing beats that classic garlic herb combo we’ve been making for generations!
Share Your Experience
Oh goodness, nothing makes my heart happier than hearing how my garlic herb roasted chickpeas turn out in your kitchen! Did they get that perfect golden crunch? Did your family gobble them up faster than mine always does? I’d love to hear all about your experience!
Leave me a note below telling me how you served them – maybe you discovered a brilliant new way I haven’t tried yet! Or share any clever twists you made to the recipe. Every kitchen tells its own story, and I just adore hearing yours.
If these roasted chickpeas brought a smile to your face like they do mine, consider rating the recipe – your stars help other folks find their way to this little piece of crispy happiness. Most of all, thank you for letting me be part of your kitchen adventures. Cooking’s always better when we share!
For More recipes, Follow me on Facebook!






