
There’s nothing quite like the smell of old-fashioned pancakes sizzling on a lazy Sunday morning. I’m Grandma Jo, and I’ve been flipping these golden beauties for longer than I care to admit! My secret? Keeping things simple, just like my mama taught me back when we cooked on a wood stove. These pancakes aren’t fancy – just honest-to-goodness comfort food that’ll make you feel like a kid again.

Table of Contents
Table of Contents
Now don’t go thinking you need any special equipment or exotic ingredients for these. I make ’em with the same basic pantry staples I’ve used for decades – flour, eggs, milk, and that magic leavening that gives them their signature fluff. The batter comes together quicker than you can brew your coffee, and before you know it, you’ll be stacking plates high with tender, golden pancakes that beg for a river of maple syrup.
What makes these old-fashioned pancakes so special isn’t just their taste (though trust me, they’re divine). It’s the memories they create – of sleepy mornings when the whole house smells like warm vanilla and melted butter, of little fingers sneaking tastes of batter, of generations gathering ’round the table. That’s the real magic of simple, good cooking. You can find more simple comfort food recipes over at my recipes section.
Why You’ll Love These Old-Fashioned Pancakes
Oh honey, these pancakes aren’t just breakfast – they’re a warm hug on a plate! After sixty years of Sunday morning flipping, I’ve learned exactly what makes old-fashioned pancakes so special. That first bite takes you right back to simpler times, doesn’t it? When the biggest decision was whether to reach for the maple syrup or the strawberry jam.
Here’s what makes my recipe stand out:
- Light as clouds – thanks to that perfect amount of baking powder
- Ready before the coffee’s done – just 5 minutes of prep!
- Dances beautifully with toppings – fresh berries, whipped cream, or just classic butter and syrup
- Never fails to please – kids and grandparents alike gobble them up
The best part? You probably have everything you need in your kitchen right now. Now that’s what I call good old-fashioned cooking!
Ingredients for Old-Fashioned Pancakes
Gather round, dear – let me walk you through exactly what you’ll need for pancakes that’ll make your taste buds sing! Every ingredient here has earned its place through decades of testing in my kitchen. Trust me, these simple staples work together like magic.

- 1½ cups all-purpose flour – The sturdy foundation that holds everything together
- 3½ teaspoons baking powder – Our fluffy-maker! Don’t skimp here
- 1 tablespoon sugar – Just a kiss of sweetness to balance things out
- ½ teaspoon salt – The quiet hero that makes all flavors pop
- 1¼ cups milk (or buttermilk) – Buttermilk adds lovely tang if you’ve got it
- 1 egg – Adds richness and helps bind our batter
- 3 tablespoons melted butter (cooled) – Plus extra for cooking – can’t have too much butter!
- 1 teaspoon vanilla extract (optional) – My little secret that adds warmth
Ingredient Notes & Substitutions
Now let me share some kitchen wisdom about these ingredients! That baking powder? It’s what gives our pancakes their signature lift – fresh is best! Out of buttermilk? No worries – regular milk works just fine, though you might miss that subtle tang.
If you’re dairy-free, almond or oat milk make fine substitutes, though the texture changes slightly. And that melted butter? Let it cool a touch before adding – we don’t want to cook our eggs in the batter! The vanilla’s optional, but oh, what a difference it makes.
How to Make Old-Fashioned Pancakes
Alright, let me walk you through making pancakes just like I’ve done every Sunday morning since 1963! Don’t let the simplicity fool you – there’s an art to getting these just right. With a few tricks I’ve learned over the years, you’ll be flipping perfect golden pancakes before the bacon’s done sizzling.
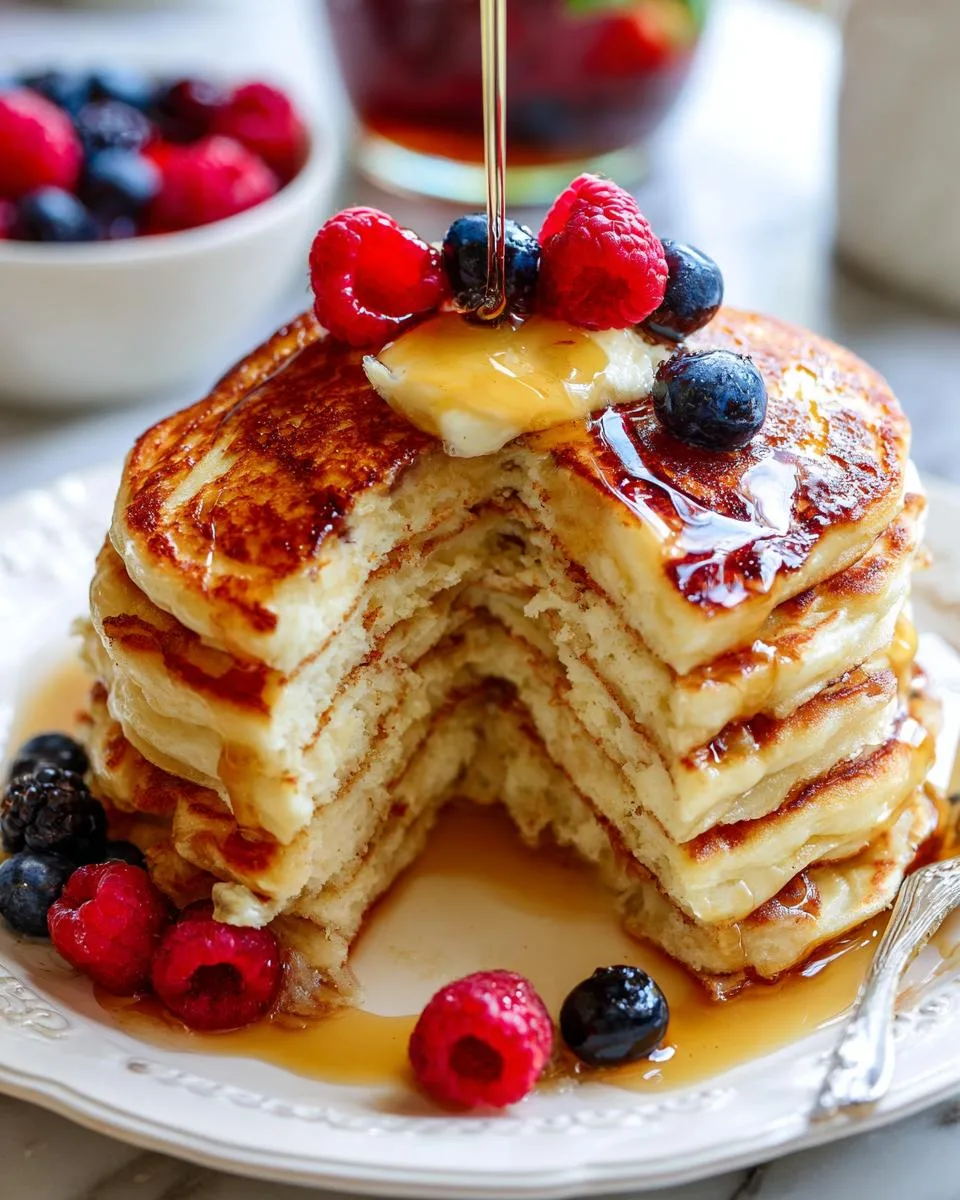
Step 1: Mix Dry Ingredients
First things first – grab your biggest mixing bowl! I like to whisk together the flour, baking powder, sugar and salt until they’re so well combined you’d think they were born together. This is where the magic starts – that baking powder is what’ll give our pancakes their signature puff. A good minute of whisking ensures no sneaky clumps of baking powder hiding in there!
Step 2: Combine Wet Ingredients
Now for the second act – in my trusty glass measuring cup (the one with the red handle), I beat the egg like it owes me money before adding the milk and that glorious melted butter. Oh! And don’t forget that splash of vanilla if you’re using it – makes all the difference. The trick here? Make sure your butter’s cooled slightly so it doesn’t cook the egg when you mix it in. Learned that the hard way back in ’72!
Step 3: Cook to Perfection
Here’s where the real fun begins! Pour those lovely wet ingredients into the dry ones and stir gently – I mean it, gently! – just until combined. Lumps are perfectly fine, darling. While that batter rests (gives the flour time to hydrate), heat your griddle or pan to a nice medium heat. Butter it up, then pour about ¼ cup of batter per pancake.
Now watch closely – when those little bubbles form on top and the edges look set (about 2 minutes), flip with confidence! Another minute or two on the other side until they’re golden brown. Trust me, you’ll know when they’re perfect – that heavenly smell can’t be ignored!
Print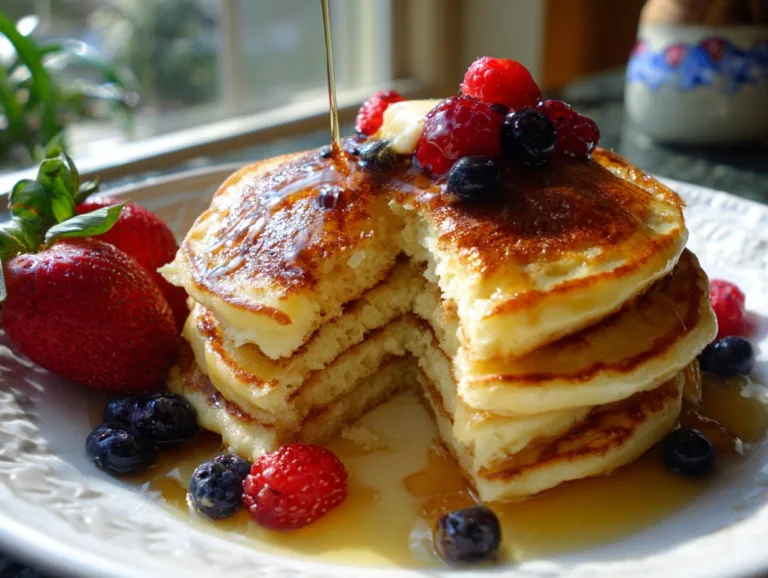
Grandma Jo’s 5-Star Old-Fashioned Pancakes Recipe
Classic old-fashioned pancakes made from scratch with simple ingredients.
- Total Time: 15 minutes
- Yield: 8–10 pancakes 1x
Ingredients
- 1½ cups all-purpose flour
- 3½ teaspoons baking powder
- 1 tablespoon sugar
- ½ teaspoon salt
- 1¼ cups milk (or buttermilk)
- 1 egg
- 3 tablespoons melted butter (plus more for cooking)
- 1 teaspoon vanilla extract (optional)
Instructions
- Get a large bowl. Whisk the flour, baking powder, sugar, and salt together in it.
- Take a separate bowl. Whisk the egg, milk, and melted butter in it. Pour in vanilla extract now if you want it.
- Pour the wet mixture from the second bowl into the bowl with the dry ingredients. Stir the mixture gently. Stop when the ingredients combine. Do not worry about a few lumps.
- Place a nonstick pan or griddle on your stove. Turn the heat to medium. Let the pan heat up. Brush a little butter over the cooking surface.
- Pour about ¼ cup of batter onto the hot pan for each pancake. Watch the pancake cook. You see bubbles form on the surface. The edges look set. This takes about 2 minutes.
- Use a spatula to flip the pancake. Cook the other side for 1 to 2 minutes. The pancake turns a golden brown color.
- Take the pancakes off the pan. Serve them warm. Add butter, maple syrup, or fresh fruit on top.
Notes
- For fluffier pancakes, let the batter rest for 5 minutes before cooking.
- Adjust heat as needed to prevent burning.
- Use buttermilk for a tangier flavor.
- Prep Time: 5 minutes
- Cook Time: 10 minutes
- Category: Breakfast
- Method: Stovetop
- Cuisine: American
- Diet: Vegetarian
Nutrition
- Serving Size: 1 pancake
- Calories: 150
- Sugar: 3g
- Sodium: 200mg
- Fat: 5g
- Saturated Fat: 3g
- Unsaturated Fat: 2g
- Trans Fat: 0g
- Carbohydrates: 22g
- Fiber: 1g
- Protein: 4g
- Cholesterol: 30mg
Tips for Fluffy Old-Fashioned Pancakes
Let me let you in on my lifetime of pancake secrets! First off – don’t rush that batter. Giving it 5 minutes to rest makes all the difference in the world for fluffiness. And for heaven’s sake, don’t overmix! A few lumps are perfectly fine – stir until just combined and walk away. Your pancakes will thank you.
Now here’s a trick I learned the hard way – that first pancake is your tester. If it’s cooking too fast or slow, adjust your heat. Medium is usually just right, but every stove is different. And whatever you do, only flip once! Peek too soon and you’ll regret it. Wait for those bubbles to pop and stay popped before you flip – that’s when you know they’re ready.
Serving Suggestions for Old-Fashioned Pancakes
Oh honey, now we get to the best part – dressing up these golden beauties! My grandkids call this “the pancake party” because everyone gets to create their perfect stack. After all these years, I’ve discovered some truly magical combinations that’ll make your taste buds dance.
First, the classics – and for good reason! A generous pat of butter melting into warm syrup rivers is pure nostalgia on a plate. But don’t stop there! Fresh berries add a pop of color and tartness – blueberries are my personal favorite, though strawberries sliced thin make a gorgeous presentation.
Feeling indulgent? Try these showstoppers:
- Whipped cream clouds with chocolate shavings – Sunday mornings deserve luxury
- Cinnamon sugar dusting – simple but oh-so-satisfying
- Peanut butter drizzle with banana slices – Elvis would approve
- Lemon zest and powdered sugar – surprisingly refreshing
And don’t forget the sides! Crispy bacon tucked between pancake layers is heavenly. Or for something lighter, scrambled eggs with chives make the perfect companion. Honestly though? These pancakes shine bright enough to stand alone – just pass the syrup and watch the smiles grow!
Storing and Reheating Old-Fashioned Pancakes
Now don’t you worry if you’ve made a few too many pancakes – I’ve got the secrets to keeping them tasting fresh as morning! First rule? Let them cool completely before storing, unless you want soggy sadness. Trust me, I learned that lesson after ruining a whole batch back in ’78!
For the fridge, stack them with parchment paper between each pancake in an airtight container. They’ll keep beautifully for 2-3 days this way. Need longer? Freeze them the same way – just wrap the whole stack in foil first for extra protection against freezer burn. They’ll stay perfect for up to 2 months!
Now for reheating – oh, I’ve tried every method under the sun! Here’s what works best:
- Toaster – Quick and easy! Gives them back that lovely crisp edge
- Oven (300°F for 10 minutes) – Best for larger batches, keeps them fluffy
- Skillet (medium-low with butter) – My favorite! Restores that fresh-off-the-griddle magic
A little trick? Sprinkle drops of water over them before microwaving to bring back moisture. But honestly? Nothing beats eating them fresh – that’s why I always make extra batter instead of extra pancakes!
Old-Fashioned Pancakes FAQs
Over the years, I’ve heard every pancake question under the sun! Let me share the answers to the ones folks ask me most often. These tips come straight from my decades of pancake flipping – no fancy cookbook nonsense, just good old-fashioned kitchen wisdom.
Why are my pancakes flat as pancakes?
Oh honey, I feel your pain! Usually it’s one of three things: old baking powder (check that expiration date!), overmixed batter (those lumps are your friends), or not letting the griddle get hot enough before cooking. Try replacing your baking powder and mixing less – you’ll see the difference!
Can I make the batter ahead?
You sure can, but with a catch! Mix the dry and wet ingredients separately the night before, then combine them in the morning. The batter itself doesn’t keep well – that baking powder starts working right away and loses its oomph if it sits too long.
What’s the secret to perfectly golden pancakes?
It’s all about that butter, darling! Keep your heat at medium (not too hot), and don’t skimp on greasing the pan. Wait for those bubbles to form all across the top before flipping – patience is a virtue I learned after many pale pancakes!
Can I freeze leftover pancakes?
Absolutely! Let them cool completely, then stack with parchment paper between each one. Wrap the whole stack tightly in foil or pop them in a freezer bag. They’ll keep beautifully for 2 months – just reheat in the toaster for that fresh-off-the-griddle taste.
Why add vanilla if it’s optional?
Oh, that’s my little flavor secret! Just a teaspoon adds warmth and depth that makes folks say “what’s different about these?” It complements the butter beautifully without overpowering. Try it once – you might never go back!
Nutritional Information
Now don’t go counting calories while you’re enjoying these heavenly pancakes, but I know some folks like to keep track! These numbers are just estimates, mind you – your mileage may vary depending on the exact ingredients you use. That said, here’s what you’re looking at per pancake (based on my trusty old kitchen scale measurements):
- 150 calories – Just enough to fuel your morning without weighing you down
- 5g fat – Mostly from that glorious butter we use
- 22g carbs – Perfect for soaking up all that maple syrup goodness
- 4g protein – Thanks to our egg and milk
- 3g sugar – Mostly from our tablespoon of sugar and natural milk sugars
Remember, these numbers can change if you use different milk or add extra toppings. But honestly? Some things – like Sunday morning pancake joy – are worth more than numbers can measure!
For More recipes, Follow me on Facebook!






