
Oh, Christmas Truffles – just saying the name makes me smile! These little bites of holiday magic are hands-down my favorite treat to whip up during the festive season. I still remember the first time I made them with my granddaughter – her tiny hands covered in sprinkles, giggling as we dipped the truffles in melted chocolate. That’s the beauty of this recipe – it’s easy enough for little helpers, fancy enough for parties, and absolutely packed with festive cheer. Whether you’re hosting a cookie exchange or just craving something sweet, these no-bake Christmas Truffles will become your new holiday staple in no time.

Table of Contents
Table of Contents
Why You’ll Love These Christmas Truffles
Let me tell you why these little gems have been my go-to holiday treat for years – they’re practically foolproof and always steal the show!
- No oven required – Seriously, who wants to heat up the kitchen when you’re already baking a dozen other things? These come together in minutes with just some mixing and chilling.
- Festive as can be – Those colorful sprinkles peeking through the white chocolate coating? Pure holiday magic. They look like you spent hours decorating when really it’s just a fun sprinkle toss!
- Endlessly customizable – Swap the white chocolate for dark, add peppermint extract instead of vanilla, or roll them in crushed candy canes. I’ve tried ’em all!
- Crowd-pleasing magic – Kids go crazy for the sweet cake batter center, adults appreciate the elegant look. They disappear faster than Santa’s cookies!
- Perfect for gifting – Tuck a few in cute holiday tins and voilà – instant edible presents that’ll have everyone asking for the recipe.
Trust me, once you make these Christmas Truffles, they’ll become your new holiday tradition too. My granddaughter still asks for “our special sprinkle balls” every December!
Ingredients for Christmas Truffles
Here’s everything you’ll need to make these festive treats – and trust me, you probably have most of it in your pantry already! I’ve made these so many times I could probably recite the ingredients in my sleep, but I still double-check everything before starting. That’s one kitchen habit Grandma Jo drilled into me years ago!

- 1 cup white cake mix – Just the dry mix straight from the box (I always use Betty Crocker, but any brand works)
- 1/2 cup all-purpose flour – Spoon it lightly into your measuring cup and level it off with a knife (no packing it down!)
- 1/2 cup granulated sugar – Regular white sugar works perfectly here
- 1/4 cup butter – Melted and cooled slightly (I like to use unsalted, but salted works in a pinch – just skip adding extra salt)
- 1/2 teaspoon vanilla extract – The good stuff makes all the difference!
- 2 tablespoons milk – Whole milk gives the best richness, but any milk you have works
- 1 tablespoon Christmas sprinkles + more for decorating – The jimmies-style (those little rod shapes) hold up better than nonpareils when mixing
- 1 1/2 cups white chocolate chips or vanilla almond bark – For that gorgeous snowy coating
Ingredient Substitutions & Notes
Now don’t go running to the store if you’re missing something – we can probably work around it! Here are my tried-and-true swaps:
- No cake mix? Use 1 cup flour + 1/2 cup sugar + 1 1/2 tsp baking powder + pinch of salt instead
- Out of white chocolate? Dark or semi-sweet chocolate makes a gorgeous contrast with the sprinkles
- Need dairy-free? Swap the butter for coconut oil and use your favorite non-dairy milk
- No vanilla? Try almond extract or peppermint for a fun holiday twist
- Allergic to sprinkles? Crushed candy canes or toasted coconut make fabulous festive alternatives
One little tip from experience – if your dough seems too sticky after mixing, just pop it in the fridge for 10 minutes before rolling. And if it’s too dry? Add milk 1 teaspoon at a time until it comes together. Baking is all about adjusting as you go!
How to Make Christmas Truffles
Alright, let’s get rolling – literally! These Christmas Truffles come together in just a few simple steps, but I’ll walk you through each one like I’m right there in the kitchen with you. The key is taking your time and enjoying the process – after all, holiday baking should be fun!
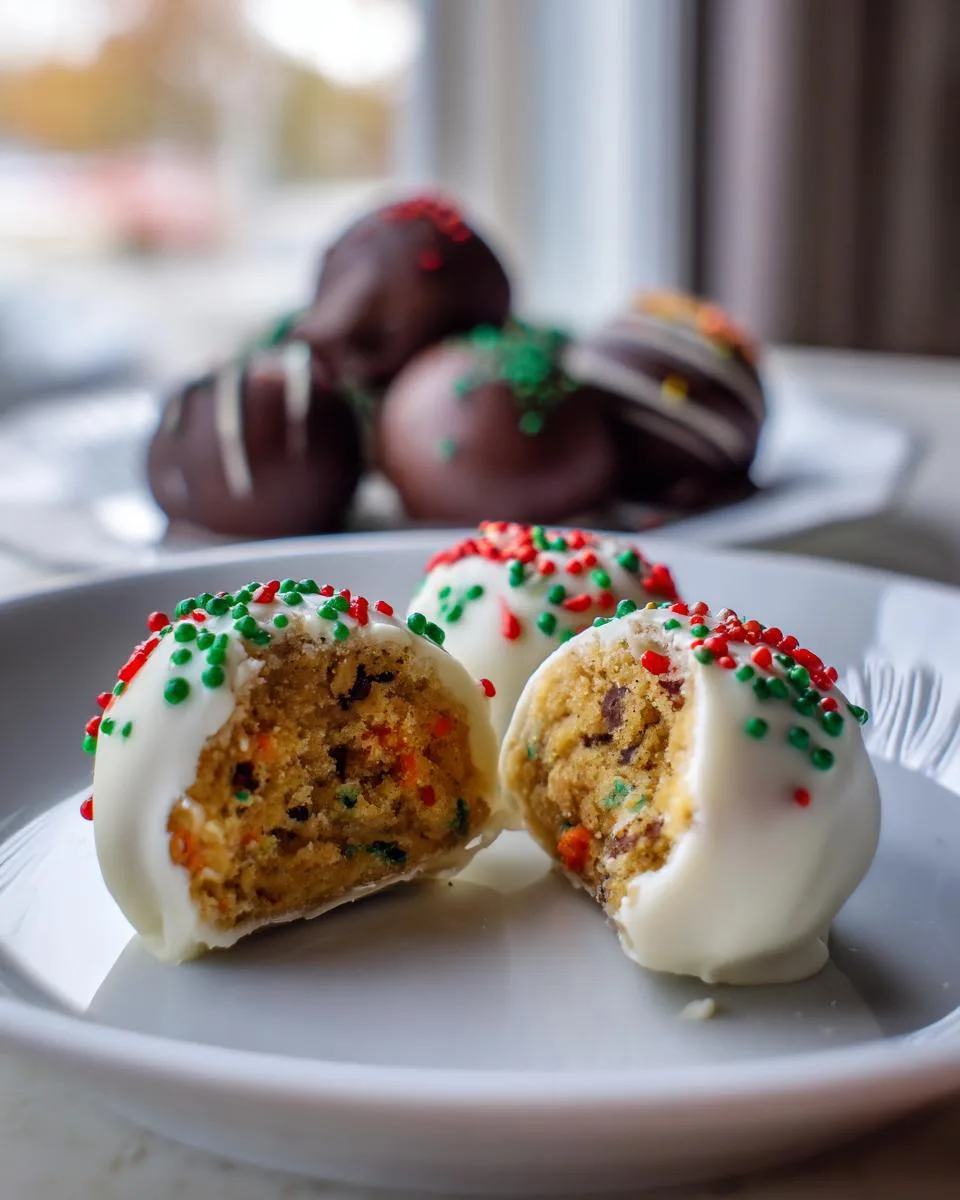
- Mix the dry ingredients: In your favorite big mixing bowl (I always use my yellow Pyrex one), whisk together the cake mix, flour, and sugar until they’re completely combined. You’ll know it’s ready when you can’t see any streaks of white flour left.
- Add the wet ingredients: Pour in that melted butter (make sure it’s cooled slightly so it doesn’t cook the flour), vanilla, milk, and sprinkles. Stir everything together with a wooden spoon until it forms a soft dough. Here’s the trick – it should hold together when you pinch it between your fingers but not be sticky. If it’s too dry, add another teaspoon of milk. Too wet? A sprinkle more flour.
- Shape the truffles: Now for the fun part! Use a small cookie scoop (mine’s about 1 tablespoon size) or roll teaspoonfuls between your palms to make even balls. Pro tip: If the dough sticks to your hands, lightly dampen them with water – works like a charm! Arrange them on a parchment-lined baking sheet.
- Chill time: Pop those beauties in the fridge for 20-30 minutes. This firms them up so they won’t fall apart when we dip them. While they’re chilling, let’s get that chocolate ready…
Coating and Decorating Tips
This is where the magic happens! I’ve coated hundreds of these truffles over the years, and here are all my secrets for perfect chocolate coverage every time:
Melting the chocolate: You’ve got two great options here:
- Double boiler method: My grandma’s way – place a heatproof bowl over a pot of simmering water (make sure the bowl doesn’t touch the water!). Stir the chocolate chips frequently as they melt. Slow and steady wins the race!
- Microwave method: For busy days, microwave the chocolate in 30-second bursts at 50% power, stirring between each round. Stop when there are just a few unmelted chips left – the residual heat will finish the job.
Avoiding clumps: Whatever you do, don’t let any water get into your chocolate – it’ll seize up faster than you can say “Christmas disaster!” Keep your utensils completely dry. If your chocolate does get too thick, stir in a teaspoon of vegetable oil to smooth it out.
Dipping technique: Use a fork to gently lower a chilled truffle into the chocolate. Roll it around to coat completely, then lift it out, tapping the fork gently on the bowl’s edge to remove excess chocolate. Slide it onto parchment paper with a little shake – this helps create that perfect round shape.
Decorating ideas: While the chocolate’s still wet, have fun with toppings! Here are some of my favorites:
- Classic Christmas sprinkles (of course!)
- Crushed candy canes for a peppermint twist
- Edible gold dust for fancy gatherings
- Tiny holly leaves made from green icing
- A drizzle of dark chocolate for contrast
Remember – there are no wrong choices here! Half the fun is making each batch unique. Last year, my granddaughter insisted we make some with just red sprinkles to look like Santa’s hat – pure holiday happiness!
Print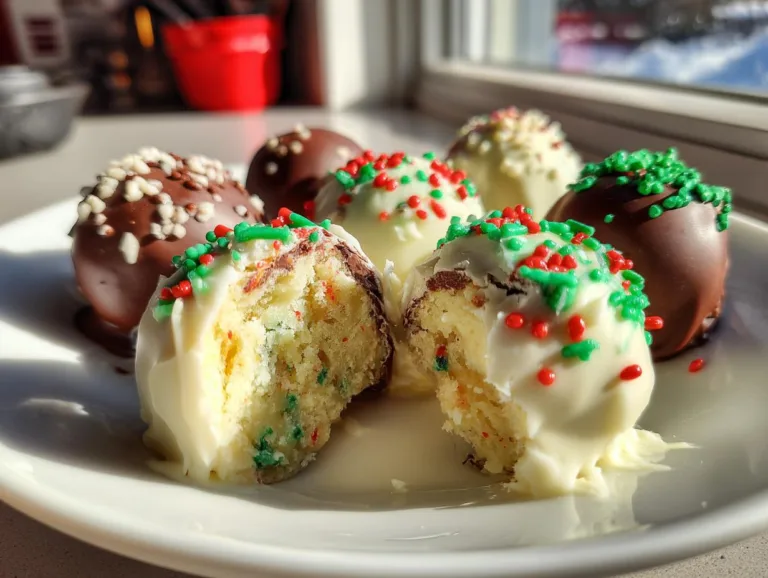
Grandma Jo’s 5-Star Christmas Truffles Will Wow Everyone
Christmas Truffles are a festive and easy-to-make treat perfect for holiday gatherings. These truffles combine the flavors of cake mix, vanilla, and white chocolate for a delightful dessert.
- Total Time: 50 minutes
- Yield: 24 truffles 1x
Ingredients
- 1 cup white cake mix
- 1/2 cup all purpose flour
- 1/2 cup granulated sugar
- 1/4 cup butter melted
- 1/2 teaspoon vanilla
- 2 tablespoons milk
- 1 tablespoon Christmas sprinkles + more for decoration
- 1 1/2 cups white chocolate chips or vanilla almond bark
Instructions
- In a large bowl, whisk cake mix, flour, and sugar. Stir in melted butter, vanilla, milk, and sprinkles. The mixture should be moist and be able to hold its shape easily when formed.
- Using a cookie scoop, form mixture into even balls and refrigerate 20-30 minutes.
- In the meantime, melt chocolate in a double boiler or slowly in the microwave. Using a fork, drop one of the cake batter truffles into the chocolate and roll around to coat. Tap off the excess gently and transfer to a cookie sheet lined with wax paper.
- Top with more sprinkles, if desired.
Notes
- Store truffles in an airtight container at room temperature for up to 3 days.
- For a festive touch, use different colored sprinkles.
- Prep Time: 20 minutes
- Cook Time: 10 minutes
- Category: Dessert
- Method: No-Bake
- Cuisine: American
- Diet: Vegetarian
Nutrition
- Serving Size: 1 truffle
- Calories: 120
- Sugar: 10g
- Sodium: 80mg
- Fat: 6g
- Saturated Fat: 3.5g
- Unsaturated Fat: 2g
- Trans Fat: 0g
- Carbohydrates: 15g
- Fiber: 0g
- Protein: 1g
- Cholesterol: 10mg
Storing and Serving Christmas Truffles
Now that you’ve made these gorgeous Christmas Truffles, let’s talk about keeping them fresh and showing them off! Trust me, these never last long in my house – between sneaky grandkids and my own sweet tooth, I’m lucky if they make it 24 hours. But just in case you have more willpower than me, here’s how to store them right.
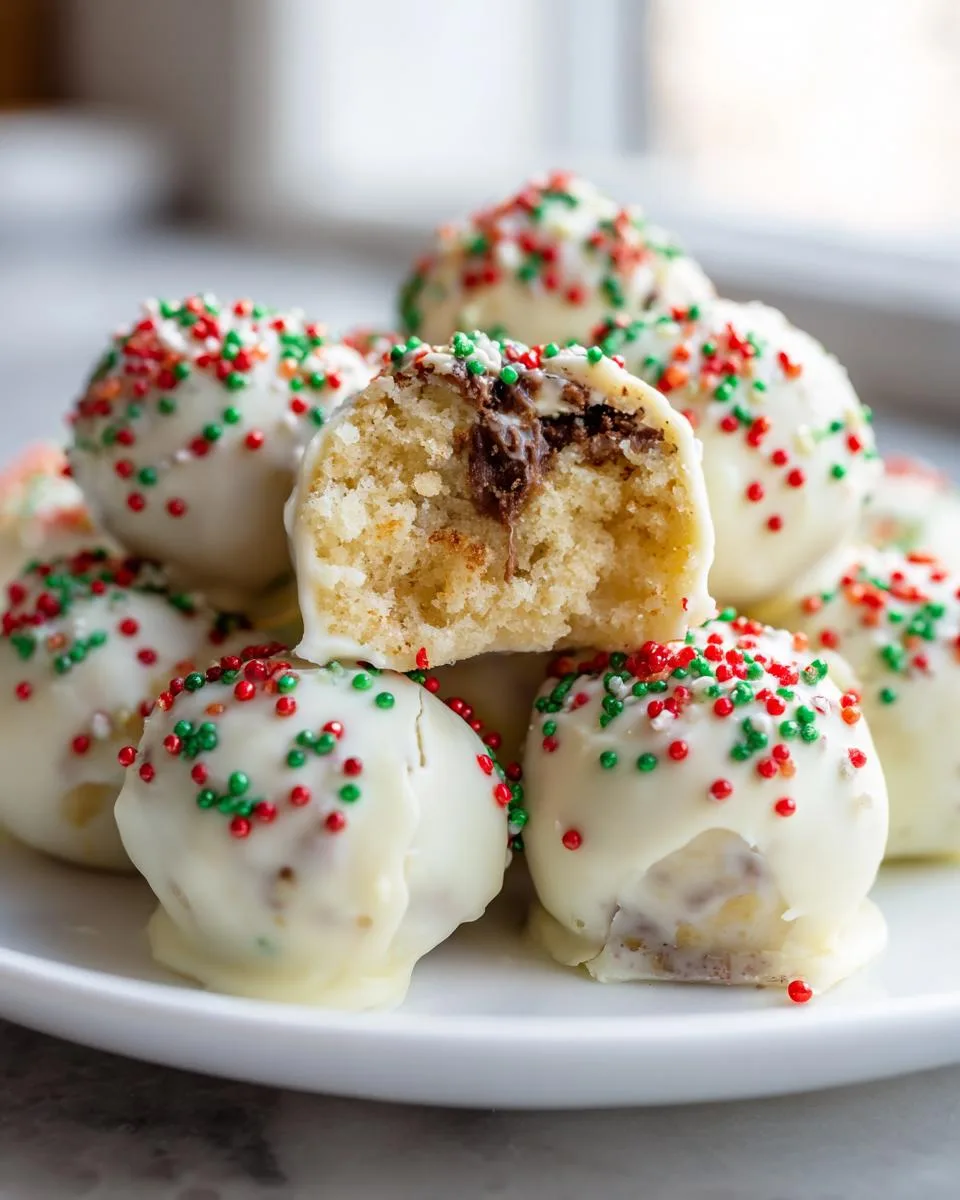
Storage tips:
- At room temp: Pop them in an airtight container (I love my vintage cookie tins for this) with parchment between layers. They’ll stay perfect for 3 days – if they last that long!
- In the fridge: Need them to last up to a week? The fridge works, but let them come to room temp before serving so the chocolate doesn’t “sweat.”
- Freezing? Absolutely! Arrange them in a single layer on a baking sheet to freeze solid first (about 2 hours), then transfer to freezer bags. They’ll keep for 3 months! Thaw at room temp for an hour when the craving hits.
Serving ideas that’ll impress:
- Arrange them on a festive platter with other holiday cookies – the red and green sprinkles make them natural showstoppers.
- Package them in clear cellophane bags tied with ribbon for adorable edible gifts (my neighbors expect these every December now!).
- Set them out at your holiday party with little decorative picks – so much easier than slicing cake!
- Stack them in a clear glass jar as a centerpiece – edible decor at its finest.
- Pack them in your kids’ lunchboxes for a special December treat (I may or may not sneak one in my purse too).
One last tip from years of truffle-making – if you’re serving these at a party, make double what you think you’ll need. I learned that lesson the hard way when my bridge club polished off two batches before I even got one! These Christmas Truffles have a way of disappearing faster than Santa up the chimney.
Christmas Truffles FAQs
Over the years, I’ve gotten all sorts of questions about these Christmas Truffles – and I love helping folks troubleshoot! Here are the answers to the most common ones that pop up in my kitchen (and my inbox):
Can I use dark chocolate instead of white chocolate?
Oh honey, absolutely! Dark chocolate makes a gorgeous contrast with those festive sprinkles. I actually make half-and-half batches sometimes for variety. Just remember – dark chocolate sets firmer than white, so work quickly when dipping. And if you really want to get fancy, try drizzling some melted dark chocolate over the white-coated truffles for a snowflake effect!
Help! My dough is too sticky – what now?
Don’t panic – we’ve all been there! First, pop the dough in the fridge for 10-15 minutes to firm up. If it’s still sticky, lightly dust your hands with powdered sugar (not flour – trust me on this) before rolling. Still too wet? Add flour a teaspoon at a time until it’s workable. On the flip side, if your dough’s too crumbly, add milk 1 teaspoon at a time until it holds together.
Can I make these Christmas Truffles ahead of time?
You betcha! In fact, they’re perfect for making ahead. The rolled, uncoated balls keep beautifully in the fridge for 2 days – just cover tightly. Or freeze them for up to a month! When you’re ready, let them thaw in the fridge overnight before dipping. The finished truffles also freeze wonderfully – just layer them between parchment in an airtight container.
Why did my chocolate coating crack after it set?
Ah, temperature shock is usually the culprit here! Make sure your truffle centers aren’t ice-cold when dipping – let them sit at room temp for about 5 minutes first. Also, your melted chocolate shouldn’t be too hot – test a dab on your wrist (like baby’s milk). If it’s just warm, not hot, you’re golden. And always let them set at room temperature, not in the fridge.
Can I use homemade cake mix instead of store-bought?
Of course! My go-to substitute is 1 cup flour + 1/2 cup sugar + 1 1/2 tsp baking powder + pinch of salt. The texture will be slightly different (a bit less fluffy), but just as delicious. One year I even used leftover gingerbread cake crumbs – talk about holiday flavors!
Still got questions? Drop me a note – nothing makes me happier than helping fellow bakers create holiday magic in their kitchens!
Nutritional Information
Now, I’m no dietitian, but I know folks like to have an idea of what they’re enjoying – especially during the indulgent holiday season! These numbers are just estimates, mind you, since ingredients and brands can vary. My philosophy? Everything in moderation, especially when it comes to holiday treats as special as these Christmas Truffles!
- Serving size: 1 truffle (about 1-inch diameter)
- Calories: Approximately 120 per truffle
- Sugar: Around 10g (those sprinkles do add up!)
- Fat: About 6g – mostly from the butter and chocolate
- Protein: Just 1g – not exactly a protein bar, but who cares?
- Carbs: Roughly 15g per little bite of joy
Remember, these values can change if you use different ingredients – dark chocolate instead of white, coconut oil instead of butter, etc. But let’s be real – when you’re making Christmas Truffles, you’re making memories more than counting calories! I always say savor each bite slowly – that way you enjoy every bit of holiday sweetness.
Note: Values are estimates. Nutrition varies based on ingredients/brands used.
Share Your Holiday Creations
Oh, I just know your Christmas Truffles are going to turn out absolutely gorgeous! There’s nothing I love more than seeing how you put your own special spin on this recipe. Did you use peppermint extract instead of vanilla? Maybe you tried crushed candy cane topping? However they turned out, I’d be tickled pink to hear about it!
Here’s how you can share the holiday cheer:
- Leave a star rating below – it helps other bakers know what to expect (and makes my day when I see those 5 stars!)
- Snap a photo and tag me on Instagram @GoodOlRecipes – I feature reader creations every Friday in December!
- Drop a comment sharing your favorite variation – your idea might inspire someone else’s holiday baking
- Pin your prettiest truffles to Pinterest – don’t forget to use #ChristmasTruffles so we can all admire them
Every year, I’m amazed by the creative twists you all come up with – last December, one reader made them with eggnog flavoring and gold dust that looked like little snow globes! Whatever magic you create in your kitchen, I hope these Christmas Truffles bring you as much joy as they’ve brought my family. Now go enjoy your holiday treats – you’ve earned every delicious bite!
For More recipes, Follow me on Facebook!






