
Oh, these Halloween Mummy Shortbread cookies bring back such sweet memories! Every October, my grandkids and I would turn my kitchen into a spooky cookie factory. There’s something magical about watching their little faces light up as plain dough transforms into adorable mummy treats. The secret? That melt-in-your-mouth shortbread base – buttery, tender, and just sturdy enough to hold all that chocolatey goodness.

Table of Contents
Table of Contents
I’ll never forget the year little Tommy accidentally put the candy eyes on upside down – we laughed so hard we nearly forgot to finish decorating the rest! Now it’s our silly tradition to make at least one “sleepy mummy” cookie each year. The best part? These treats look fancy but couldn’t be simpler to make. Just wait until you see how the dark chocolate “bandages” and those googly candy eyes bring these sweet little mummies to life!
Why You’ll Love These Halloween Mummy Shortbread Cookies
Let me tell you why these little mummies become everyone’s favorite Halloween treat year after year:
- Buttery magic: That classic shortbread texture – crisp edges with a melt-in-your-mouth center that makes you close your eyes and sigh
- Kid-approved fun: Little hands love pressing on those candy eyes and drizzling “bandages” (I may or may not sneak extra chocolate just to hear the giggles)
- Party perfect: They look like you spent hours decorating when really, the dough does most of the work for you
- No-fuss fancy: Just slice, bake, dip and drizzle – even my neighbor’s teenager can whip up a batch solo
- Crowd pleaser: The combo of rich dark chocolate and sweet shortbread disappears faster than ghosts at sunrise
Ingredients for Halloween Mummy Shortbread Cookies
Now let’s gather our simple but mighty lineup – these are the building blocks for our spooky little mummies. Trust me, every ingredient plays a special role in creating that perfect shortbread texture and adorable mummy look!

- 145 g butter, at room temperature – This isn’t just any butter, mind you. It should be soft enough to leave a thumbprint but still hold its shape. Cold butter won’t cream properly, and melted butter makes greasy cookies – we want that Goldilocks “just right” consistency!
- ½ cup icing sugar, sifted – Sifting isn’t just busywork – it keeps our cookies tender and prevents lumpy dough. I use a fine mesh strainer and give it a good tap over the bowl.
- ½ tsp vanilla extract – The secret whisper of flavor that makes people say “Hmm, what’s that delicious something?” Pure vanilla makes all the difference here.
- 1 ½ cups plain flour, sifted – Again with the sifting! It incorporates air and prevents dense cookies. I measure by spooning flour into the cup to avoid packing it down.
- ½ tsp fine salt – Don’t skip this! It balances the sweetness and makes all the flavors pop. I use kosher salt for even distribution.
- 150 g dark chocolate buttons – These melt smoother than chocolate chips. Go for at least 60% cocoa – it gives that rich “bandage” color and keeps the sweetness in check.
- 100 g white chocolate buttons – The “mummy wrap” magic! Buttons melt evenly for perfect drizzling. If they’re not available, a good baking bar chopped small works too.
- Candy eyes – The personality makers! You’ll find these at baking stores or online. About 1/4 inch size gives that perfect wide-eyed mummy look.
See? Nothing fancy, just good old-fashioned ingredients done right. Now let’s turn these into something spooktacular!
How to Make Halloween Mummy Shortbread Cookies
Alright, let’s roll up our sleeves and make some adorable mummy magic! These steps are so simple even my grandkids can follow along (with a little supervision around the oven, of course). The key is taking our time – good shortbread can’t be rushed!
Step 1: Prepare the Dough
First, grab that softened butter and pop it into your mixing bowl. Beat it with the vanilla until it looks creamy and dreamy – about 2 minutes should do it. Now sprinkle in the icing sugar and salt, mixing just until combined. Here’s where patience pays off – we want fluffy, not flat!
Switch to low speed and add the flour in batches. I like to stop halfway to scrape down the sides – those sneaky dry pockets love to hide! Mix until the dough just comes together – overmixing makes tough cookies, and nobody wants that.
Step 2: Chill and Slice
Here’s my favorite trick: divide the dough in half and roll each portion into a log about 1.5 inches thick. Wrap them snug in cling film like little dough burritos. Into the fridge they go for at least an hour – this firms up the butter so our slices stay perfect.
When you’re ready, use a sharp knife to slice ½ cm rounds. Too thick and they won’t crisp properly, too thin and they might burn. I aim for about the width of two stacked quarters – works every time!
Step 3: Bake and Cool
Line your baking sheets with parchment (trust me, it’s worth it) and space the slices about an inch apart. Into a 180°C (350°F) oven they go for exactly 10 minutes – set a timer! We want pale golden edges but still light centers.
Let them cool on the tray for 5 minutes before transferring – fresh-from-the-oven shortbread is fragile. They’ll firm up beautifully as they cool.
Step 4: Decorate Like Mummies
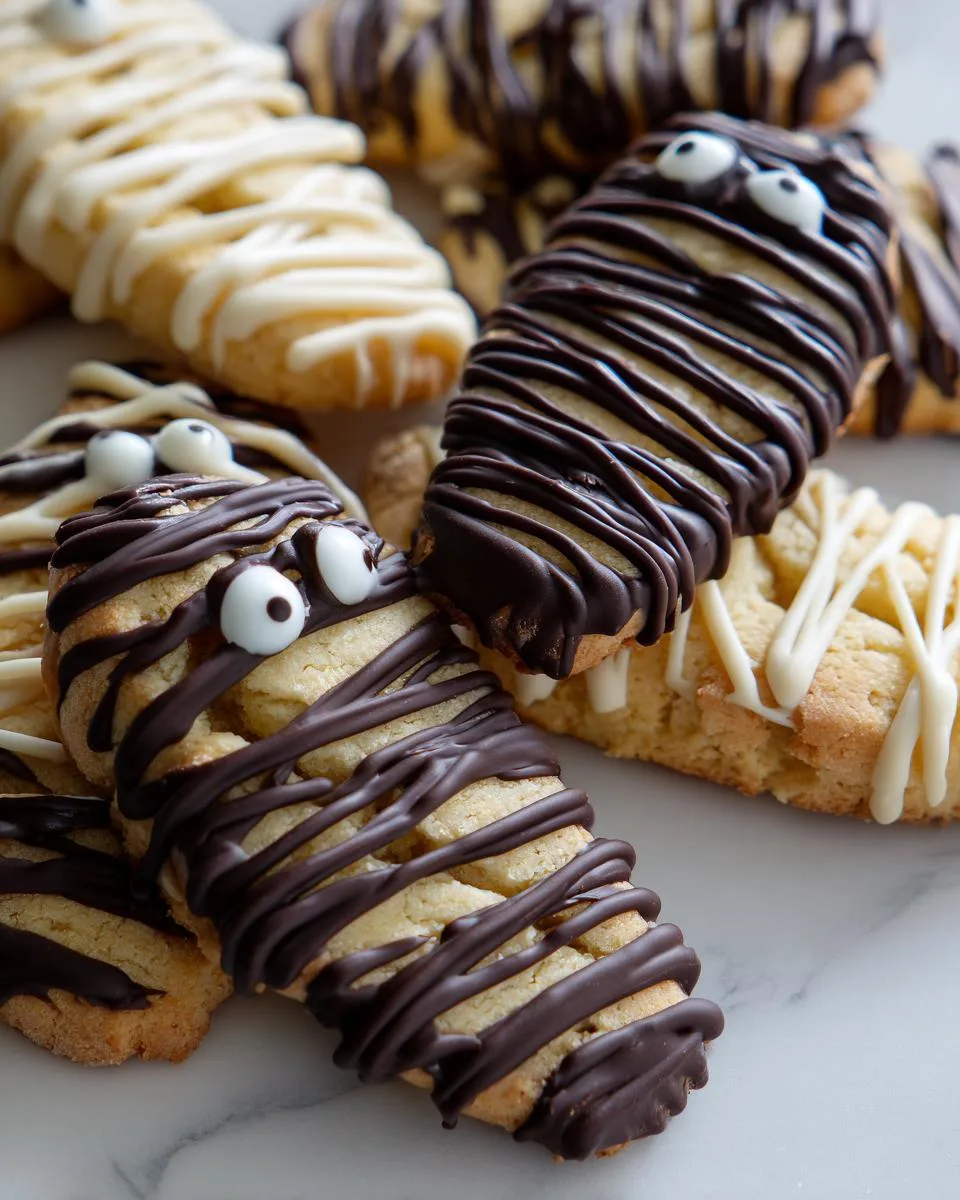
Now the fun part! Melt your dark chocolate gently (I use a double boiler but microwaving in 30-second bursts works too). Dip each cookie halfway – this creates the mummy’s “body.” Quickly press on two candy eyes while the chocolate’s still wet.
For the bandages, snip a tiny corner off your white chocolate-filled baggie and drizzle back and forth over the dark chocolate. Don’t overthink it – messy bandages look more authentic! Let them set completely before stacking.
Voila! You’ve just created the cutest little cookie mummies this side of the Nile!
Print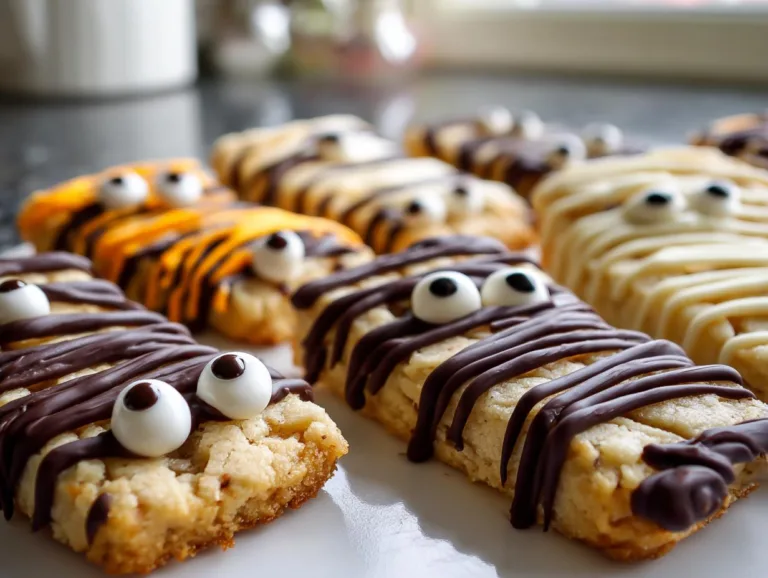
9 Spooktacular Halloween Mummy Shortbread Cookies Kids Enjoy
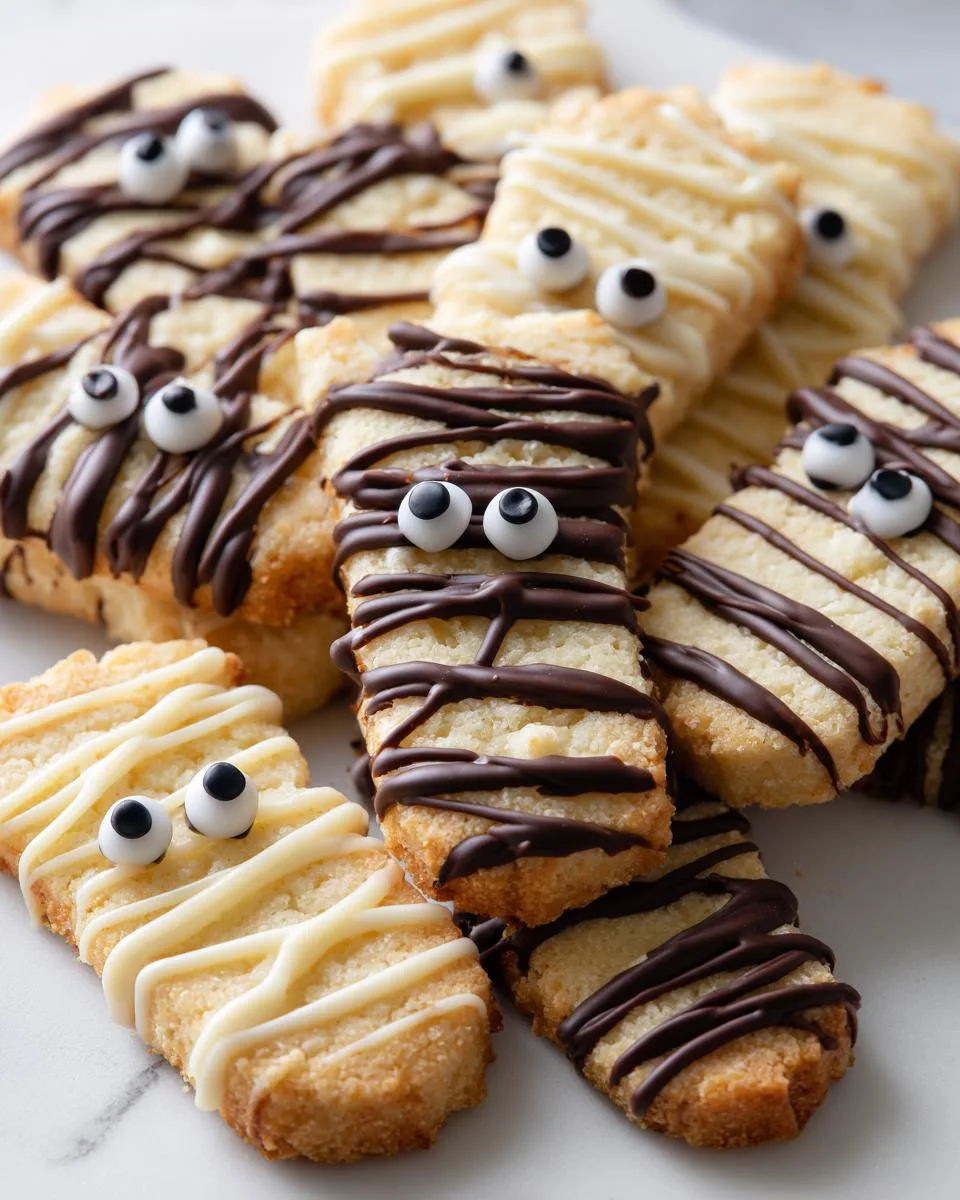
Halloween Mummy Shortbread cookies are fun, spooky treats perfect for Halloween. These buttery shortbread cookies are dipped in dark chocolate, decorated with candy eyes, and drizzled with white chocolate to resemble mummies.
- Total Time: 1 hour 25 minutes
- Yield: 24 cookies 1x
Ingredients
- 145 g butter, at room temperature
- ½ cup icing sugar, sifted
- ½ tsp vanilla extract
- 1 ½ cups plain flour, sifted
- ½ tsp fine salt
- 150 g dark chocolate buttons
- 100 g white chocolate buttons
- candy eyes
- Ziplock bag
Instructions
- Beat the butter and vanilla extract in a stand mixer or electric mixer at medium speed until well mixed. Add the icing sugar and salt and mix until combined.
- Change the speed to low. Add the flour and beat until combined. Scrape the sides and bottom a few times until the mixture is well incorporated. Do not overmix.
- Shape the cookie dough into cylinders and wrap in cling wrap. Refrigerate for at least an hour.
- Preheat the oven to 180°C (350°F). Line baking trays with baking paper.
- Slice the dough into ½ cm thick pieces. Place on trays, spaced apart. Bake for 10 minutes on middle racks. Cool for 5 minutes, then transfer to a cooling tray.
- Melt dark chocolate in a Bain-marie, stirring continuously. Remove from heat.
- Place white chocolate in a Ziplock bag and seal. Submerge in hot water until melted.
- Dip one side of each cookie in dark chocolate and add candy eyes. Drizzle with melted white chocolate.
- Store in an airtight container for up to 2 weeks. Dough can be refrigerated for a week or frozen for a month.
Notes
- Do not overmix the dough to keep cookies tender.
- Chilling the dough ensures easier slicing.
- Use high-quality chocolate for best results.
- Decorate cookies quickly before chocolate sets.
- Prep Time: 1 hour 15 minutes
- Cook Time: 10 minutes
- Category: Dessert
- Method: Baking
- Cuisine: American
- Diet: Vegetarian
Nutrition
- Serving Size: 1 cookie
- Calories: 120
- Sugar: 8g
- Sodium: 50mg
- Fat: 7g
- Saturated Fat: 4g
- Unsaturated Fat: 2g
- Trans Fat: 0g
- Carbohydrates: 12g
- Fiber: 1g
- Protein: 1g
- Cholesterol: 15mg
Tips for Perfect Halloween Mummy Shortbread Cookies
After making thousands of these little mummies over the years, I’ve picked up some tricks that’ll take your cookies from good to spooktacular:
- Chill that dough! That hour in the fridge isn’t just a suggestion – it keeps the cookies from spreading into little puddles in the oven. No one wants flat mummies!
- Splurge on good chocolate – Cheap chocolate seizes up or turns grainy. I always use baking-quality buttons or bars—those candy melts just don’t have the same rich flavor.
- Work fast with decorations – Chocolate sets quickly! Have your eyes ready and drizzle those “bandages” before the base layer dries. If it does set, just rewarm slightly.
- Room temp butter is key – Too cold won’t cream, too warm makes greasy cookies. It should dent slightly when pressed but still hold its shape.
Storage and Freezing Instructions
These little mummies keep surprisingly well! Store them in an airtight container at room temperature – they’ll stay fresh and delicious for up to 2 weeks (if they last that long!). The dough logs freeze beautifully too – just wrap them extra tight in cling film and pop in a freezer bag for up to a month. When you’re ready to bake, let the dough thaw slightly in the fridge before slicing. Perfect for last-minute Halloween surprises!
Nutrition Information for Halloween Mummy Shortbread Cookies
Now, I’m no nutritionist, but after years of making these treats, I’ve learned a thing or two about what goes into them. These numbers are just estimates, mind you – your batch might vary slightly depending on how generous you are with those chocolate “bandages!”
Per cookie (and trust me, you won’t stop at just one!):
- 120 calories – Perfect for a little Halloween energy boost between trick-or-treating
- 7g fat – That’s the buttery goodness doing its magic (use good butter and it’s worth every gram!)
- 8g sugar – Just enough sweetness to satisfy without going overboard
- 12g carbs – Mainly from that delicate shortbread base
- 1g protein – Not why we eat cookies, but hey, it’s there!
Remember, these are treats meant to be enjoyed in moderation (says the grandma who may or may not have eaten three while writing this). The real nutrition? The joy of making memories with loved ones – and that’s impossible to measure!
FAQs About Halloween Mummy Shortbread Cookies
Over the years, I’ve gotten all sorts of questions about these adorable mummy cookies – here are the ones that pop up most often with my tried-and-true answers:
Can I use milk chocolate instead of dark chocolate?
You sure can, but hear me out first! Dark chocolate gives that perfect “ancient mummy bandage” color and balances the sweetness of the shortbread. Milk chocolate tends to look more like… well, dirty bandages (not the spooky vibe we want!). If you do use milk chocolate, try adding a teaspoon of cocoa powder to deepen the color.
Help! My dough keeps breaking when I slice it – what am I doing wrong?
Oh honey, we’ve all been there! Usually it means the dough is too cold. Let it sit at room temperature for about 5 minutes – it should slice like firm butter. If cracks form while rolling, just smoosh it back together with your fingers. Shortbread dough is very forgiving that way!
Can I make these without candy eyes?
Absolutely! Get creative – mini chocolate chips pointy-side down make great beady eyes. Or pipe two white chocolate dots and add a tiny dark chocolate pupil. One year we used sliced almonds for “zombie eyes” – the kids thought it was hilarious!
Why do my cookies spread too much in the oven?
Three likely culprits: 1) Butter was too soft when creaming, 2) Dough didn’t chill long enough, or 3) Oven wasn’t hot enough. Next time, check your butter’s temperature (should dent slightly when pressed), chill the full hour, and use an oven thermometer to verify the temperature. Works like a charm!
Can I freeze the decorated cookies?
You can, but the chocolate might “bloom” (get those white streaks) when thawing. Better to freeze the undecorated baked cookies, then dip and decorate after thawing. The dough itself freezes beautifully though – I always keep a log or two ready for last-minute Halloween emergencies!
Share Your Spooky Creations!
Oh, I just know your Halloween Mummy Shortbread cookies are going to turn out absolutely adorable – I can practically see those little candy eyes peeking out from their chocolate bandages already! Here’s what warms my heart more than a fresh batch of cookies: seeing your kitchen creations come to life.
Snap a photo of your mummy crew before they “disappear” (into happy tummies, that is!) and tag me @GrandmaJosGoodOlRecipes – I feature my favorite bakers every Halloween week! Nothing makes my day quite like scrolling through your spooky cookie photos with my morning coffee. Bonus points if you:
- Get the kids involved in decorating (those little fingerprint “bandages” are my favorite!)
- Create funny mummy faces or silly poses
- Show off any creative twists you’ve added – I’ve seen everything from green food coloring “zombie mummies” to cookies stacked like pyramids!
Remember, baking is about joy, not perfection. Even my first batch years ago looked more like sleepy ghosts than proper mummies – and you know what? The kids still devoured every last crumb. Can’t wait to see what spooky magic you create in your kitchen this year!
For More recipes, Follow me on Facebook!






