
There’s nothing quite like the smell of homemade strawberry rhubarb jam bubbling away on the stove – that sweet-tangy aroma takes me right back to my childhood summers. I can still picture my grandmother’s weathered hands showing me how to pick just-ripe strawberries and crisp rhubarb stalks from her garden patch. “Jo,” she’d say, wiping berry juice from her apron, “the secret’s in the balance – too sweet and it loses its character, too tart and nobody’ll eat it!”

Table of Contents
Table of Contents
This homemade strawberry rhubarb jam recipe captures that perfect harmony we’ve loved for generations. It’s become my go-to gift for neighbors and the first thing my grandkids ask for when they visit. The ruby-red preserves glisten in the morning light when spread thick on warm biscuits, and I swear they taste even better when made with fruit you’ve picked yourself. Trust me, once you try this old-fashioned version, you’ll never go back to store-bought!
Why You’ll Love This Homemade Strawberry Rhubarb Jam
Oh honey, this jam is special – let me tell you why:
- That perfect sweet-tart balance – just like Grandma used to make, with fresh strawberries mellowing out rhubarb’s tang
- Bursting with seasonal flavor – tastes like sunshine in a jar when you use spring’s best produce
- Makes the most thoughtful gift – who wouldn’t adore a jar of homemade love with a pretty ribbon?
- Easy water-bath canning means you can enjoy summer’s bounty all year long
Seriously, once you taste this jam on your morning toast, you’ll understand why I’ve been making it for decades! See more of my favorite recipes here.
Ingredients for Homemade Strawberry Rhubarb Jam
Now let’s talk ingredients – and I mean the real deal here! This recipe isn’t fussy, but you’ll want to measure carefully for that perfect set. Here’s what you’ll need:

- 4 ¼ cups diced rhubarb – about 8-10 medium stalks, trimmed and cut into ½-inch pieces (no leaves – they’re poisonous!)
- 4 ¼ cups sliced fresh strawberries – hulled and quartered if large (measure after prepping)
- 2 tablespoons lemon juice – fresh squeezed gives the brightest flavor
- 2 (1.75 ounce) packages powdered fruit pectin – I always use Sure-Jell for reliable results
- ½ teaspoon butter – optional, but cuts down on foam
- 10 cups white sugar – yes, it’s a lot, but trust me – jam needs this sweetness!
Ingredient Notes & Substitutions
Okay darlin’, let me share some wisdom about these ingredients:
First – rhubarb. If your garden’s looking sparse, you might be tempted to use frozen, but resist! Frozen rhubarb gets mushy and waters down your jam. If you’re short, ask a neighbor or hit the farmers market.
Those strawberries absolutely must be fresh – the sweeter and riper, the better your jam will taste. Underripe berries make tart jam, and nobody wants that!
That splash of lemon juice isn’t just for flavor – it helps the pectin work its magic so your jam sets up nice and firm. No skipping!
And about that butter – it’s my little trick for reducing foam. Just a smidge makes skimmed-off foam stick to your spoon instead of the jam. Genius, right?
Equipment Needed for Homemade Strawberry Rhubarb Jam
Before we dive into making this glorious jam, let’s talk tools! Now, I’m all for improvising in the kitchen, but when it comes to canning, you’ll want the right equipment to make your life easier and keep everything safe. Here’s what I’ve gathered from decades of jam-making:
- A heavy-bottomed kettle – at least 6 quarts (that’s a big one, honey!). This prevents scorching when you’ve got all that sugary goodness bubbling away.
- 12 half-pint canning jars with lids and rings – always prepare a couple extra, because you never know when you’ll get a bit more jam than expected!
- A jelly funnel – trust me, this $5 tool saves you from sticky countertops and wasted jam dribbles.
- A sturdy ladle – preferably heatproof, because that jam gets hotter than a summer day in Georgia!
- Jar lifter – those silicone-tipped tongs that let you safely move hot jars without burning your fingers.
- A wide-mouth funnel – makes filling those jars a breeze without drips down the sides.
Now, here’s my golden rule – that rack for your stockpot isn’t optional! It keeps jars from rattling against the bottom during processing, which can lead to cracks. I use the one that came with my canner, but you can improvise with extra rings in a pinch.
Oh! Almost forgot – keep a clean dish towel handy for wiping jar rims and catching any drips. Your future self will thank you when cleanup’s a snap!
How to Make Homemade Strawberry Rhubarb Jam
Alright, sugar – let’s get down to the fun part! I’ll walk you through each step just like Grandma showed me all those years ago. Grab your apron and let’s make some magic!
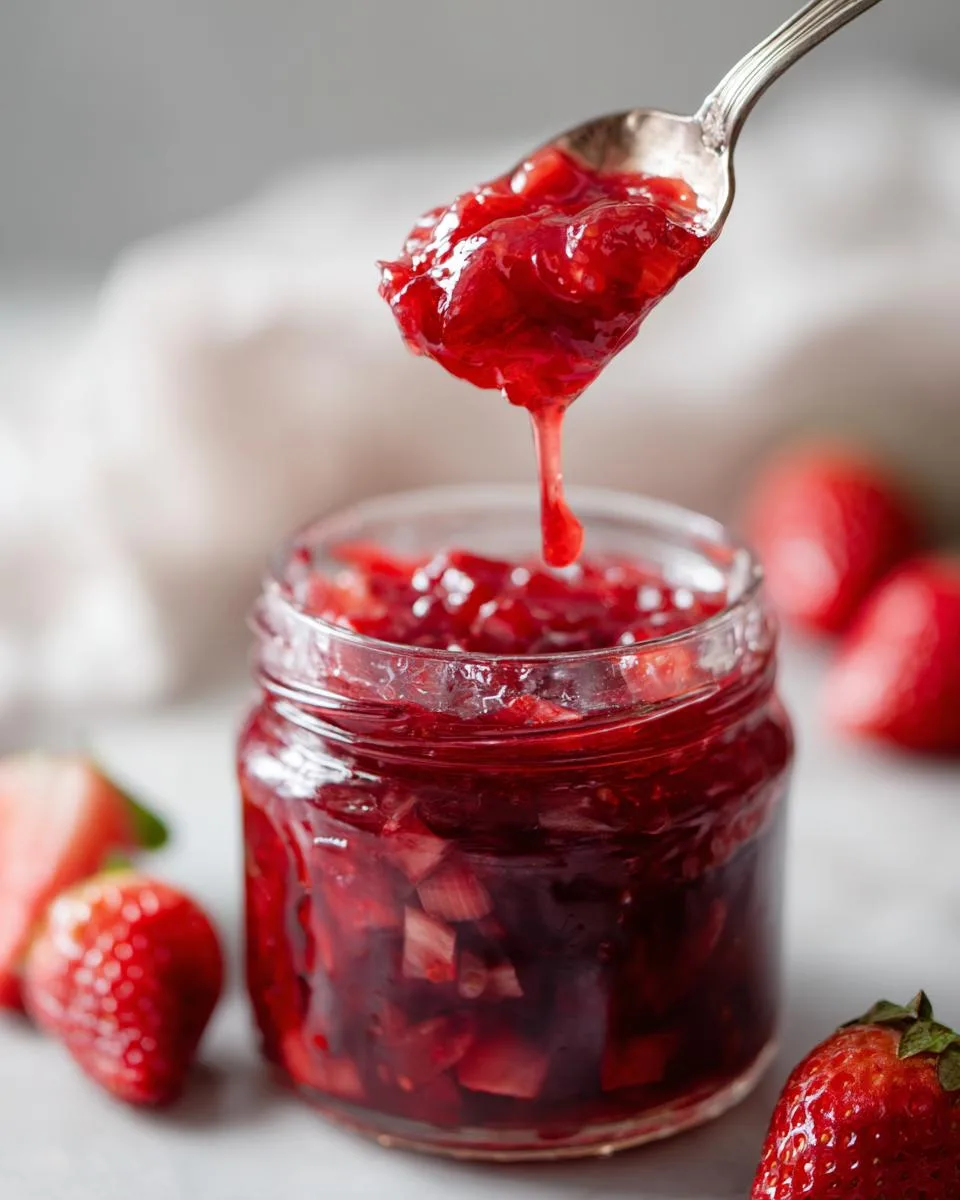
- Prep your fruit: Toss those diced rhubarb and sliced strawberries into your biggest pot. Add lemon juice, pectin, and butter $”just a pat, Jo!”$ – Grandma’s words echo when I measure mine.
- Bring to a boil: Medium heat, stirring often until it bubbles like a happy brook. You’ll smell that glorious sweet-tangy aroma filling your kitchen!
- Add sugar gradually: Pour in sugar one cup at a time, stirring constantly until every crystal dissolves. The mixture will thin out beautifully.
- Rolling boil magic: Crank heat to medium-high and let it boil hard for exactly 1 minute – set a timer! Skim off any foam with a spoon (that’s where the butter helps).
- Sterilize jars: While jam cooks, boil your jars and lids for 5 minutes. Keep them hot until filling time – cold jars can crack!
- Fill jars carefully: Use your funnel and ladle to fill jars within ¼-inch of the top. Wipe rims with a damp cloth – any stickiness prevents sealing.
- Process in water bath: Lower jars into boiling water, cover, and process for 5 minutes. The satisfying “ping” of sealing lids is your reward!
Sterilizing Jars & Canning Process
Now, listen close – proper canning keeps your jam safe and shelf-stable. Here’s how we do it right:
First, wash jars and lids in hot soapy water. Then boil them completely submerged for 5 minutes – I use my biggest stockpot with that handy rack at the bottom. Keep them hot until you’re ready to fill!
When filling, leave that crucial ¼-inch headspace at the top – it gives the jam room to expand during processing. After sealing, let jars sit undisturbed for 12-24 hours. Resist peeking! This rest time helps the seals set properly.
Next day, press each lid center – if it doesn’t flex, you’ve got a good seal. Any unsealed jars? Pop those in the fridge to enjoy first. Properly sealed jars will keep for up to a year in your pantry – if they last that long!
Print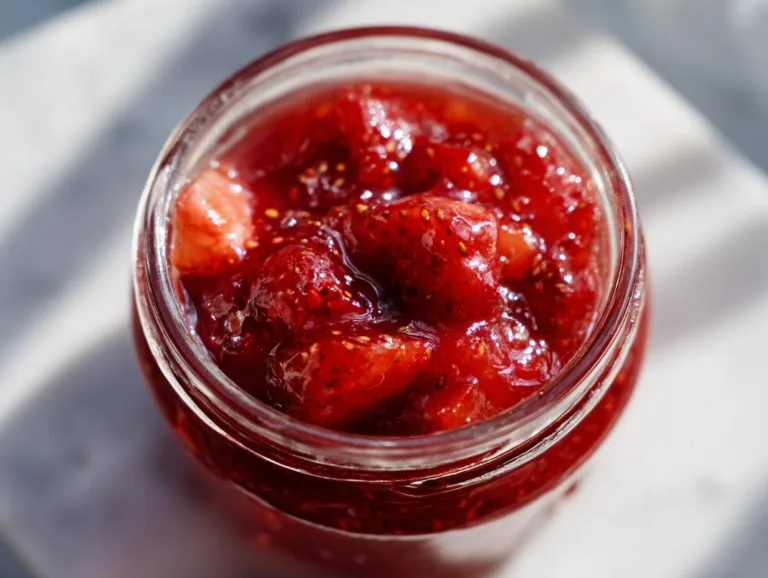
Grandma’s Perfect Homemade Strawberry Rhubarb Jam Recipe
A sweet and tangy homemade strawberry rhubarb jam perfect for spreading on toast or using in desserts.
- Total Time: 50 minutes
- Yield: 12 half-pint jars 1x
Ingredients
- 4 ¼ cups diced rhubarb
- 4 ¼ cups sliced fresh strawberries
- 2 tablespoons lemon juice
- 2 (1.75 ounce) packages powdered fruit pectin
- ½ teaspoon butter (Optional)
- 10 cups white sugar
- 12 half-pint canning jars with lids and rings
Instructions
- Gather the ingredients.
- Place rhubarb, strawberries, lemon juice, pectin, and butter into a large kettle over medium heat. Stir and bring to a boil.
- Add sugar, 1 cup at a time, stirring constantly until sugar is dissolved and juice begins to form.
- Increase heat to medium-high, bring mixture to a rolling boil, and cook and stir for 1 minute. Skim off any foam that forms.
- Sterilize the jars and lids in boiling water for at least 5 minutes.
- Use a jelly funnel and soup ladle to pack jam into hot, sterilized jars, filling to within 1/4 inch of the top.
- Run a knife or thin spatula around the insides of the jars to remove any air bubbles. Wipe the rims with a moist paper towel to remove any food residue.
- Top with lids and screw rings on tightly.
- Place a rack in the bottom of a large stockpot and fill halfway with water. Bring to a boil over high heat, then carefully lower the jars into the pot using a holder.
- Leave a 2-inch space between the jars. Pour in more boiling water to cover jars by at least 1 inch.
- Bring to a rolling boil, cover, and process for 5 minutes.
- Remove the jars from the stockpot and let rest, several inches apart, for 12 to 24 hours.
- Press the center of each lid with a finger to ensure the lid does not move up or down.
- Remove the rings for storage and store in a cool, dark area.
Notes
- Use fresh strawberries and rhubarb for the best flavor.
- Butter helps reduce foaming but is optional.
- Ensure jars are properly sterilized to prevent spoilage.
- Prep Time: 30 minutes
- Cook Time: 20 minutes
- Category: Preserves
- Method: Canning
- Cuisine: American
- Diet: Vegetarian
Nutrition
- Serving Size: 1 tablespoon
- Calories: 50
- Sugar: 12g
- Sodium: 0mg
- Fat: 0g
- Saturated Fat: 0g
- Unsaturated Fat: 0g
- Trans Fat: 0g
- Carbohydrates: 13g
- Fiber: 0g
- Protein: 0g
- Cholesterol: 0mg
Tips for Perfect Homemade Strawberry Rhubarb Jam
After fifty-some years of jam-making, I’ve learned a few tricks that’ll guarantee perfect results every time:
- Pick perfectly ripe strawberries – they should smell sweet and yield slightly when pressed
- Stir like your life depends on it when that sugar hits the pot – keeps everything from sticking
- Use a wide, shallow pan for faster evaporation and better consistency
- Test your set by spooning a bit onto a chilled plate – it should wrinkle when pushed
- Label jars with dates – because six months from now, you’ll want to know which batch was your best!
Remember – even “imperfect” jam still tastes divine on a biscuit!
Storing and Serving Homemade Strawberry Rhubarb Jam
Oh, the joy of seeing those ruby-red jars lined up on your pantry shelf! Proper storage keeps your homemade strawberry rhubarb jam tasting fresh for up to a year – if you can resist eating it all sooner, that is! Here’s how I’ve kept my jam perfect for decades:
First, find a cool, dark spot – my cellar shelves work wonders, but a kitchen cupboard away from the stove does just fine. Those sealed jars are happy as clams until you’re ready to pop one open. When you do, refrigerate after opening – it’ll stay fresh for about a month that way.
Now, let’s talk serving ideas – because this jam shines way beyond toast! My grandkids go wild when I swirl it into plain yogurt or drizzle it over vanilla ice cream. Here are my favorite ways to enjoy it:
- Breakfast glory: Slathered on warm biscuits, pancakes, or stirred into oatmeal
- Cheeseboard star: Paired with sharp cheddar or creamy brie
- Dessert magic: Layered in parfaits or spooned over pound cake
- Savory surprise: Glaze for roasted chicken or pork – sounds odd, but trust me!
A little secret? The flavors actually deepen after a few weeks in the jar. That’s why I always hide a few jars in the back of the pantry for “special occasions” – though in my house, any day with homemade jam is pretty special!
Homemade Strawberry Rhubarb Jam Nutrition Facts
Now, I’m no nutritionist, sugar, but folks always ask about the health side of my jam – so let’s talk numbers! These figures are estimates per tablespoon, since brands and fruit sweetness can vary a smidge:
- 50 calories – just a little burst of energy to start your day right
- 12g sugar – yes, it’s sweet, but that’s what makes it jam, honey!
- 0g fat – unless you count the teeny butter pat, which barely registers
- 0mg sodium – naturally salt-free, unlike some store-bought versions
Here’s how I see it – compared to all the artificial stuff in commercial jams, our homemade version with fresh fruit and real sugar is practically health food! Of course, like Grandma used to say, “Everything in moderation, Jo.” A spoonful here and there brings joy without overdoing it.
Remember, these numbers can change slightly depending on how ripe your berries were or if you use organic sugar. But honestly? When that jam hits your biscuit, the only number you’ll be thinking about is how many more jars you need to make! Try making cheesecake stuffed strawberries next!
FAQ About Homemade Strawberry Rhubarb Jam
Over the years, folks have asked me all sorts of questions about this jam – let me answer the ones that come up most often!
Can I reduce the sugar in this recipe?
Oh honey, I know 10 cups seems like a lot, but trust me – jam needs that sweetness! Sugar helps preserve the fruit and gives the jam its perfect texture. Reduce it, and you’ll end up with runny syrup that won’t set properly.
How do I know when the jam is set?
Here’s my grandma’s foolproof test: Chill a saucer in the freezer, then spoon a little hot jam onto it. Wait 30 seconds, then push it with your finger – if it wrinkles, it’s ready! No wrinkle? Boil another minute and test again.
Why add butter to jam?
That half-teaspoon is my secret weapon against foam! It’s not for flavor – just helps skim off those bubbly bits so your jam stays crystal clear and gorgeous in the jar.
Can I use frozen fruit instead of fresh?
Best not to, sugar. Frozen berries and rhubarb release too much water, making your jam thin and weepy. Fresh fruit gives that perfect spreadable texture we all love.
My jars didn’t seal – what now?
No worries! Just pop those jars in the fridge and enjoy them first. They’ll keep for about a month chilled. Next time, make sure your jar rims are sparkling clean before sealing.
Now that you’re a jam-making expert, I’d love to see your creations! Try this recipe and share your strawberry rhubarb jam photos with us – nothing makes me happier than seeing families enjoy these old-fashioned flavors.
For More recipes, Follow me on Facebook!






