
There’s nothing like the smell of maple and toasted walnuts wafting through the kitchen—it takes me right back to my grandma’s house on crisp Sunday mornings. She’d pull a tray of warm Maple Glazed Maple Walnut Scones from the oven, the glaze still dripping down the sides, and we’d sneak bites before they even had time to cool. Those scones were magic—flaky, just sweet enough, with little crunchy bits of walnut in every bite. Now, I make them for my own grandkids, and the recipe still feels like a hug in pastry form. Trust me, once you try these, they’ll become your secret weapon for cozy mornings too.

Table of Contents
Table of Contents
Why You’ll Love These Maple Walnut Scones
These Maple Walnut Scones are the ultimate breakfast treat—here’s why they’ll steal your heart:
- Flaky texture: Thanks to cold butter and minimal handling, every bite is light and airy with just the right amount of crunch.
- Balanced sweetness: The maple glaze adds a hint of indulgence without being overpowering—perfect for those who love a not-too-sweet pastry.
- Easy food processor method: No fancy techniques here! Just pulse, shape, and bake—it’s foolproof, even for beginners.
Trust me, one bite and you’ll be hooked. They’re cozy, comforting, and totally irresistible!
Ingredients for Maple Glazed Maple Walnut Scones
Let’s gather everything you’ll need for these irresistible scones. I promise, it’s worth every ingredient! Trust me, using real maple syrup and extract makes all the difference—don’t skimp on those. Here’s what you’ll need:

- For the scones:
- 1 ¼ cups all-purpose flour
- ½ cup whole wheat flour
- ½ cup rolled oats
- ½ teaspoon salt
- 2 teaspoons baking powder
- 1 teaspoon baking soda
- ⅓ cup granulated sugar
- ¼ cup brown sugar or maple sugar (if you’re feeling fancy!)
- 1 stick cold butter, cubed
- 1 large egg
- ⅔ cup buttermilk (plus a splash extra if your dough feels dry)
- 2 tablespoons pure maple syrup
- 1 teaspoon real maple extract
- 1 cup toasted walnuts, cooled and roughly chopped
- For the glaze:
- 1 cup powdered sugar
- 2 tablespoons pure maple syrup
- ½ teaspoon maple extract
- A few tablespoons milk or cream (just enough to get that perfect drizzle consistency)
Pro tip: Make sure your butter is cold—like, straight-from-the-fridge cold. It’s the secret to those flaky layers we all love in a good scone. And don’t forget to toast those walnuts! It brings out their nutty flavor and adds the perfect crunch. Ready? Let’s bake!
How to Make Maple Glazed Maple Walnut Scones
Alright, let’s get to the good part—making these dreamy scones! Don’t let the fancy name fool you; this recipe is simpler than you think. I’ll walk you through each step like we’re standing side by side in my kitchen, flour dusting our aprons. Just follow along, and you’ll have golden, glazed perfection in no time.
Preparing the Dough
First things first—grab your food processor (trust me, it’s a game-changer for scones). Pulse together the flours, oats, salt, baking powder, baking soda, and sugars just until combined. Now, here’s where the magic happens: with the motor running, toss in those cold butter cubes. Pulse until the mixture looks like coarse crumbs with pea-sized butter bits—this creates those irresistible flaky layers!
Add the toasted walnuts and give it one quick pulse—you want them evenly distributed but still chunky. In a measuring cup, whisk the egg, maple syrup, and extract, then pour in buttermilk until you hit the 1-cup mark. Here’s my trick: if it’s a humid day, you might need less liquid. The dough should come together into a slightly sticky ball when you pinch it—not too wet, not too dry.
Shaping and Baking
Turn the dough onto a lightly floured surface (no kneading—just gently pat it together). Divide it in half and shape each portion into a 6-8 inch disc. Don’t overwork it! Use a sharp knife to cut each disc into 6-8 triangles—like you’re slicing a pie. Transfer them to a parchment-lined baking sheet (they’ll need space to puff up) and pop them in the fridge for 20 minutes. This chill time keeps them from spreading flat in the oven.
While they rest, preheat your oven to 400°F. Bake for 18-20 minutes until they’re golden brown and your kitchen smells like a maple-scented paradise. Let them cool on the sheet for 5 minutes—I know it’s hard to wait, but trust me, they’re still baking inside!
Making the Maple Glaze
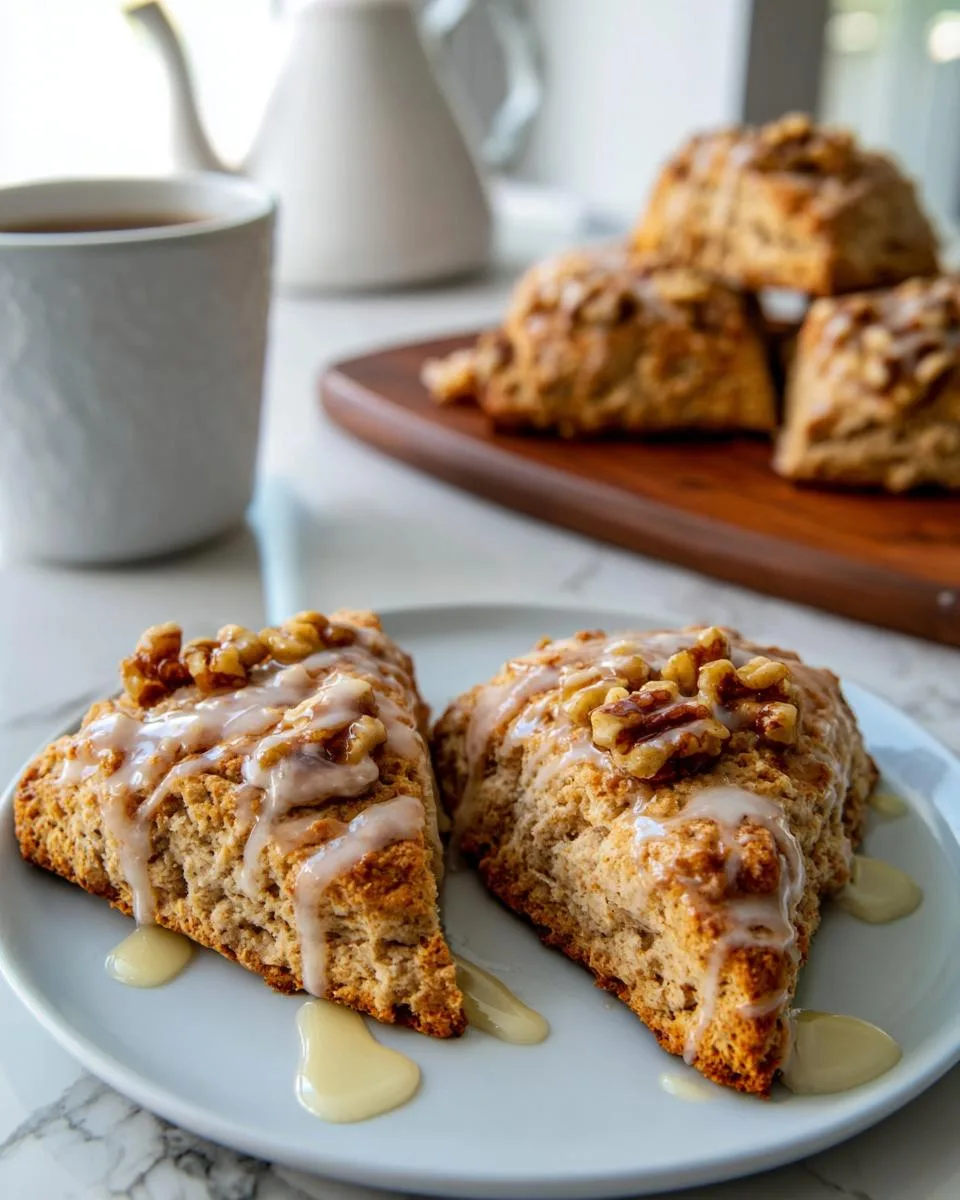
While the scones cool slightly, whisk together the powdered sugar, maple syrup, and extract. Add milk or cream one tablespoon at a time until it reaches that perfect “ribbon” consistency—thick enough to cling but thin enough to drizzle beautifully. Once the scones are just warm (not hot), zigzag that glaze over the tops with a spoon. For extra flair, sprinkle some reserved toasted walnuts on top before the glaze sets.
There you have it—scones that are crisp on the outside, tender inside, with pools of maple goodness in every bite. Grandma Jo would be proud!
Print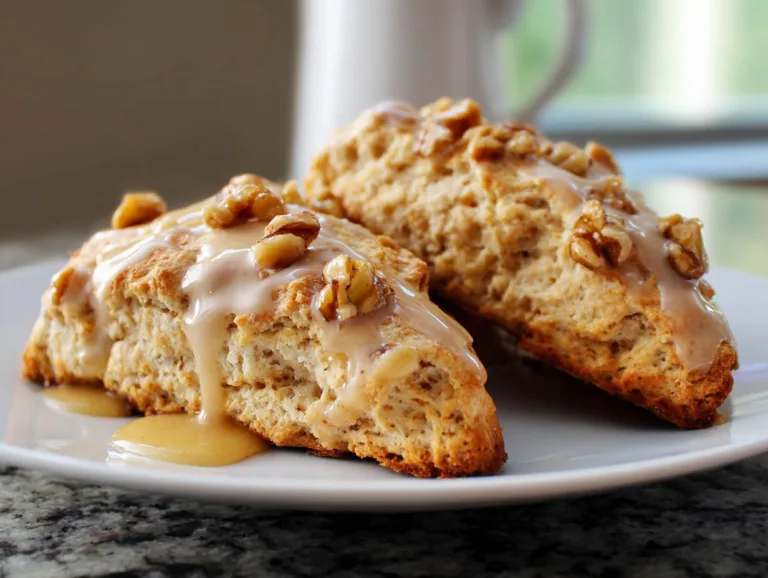
Maple Glazed Maple Walnut Scones: 3 Secrets to Flakiness
Maple-glazed walnut scones with a tender, slightly sweet crumb and crunchy toasted walnuts.
- Total Time: 45 minutes
- Yield: 12–16 scones 1x
Ingredients
- 1 ¼ cups flour
- ½ cup whole wheat flour
- ½ cup oats
- ½ teaspoon salt
- 2 teaspoons baking powder
- 1 teaspoon baking soda
- ⅓ cup sugar
- ¼ cup brown or maple sugar
- 1 stick cold butter, cut into chunks
- 1 large egg
- ⅔ cup buttermilk
- 2 tablespoons maple syrup
- 1 teaspoon real maple extract
- 1 cup toasted walnuts, cooled
- Glaze:
- 1 cup powdered sugar
- 2 tablespoons maple syrup
- ½ teaspoon maple extract
- A few tablespoons milk or cream
Instructions
- Combine flour, oats, salt, baking powder, baking soda, and sugars in a food processor. Pulse briefly.
- With the motor running, add cold butter chunks.
- Pulse in toasted walnuts briefly.
- Whisk egg, maple syrup, and extract in a measuring cup. Add buttermilk to reach 1 cup total liquid.
- With the motor running, slowly pour liquid into the processor until dough forms a moist ball.
- Scrape dough onto a floured surface. Shape into a thick round or square.
- Divide dough in half. Pat each half into a 6-8″ disc.
- Cut each disc into 6-8 triangles.
- Place scones on a parchment-lined baking sheet. Chill for 20 minutes.
- Preheat oven to 400°F.
- Bake scones for 18-20 minutes until golden brown.
- Mix glaze ingredients until smooth.
- Drizzle cooled scones with glaze. Optional: garnish with extra walnuts.
Notes
- Adjust buttermilk quantity based on humidity.
- Keep butter cold for flaky texture.
- Chilling dough prevents spreading.
- Toast walnuts for deeper flavor.
- Prep Time: 25 minutes
- Cook Time: 20 minutes
- Category: Breakfast
- Method: Baked
- Cuisine: American
- Diet: Vegetarian
Nutrition
- Serving Size: 1 scone
- Calories: 280
- Sugar: 18g
- Sodium: 240mg
- Fat: 14g
- Saturated Fat: 6g
- Unsaturated Fat: 7g
- Trans Fat: 0g
- Carbohydrates: 35g
- Fiber: 2g
- Protein: 5g
- Cholesterol: 35mg
Tips for Perfect Maple Glazed Maple Walnut Scones
Listen, I’ve made enough scones in my lifetime to know exactly what makes them shine—and what turns them into hockey pucks. Here are my hard-earned secrets for scone success:
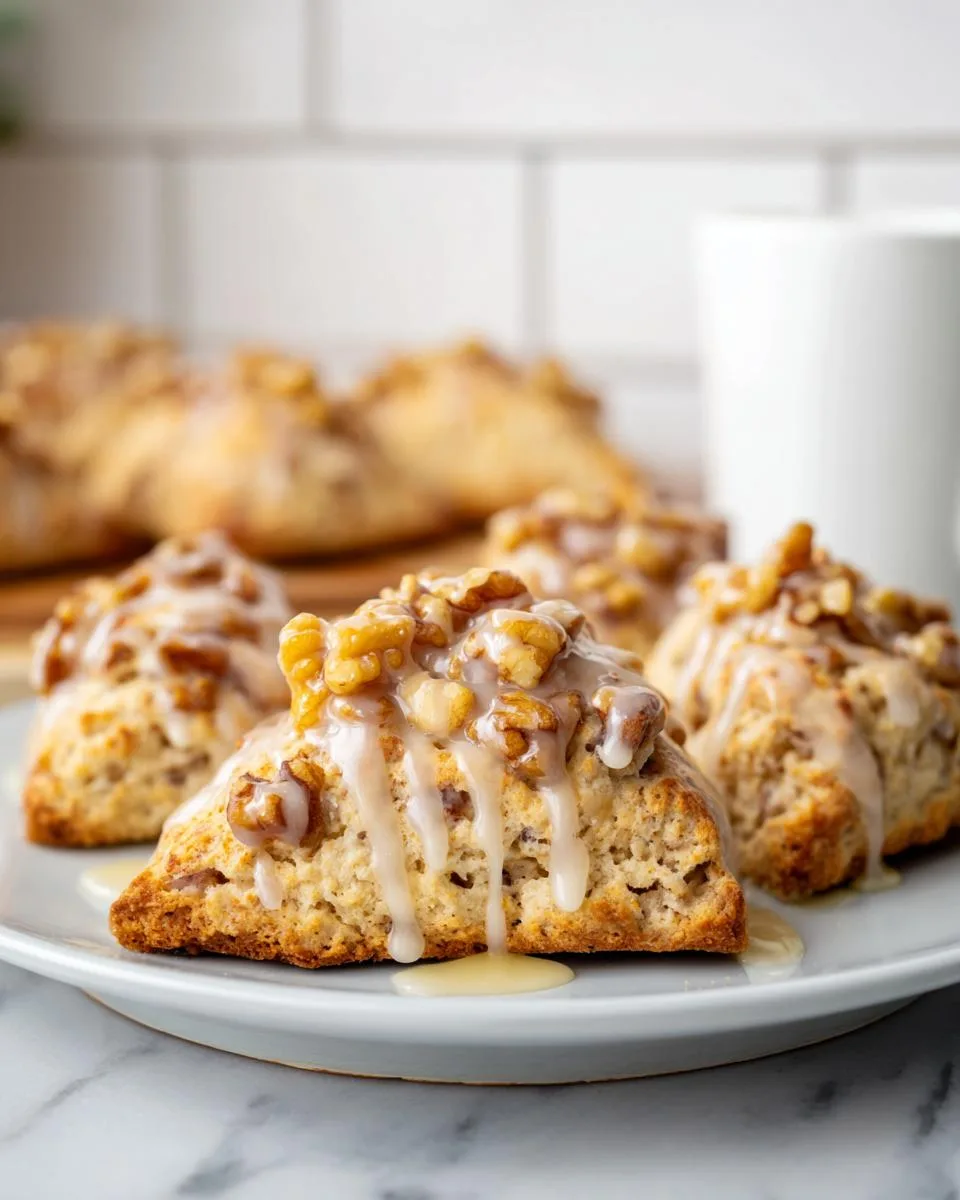
- Butter must be COLD: I mean refrigerator-cold, not “sat out for five minutes” cold. Warm butter melts too fast and makes dense scones. If your kitchen’s hot, pop the cubed butter in the freezer for 10 minutes before using.
- Toast those walnuts: Raw walnuts taste like cardboard compared to toasted ones. Just 5-7 minutes in a 350°F oven brings out their nutty magic. Let them cool completely before adding to the dough.
- Don’t overmix: Once you add the wet ingredients, pulse just until the dough comes together. Overworking = tough scones. A few dry streaks? Perfect—they’ll disappear during baking.
- Chill before baking: That 20-minute fridge rest isn’t optional! It re-chills the butter and prevents flat, sad scones. If you’re in a rush, 10 minutes in the freezer works too.
Follow these tips, and you’ll get golden, flaky scones every single time. Promise!
Substitutions and Variations
Don’t stress if you’re missing an ingredient—this recipe is flexible! Here are my favorite tweaks:
- No buttermilk? Mix ⅔ cup plain yogurt with a splash of milk. Or use regular milk with 1 teaspoon lemon juice (let it sit for 5 minutes to thicken).
- Not a walnut fan? Pecans work beautifully, or try toasted almonds for a different crunch.
- Watching sugar? Skip the glaze—these scones are plenty flavorful on their own. A light dusting of powdered sugar looks pretty too!
The best part? Every variation still tastes like a cozy morning at Grandma’s table.
Storing and Reheating
These scones are best the day they’re made, but they’ll still taste amazing for up to 3 days if stored in an airtight container. To bring back that just-baked warmth, pop them in a 300°F oven for 5-10 minutes. Want to get ahead? Freeze the unbaked scones on a sheet, then transfer to a bag—bake straight from frozen, adding a few extra minutes. Perfect for last-minute breakfast magic!
Maple Glazed Maple Walnut Scones FAQ
Got questions? I’ve got answers! Here’s everything you need to know about making these scones:
- Can I use pancake syrup instead of maple syrup? I’d stick with real maple syrup if you can—it has a deeper flavor and no added thickeners. Pancake syrup works in a pinch, but the taste won’t be quite the same.
- Why chill the dough? Chilling re-firms the butter, which keeps the scones from spreading flat in the oven. It also gives the flour time to hydrate, making the texture just right. Think of it as the secret to flaky layers!
- How do I toast walnuts? Spread them on a baking sheet and toast at 350°F for 5-7 minutes, stirring halfway. They’re done when they smell nutty and turn slightly golden. Let them cool completely before using.
- Can I make these ahead? Absolutely! Shape the scones, then freeze them on a sheet before transferring to a bag. Bake straight from frozen, adding a couple extra minutes.
Nutritional Information
Here’s the scoop on what’s in these delicious Maple Walnut Scones—just remember, exact numbers might vary slightly based on your specific ingredients. Each generously glazed scone clocks in at about:
- 280 calories
- 14g fat (6g saturated)
- 35g carbs (2g fiber, 18g sugar)
- 5g protein
Not bad for a treat that tastes this indulgent! The walnuts add healthy fats, and using whole wheat flour bumps up the fiber. Everything in moderation, right?
There you have it—everything you need to make the most irresistible Maple Glazed Maple Walnut Scones this side of Grandma’s kitchen. I can’t wait for you to experience that first bite: crisp edges giving way to tender crumb, toasted walnuts adding just the right crunch, and that sweet maple glaze tying it all together. These scones have been warming hearts in my family for generations, and now they’re part of yours too. When you bake them (and I know you will!), snap a photo and tag #GoodOlRecipes—I’d love to see your masterpiece! Happy baking, my friend.
For More recipes, Follow me on Facebook!






