
Oh, Halloween—the one time of year when turning cereal into creepy edible brains feels totally normal! If you’re looking for a spooky, silly, and seriously easy treat to whip up, these Marshmallow Rice Krispies Halloween brains are your new best friend. No oven? No problem! Just melt, mix, shape, and—voilà—you’ve got a batch of squishy, delicious “brains” that’ll have everyone giggling (and maybe screaming just a little).

Table of Contents
Table of Contents
Back in my day, we didn’t have fancy Halloween treats—just whatever we could cobble together with pantry staples. But let me tell you, nothing got my grandkids more excited than when I’d pull out the red food coloring and start shaping Rice Krispies into something ghoulish. Their eyes would light up, and suddenly, snack time turned into a mad scientist’s lab. The best part? It takes barely 15 minutes from start to finish, leaving you plenty of time to focus on the real important stuff—like perfecting your zombie walk or carving pumpkins.
So grab your marshmallows and your sense of humor—this Marshmallow Rice Krispies Halloween recipe is about to become your go-to for spooky season fun. Trust me, even the pickiest little monsters will gobble these up!
Why You’ll Love This Marshmallow Rice Krispies Halloween Recipe
Listen, I’ve been making these gooey, brain-shaped treats for years, and let me tell you—they’re a total crowd-pleaser. Here’s why:
- No oven needed – Just a pot, a bowl, and a little elbow grease. Perfect for when you’ve got costumes to sew and pumpkins to carve!
- Kid-approved (and kid-helpable!) – My grandkids love squishing the warm marshmallow mixture and drawing creepy veins with toothpicks. Messy hands = happy memories.
- Instant Halloween vibes – That bright red color? Those squiggly details? They look like they crawled straight out of a mad scientist’s lab.
- Customizable fun – Swap red for green slime or purple monster hues. Toss in some edible eyeballs if you’re feeling fancy!
- Party-perfect – Stack ’em on a platter with dry ice for a spooky centerpiece that disappears faster than a ghost.
Seriously, what’s not to love? Even the grown-ups sneak seconds when they think no one’s looking.
Marshmallow Rice Krispies Halloween Ingredients
Now, let’s gather our mad scientist supplies! You only need a handful of simple ingredients to whip up these spooky brains – and I bet you’ve got most of ’em in your pantry already. Here’s what you’ll need:

- 85g unsalted butter – melted (that’s about 6 tablespoons if you’re eyeballing it)
- 6 cups regular marshmallows – the big puffy kind (or about 300g if you’re weighing)
- 4 cups Rice Krispies – or Rice Bubbles if that’s what they’re called in your neck of the woods
- ½ tsp salt – just a pinch to balance the sweetness
- Red food coloring – gel gives more vibrant color, but liquid works too (don’t be shy – we want BRAIN red!)
That’s it! Five simple ingredients standing between you and the most delightfully disgusting Halloween treat on the block. And trust me – when those marshmallows start melting, the smell alone will have everyone gathering in the kitchen!
Equipment You’ll Need
No fancy gadgets required here – just a few trusty tools from your kitchen. You’ll want:
- A large heatproof bowl (big enough to hold all that marshmallow goodness)
- A small pot for your Bain-Marie setup
- A sturdy whisk and mixing spoon – marshmallow fights back!
- A butter knife for making those brainy grooves
- Toothpicks for drawing creepy veins
- Gloves (unless you want sticky fingers for days)
See? Told you it was simple. Now let’s make some edible mayhem!
How to Make Marshmallow Rice Krispies Halloween Brains
Alright, let’s get our mad scientist hats on! Making these spooky brains is as easy as 1-2-3, but I’ll walk you through every gooey step to make sure they turn out perfectly creepy.
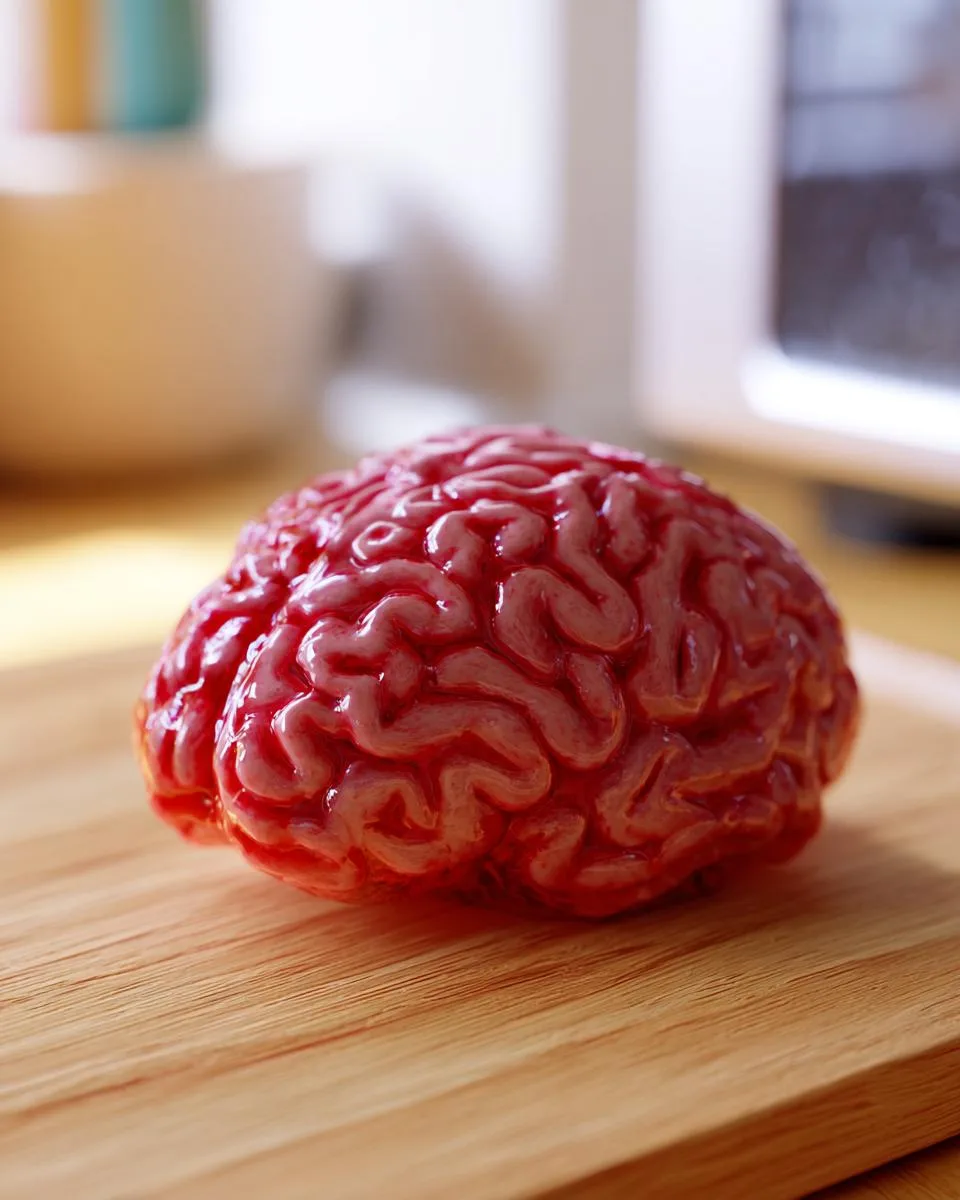
Step 1: Melt the Marshmallow Mixture
First, set up your Bain-Marie (that’s just a fancy term for a double boiler). Fill a small pot with about 1/2 cup of water and bring it to a gentle boil. Place your large heatproof bowl over the top – make sure it’s not touching the water! Now toss in the butter and marshmallows. This is where the magic starts.
Keep whisking constantly as everything melts together. You’ll see it go from lumpy to smooth in about 2-4 minutes. Careful now! That bowl gets hot – I always use oven mitts when I take it off the heat. Oh, and don’t walk away – marshmallows have a sneaky way of turning into a sticky volcano if you ignore them!
Step 2: Mix in Color and Rice Krispies
Time for the fun part! Take the bowl off the heat and stir in your salt and red food coloring. Start with a few drops – you can always add more if you want that deep, bloody red. Then pour this gloriously gooey mixture over your Rice Krispies in a big mixing bowl.
Here’s my secret: mix quickly but gently with a wooden spoon until every last crisp is coated. You don’t want any naked spots hiding in there! The mixture should look evenly red and feel slightly sticky – that’s how you know it’s perfect.
Step 3: Shape and Decorate the Brains
Now for the artistic part! Rub a little oil on your hands (or wear gloves if you’re smart like me). Grab small handfuls and shape them into oval brain shapes – about the size of a lemon works great. Use a butter knife to make a wiggly dent down the center of each one.
For the finishing touch, dip a toothpick in more red food coloring and draw squiggly veins all over. Don’t be neat – real brains aren’t perfect! Let them set for about 10 minutes before serving, unless you can’t resist the warm, gooey goodness right away (I never can).
Print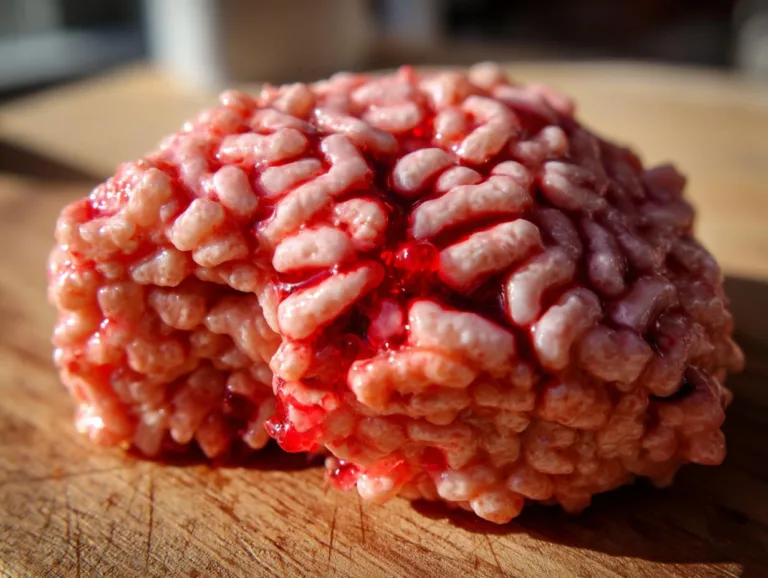
Spooky Marshmallow Rice Krispies Halloween Brains To Enjoy
A fun and spooky Halloween treat made with marshmallows and Rice Krispies, shaped like brains and colored red for a festive touch.
- Total Time: 15 minutes
- Yield: 12 brains 1x
Ingredients
- 85 g unsalted butter
- 6 cups regular marshmallows
- 4 cups Rice Bubbles (Krispies)
- ½ tsp salt
- red food coloring
Instructions
- Prepare a Bain-Marie by putting 1/2 cup of water into a small pot and letting it come to boil. Place a large heatproof bowl over the pot of boiling water.
- Place the butter and marshmallows into the large heatproof bowl. Continually whisk the ingredients until it becomes a smooth paste. This may take around 2-4 minutes.
- Using oven mitts or a tea towel, take the heatproof bowl out of the pot. Add the salt and a drop or more of food coloring, then whisk together.
- In a large mixing bowl, place the Rice Bubbles inside. Pour the marshmallow mixture over the Rice Bubbles and mix thoroughly to coat them.
- Oil your hands and shape the Rice Bubbles into ovals. Use a butter knife to put a dent in the middle. Dip a toothpick into the food coloring and draw veins on the brains. Store in an airtight container for up to a week.
Notes
- Use gloves when shaping to avoid sticking.
- Adjust food coloring for a darker or lighter red.
- Let the mixture cool slightly before shaping for easier handling.
- Prep Time: 10 minutes
- Cook Time: 5 minutes
- Category: Dessert
- Method: No-Bake
- Cuisine: American
- Diet: Vegetarian
Nutrition
- Serving Size: 1 brain
- Calories: 120
- Sugar: 10 g
- Sodium: 50 mg
- Fat: 4 g
- Saturated Fat: 2.5 g
- Unsaturated Fat: 1 g
- Trans Fat: 0 g
- Carbohydrates: 20 g
- Fiber: 0.5 g
- Protein: 1 g
- Cholesterol: 10 mg
Marshmallow Rice Krispies Halloween Tips for Success
After making these creepy treats for more Halloweens than I can count, I’ve picked up a few tricks to make your brain-making adventure foolproof:
- Gloves are your best friend – That sticky marshmallow mixture loves to cling to skin like a zombie to brains. Latex or nitrile gloves save so much frustration!
- Go slow with the food coloring – Start with just a few drops of red – you can always add more, but you can’t take it out once it’s mixed in. Gel coloring gives the most vibrant brains.
- Airtight is right – These stay fresh up to a week in a sealed container… if they last that long! Layer them with parchment paper to prevent sticking.
- Too sticky? Let the mixture cool for 3-5 minutes before shaping – it firms up just enough to handle easily.
Follow these simple tips, and you’ll be the brain-making champion of your neighborhood!
Marshmallow Rice Krispies Halloween Variations
Who says brains have to be red? Half the fun of these treats is getting creative with colors and mix-ins! Here are some of my favorite twists:
- Monster Mash – Use green food coloring and add candy eyeballs for swamp creature brains
- Spider Brains – Go for black coloring and press in broken pretzel sticks for creepy legs
- Glitter Guts – Mix in edible gold dust or rainbow sprinkles for some sparkly zombie flair
- Poison Apples – Shape them into small balls and add a pretzel stem for a witchy take
The possibilities are endless – let your Halloween spirit run wild! My grandkids once made “alien brains” with neon blue and purple swirls that were almost too cool to eat. Almost.
Serving and Storing Marshmallow Rice Krispies Halloween Treats
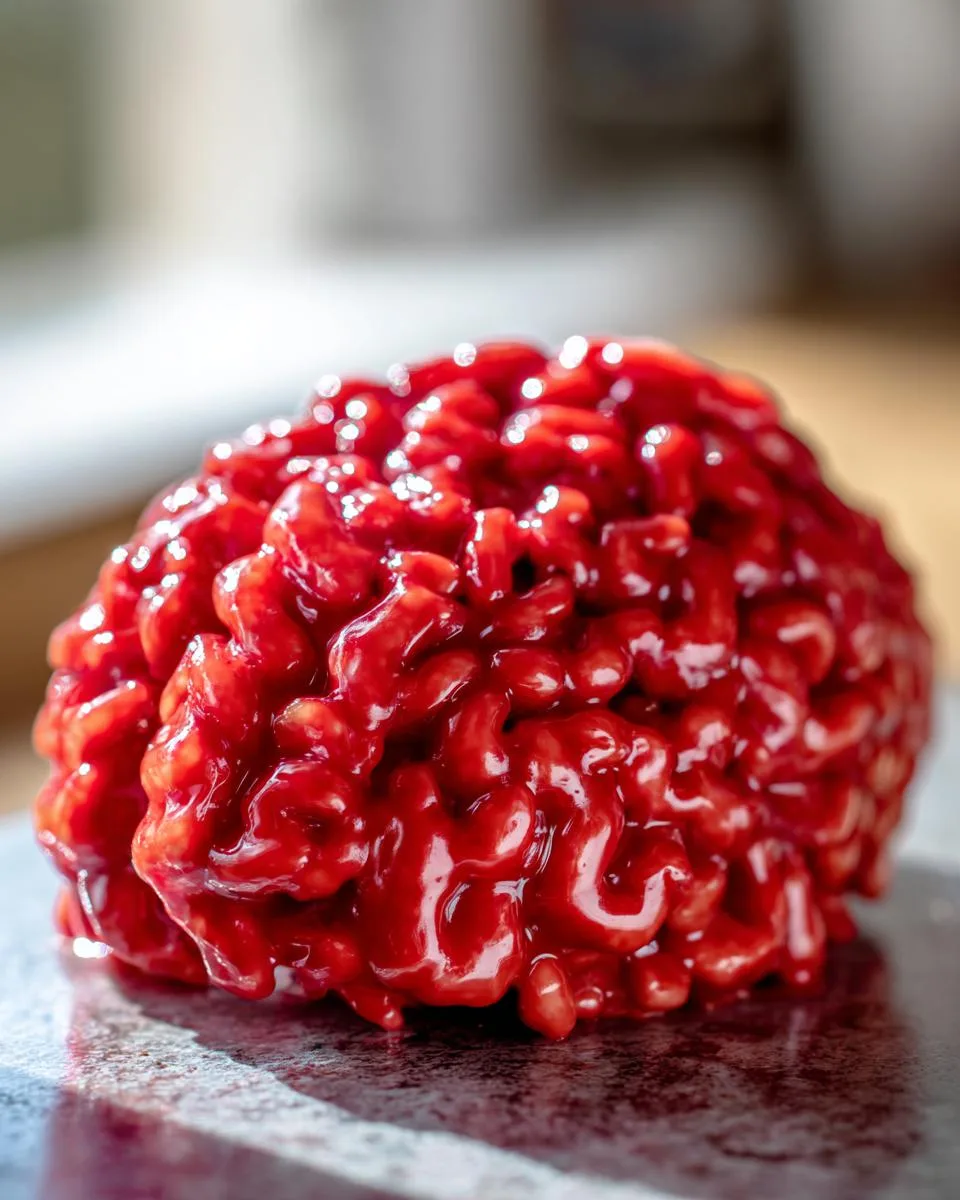
These brainy delights are best served at room temperature – the texture stays perfectly chewy that way. Stack them on a creepy platter with some dry ice for extra drama at your Halloween party! For storage, tuck them into an airtight container with parchment between layers. They’ll stay fresh and delicious for up to a week… if your little monsters don’t devour them all first!
Marshmallow Rice Krispies Halloween Nutritional Information
Now, I’m no nutritionist, but here’s the scoop on these spooky treats – they’re definitely in the “sometimes food” category! Each brain-shaped delight comes in at about:
- 120 calories – Perfect for a quick energy boost between trick-or-treating
- 10g sugar – That marshmallow sweetness gives you that Halloween rush
- 4g fat – Mostly from that delicious butter
Remember, these are just estimates – your actual numbers might wiggle a bit depending on how big you make your brains or how generous you are with the food coloring!
Marshmallow Rice Krispies Halloween FAQs
Over the years, I’ve gotten all sorts of questions about these spooky treats – here are the answers to the ones I hear most often!
Can I use mini marshmallows instead of regular?
Absolutely! Mini marshmallows melt faster, so keep a close eye on them. You’ll need about 5 cups of minis to equal 6 cups of regular marshmallows. Just be ready to whisk quickly!
Help! My mixture is too sticky to shape!
Don’t panic! Let it cool for 5 minutes – the marshmallow will firm up as it cools. If it’s still too sticky, lightly wet or oil your hands (or wear gloves). Works like a charm!
Can I make these ahead of time?
You sure can! These keep beautifully in an airtight container for up to a week. Just wait to add the vein details until right before serving so they stay crisp.
What if I don’t have a double boiler?
No worries! You can melt everything in the microwave in 30-second bursts, stirring between each. Just watch it closely – microwaved marshmallows puff up fast!
Can I make these gluten-free?
Of course! Just use gluten-free rice cereal. Everything else in the recipe is naturally gluten-free already.
For More recipes, Follow me on Facebook!






