
Oh honey, let me tell you about these No-Bake Chocolate Almond Butter Bars – they’re the kind of treat that’ll make you wonder why you ever bothered turning on the oven! When my grandkids come running in after school, these rich, chocolatey squares are what they beg for first. And who can blame them? With just a few simple ingredients and zero baking time, you can whip up a batch faster than you can say “dessert emergency.”

Table of Contents
Table of Contents
This recipe’s been in my kitchen for years – ever since my neighbor Marge brought over a plate of something similar back in ’92. I tweaked it to perfection, of course, adding that extra dollop of almond butter in the chocolate topping that makes all the difference. Now it’s our go-to for potlucks, bake sales, or just those nights when you need something sweet without the fuss.
The best part? These bars taste like you spent hours in the kitchen, but that’ll be our little secret. Just wait until you see how the creamy almond butter base pairs with that glossy dark chocolate topping – pure magic, I tell you!
Why You’ll Love These No-Bake Chocolate Almond Butter Bars
Trust me, these bars are about to become your new obsession – here’s why:
- No oven required – Perfect for hot summer days or when you just can’t be bothered to bake
- Ready in 15 minutes (plus chilling) – Faster than running to the store for dessert!
- Rich, satisfying flavors – That creamy almond butter and dark chocolate combo is downright addictive
- Wholesome ingredients – No mystery additives, just real food you can feel good about
- Perfect texture – Firm enough to hold, but melts in your mouth like a dream
My grandkids don’t even realize these are kinda-sorta healthy – and I’m certainly not telling!
Ingredients for No-Bake Chocolate Almond Butter Bars
Now let’s gather up the goodies – simple stuff that comes together like magic! I like to divide everything into two groups: the dreamy almond butter base and that luscious chocolate topping we’ll pour over the top.

For the base:
- 1 1/2 cups creamy almond butter (give it a good stir if it’s separated)
- 1/4 cup pure maple syrup (or honey if that’s what you’ve got)
- 1/4 cup coconut flour – this helps bind everything together
- 1/3 cup coconut oil, melted (measure it solid, then melt)
- 1/4 teaspoon kosher salt (skip it if your nut butter’s already salted)
For that glorious chocolate topping:
- 4 ounces dark chocolate (the good stuff!), finely chopped
- 2 tablespoons creamy almond butter – my secret for extra richness
See? Nothing fancy, just honest ingredients that make these bars shine. Now let’s get mixing!
Ingredient Substitutions
Now don’t you worry if you’re missing an ingredient – we can improvise! Here are my tried-and-true swaps that still give delicious results:
- Maple syrup: Honey works beautifully, though the flavor will be a tad stronger. Agave nectar works in a pinch too.
- Coconut flour: Almond flour makes a great sub, but you’ll need about 1/3 cup since it’s less absorbent.
- Dark chocolate: Semi-sweet chips work fine, but the bars will be sweeter. Milk chocolate makes it more like candy!
- Almond butter: Peanut butter gives a classic flavor, while cashew butter keeps it mild and creamy.
Just remember – every swap changes the texture slightly, so don’t be surprised if your bars are a bit softer or firmer. Tasty either way!
How to Make No-Bake Chocolate Almond Butter Bars
Alright, let’s get our hands dirty – well, not too dirty since this recipe’s practically foolproof! Follow these simple steps, and you’ll have perfect bars every single time. Just promise me you’ll resist sneaking bites before they’re fully set – trust me, I’ve learned that lesson the hard way!
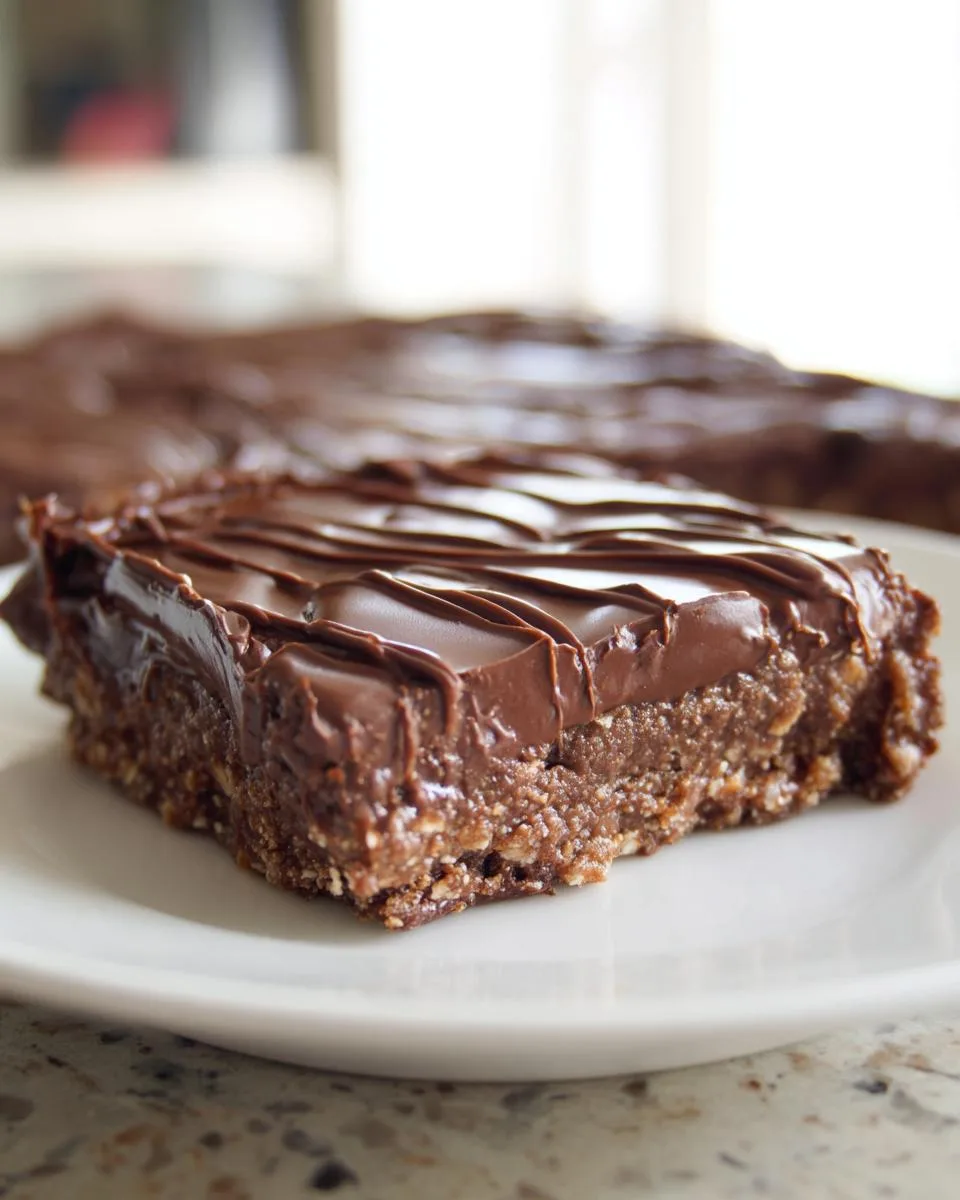
Step 1: Prepare the Pan
First things first – grab that trusty 8×8″ baking pan. Line it with parchment paper, letting some hang over the edges (this’ll be your lifeline when removing the bars later). Give it a quick swipe with coconut oil – just enough so nothing sticks. I like to use my fingers for this step – Grandma Jo’s patented “finger greasing” method never fails!
Step 2: Mix the Base
Now for the fun part! Dump all your base ingredients into a big mixing bowl – almond butter, maple syrup, coconut flour, melted coconut oil, and salt if you’re using it. Stir until it comes together like a thick cookie dough. Here’s my pro tip: use slightly damp hands to press the mixture evenly into your prepared pan. Really work it into the corners – we want every bite to be perfect!
Step 3: Add the Chocolate Topping
Pop your chopped chocolate and almond butter in a microwave-safe bowl. Melt in 30-second bursts, stirring between each one. Watch carefully – chocolate burns faster than my husband burns toast! When it’s smooth and glossy, pour it over your almond butter base. Tilt the pan gently to spread it evenly – oh, that shiny chocolate surface gets me every time!
Step 4: Chill and Cut
Into the fridge it goes for at least 2 hours – I know, the waiting’s the hardest part! Once firm, lift the whole slab out using the parchment paper. Use a sharp knife dipped in hot water (wipe it dry between cuts) to slice into 16 beautiful bars. Store them airtight in the fridge – they’ll keep beautifully for weeks… if they last that long!
One important note: these bars get melty at room temperature thanks to that coconut oil. So keep ’em chilled until serving – unless you’re going for chocolate almond butter pudding, which honestly doesn’t sound half bad either!
Print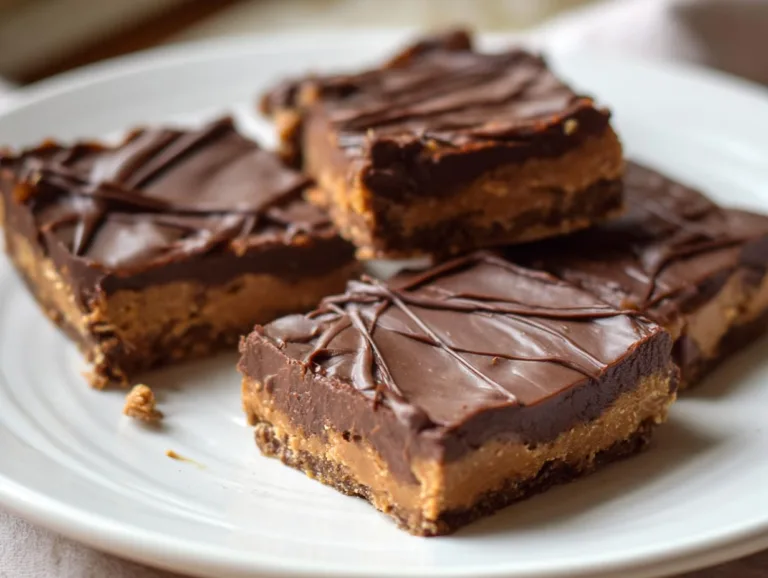
15-Minute No-Bake Chocolate Almond Butter Bars!
No-Bake Chocolate Almond Butter Bars are a delicious and easy treat that requires no baking. These bars feature a creamy almond butter base topped with a rich dark chocolate layer, making them perfect for a quick dessert or snack.
- Total Time: 2 hours 15 minutes
- Yield: 16 bars 1x
Ingredients
- 1 1/2 cups creamy almond butter
- 1/4 cup maple syrup or honey
- 1/4 cup coconut flour
- 1/3 cup coconut oil, melted
- 1/4 teaspoon kosher salt (skip if your nut butter is salted)
- 4 ounces dark chocolate, finely chopped
- 2 tablespoons creamy almond butter (for topping)
Instructions
- Line an 8×8” pan with parchment paper and lightly grease with coconut oil.
- In a mixing bowl, combine almond butter, maple syrup, coconut flour, coconut oil, and salt. Press evenly into the pan and refrigerate.
- Melt dark chocolate and almond butter in a microwave-safe bowl in 30-second increments, stirring until smooth.
- Pour the chocolate mixture over the almond butter base and spread evenly. Refrigerate again.
- Let it firm up for at least 2 hours before cutting into 16 bars. Serve chilled.
Notes
- Store tightly sealed in the fridge for up to 2 weeks or freeze for up to 3 months.
- Bars may melt if left at room temperature due to the coconut oil base.
- Prep Time: 15 minutes
- Cook Time: 0 minutes
- Category: Dessert
- Method: No-Bake
- Cuisine: American
- Diet: Vegetarian
Nutrition
- Serving Size: 1 bar
- Calories: 180
- Sugar: 8g
- Sodium: 50mg
- Fat: 14g
- Saturated Fat: 5g
- Unsaturated Fat: 7g
- Trans Fat: 0g
- Carbohydrates: 12g
- Fiber: 3g
- Protein: 4g
- Cholesterol: 0mg
Tips for Perfect No-Bake Chocolate Almond Butter Bars
After making these bars more times than I can count, I’ve picked up a few tricks that’ll guarantee perfect results every time:
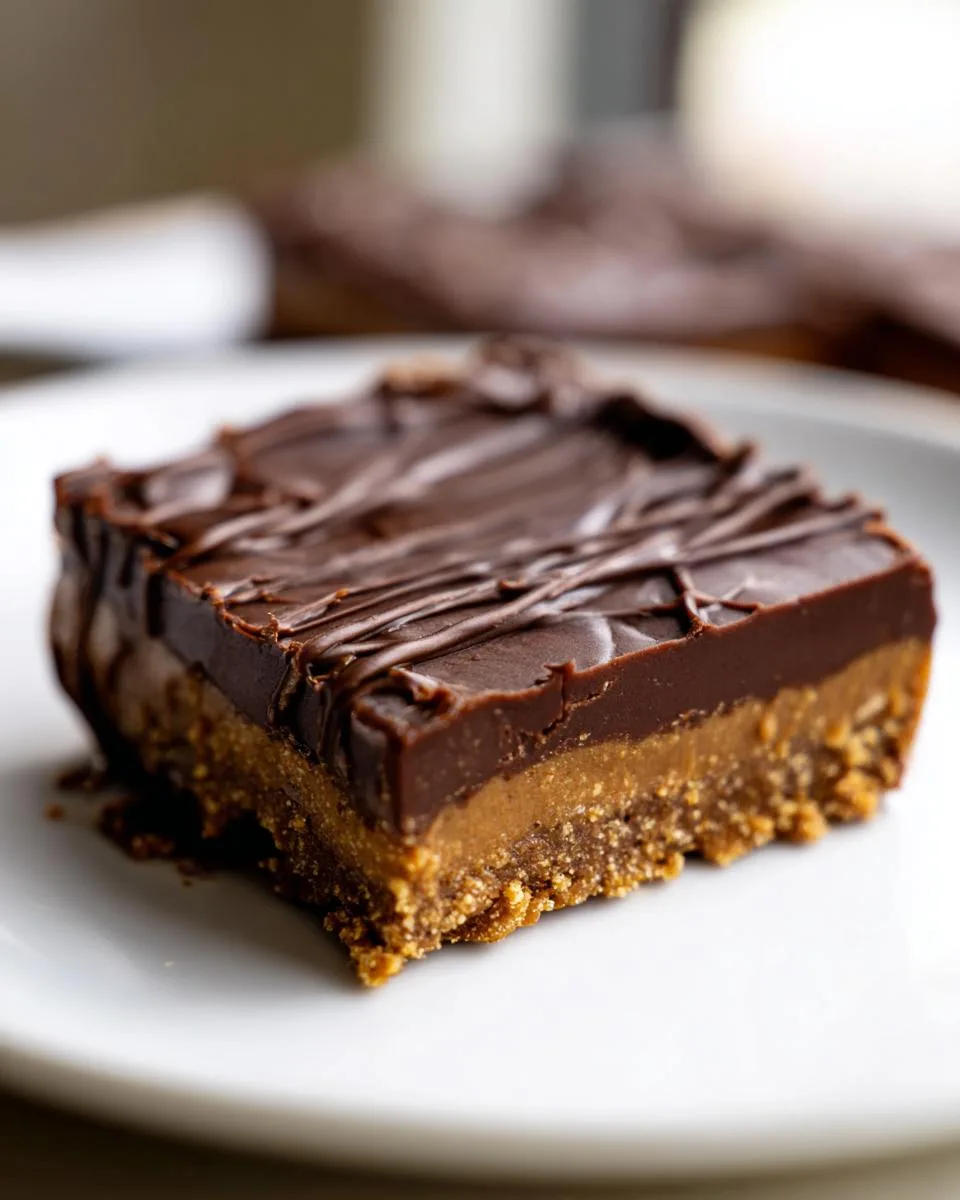
- Natural almond butter works best – The oil separation is normal! Just give it a good stir before measuring for ideal texture.
- Chop that chocolate small – Fine pieces melt evenly without scorching. I like using a serrated bread knife – works like a charm!
- Press the base firmly – Use damp hands to really compact it. This prevents crumbling when you slice the bars later.
- Chill thoroughly before cutting – I know it’s tempting, but wait those full 2 hours! Clean cuts make pretty bars.
Oh, and don’t forget – lick the bowl! That almond butter-chocolate mixture is heaven straight off the spoon.
Serving and Storing No-Bake Chocolate Almond Butter Bars
These beauties are best served straight from the fridge – that cool, creamy texture is simply divine! I like to arrange them on a pretty plate for guests, but let’s be real – most disappear straight from the pan in my house. For longer storage, keep them in an airtight container:
- Fridge: Up to 2 weeks (if they last that long!)
- Freezer: 3 months – just thaw in the fridge before serving
Pro tip: Separate layers with parchment paper to prevent sticking. And whatever you do, don’t leave them out on warm days – that chocolate topping turns into a delicious but messy puddle!
Nutritional Information
Now let’s talk numbers – each of these heavenly bars packs about 180 calories with 4g protein and 3g fiber to keep you satisfied. Remember, these values are estimates and may change based on your exact ingredients. For instance, using honey instead of maple syrup or milk chocolate instead of dark will tweak the numbers a bit.
Frequently Asked Questions
Over the years, I’ve gotten all sorts of questions about these No-Bake Chocolate Almond Butter Bars – here are the ones that pop up most often:
Can I use peanut butter instead of almond butter?
Absolutely! Peanut butter makes a delicious version – just expect a stronger, nuttier flavor. The texture might be slightly different too, so don’t panic if your bars are a tad softer or firmer.
Why are my bars too soft?
Usually means they needed more chilling time (that full 2 hours is crucial!) or your kitchen was too warm. Coconut oil melts easily, so work fast when handling the mixture and always store chilled.
Can I make these vegan?
You bet! Just use maple syrup instead of honey and check that your chocolate is dairy-free. Easy as pie – or should I say, easy as no-bake bars!
What if I don’t have coconut flour?
No worries – almond flour works great (use 1/3 cup). The texture will be slightly different, but still delicious. You could even try oat flour in a pinch!
How do I get clean cuts?
My secret? Warm your knife under hot water, dry it, then slice. Wipe between cuts for picture-perfect bars every time. Works like a charm!
Share Your Thoughts!
I’d love to hear how your No-Bake Chocolate Almond Butter Bars turned out! Did you add any special twists? Drop a comment below or share your creation with me – nothing makes this old heart happier than seeing folks enjoy my recipes!
For More recipes, Follow me on Facebook!






