
You know those days when you’re craving something sweet, but the thought of baking feels like too much? That’s exactly why I fell in love with this Pumpkin Pie in a Cup recipe – it’s all the cozy nostalgia of grandma’s pumpkin pie, but ready in minutes with zero oven time. I first whipped this up one hectic Thanksgiving when my grandkids were bouncing off the walls begging for “something pumpkin!” Now it’s our go-to when we need instant holiday vibes or just a fun kitchen project with little hands. The best part? Watching kids’ faces light up when they get to smash graham crackers and layer their own dessert cups. It’s messy, it’s simple, and it tastes like childhood in every spoonful.

Table of Contents
Table of Contents
Why You’ll Love This Pumpkin Pie in a Cup Recipe
This pumpkin pie in a cup recipe is pure magic – here’s why:
- 5-minute prep – No baking, no fuss, just instant dessert happiness
- Kid-approved fun – Let little chefs smash graham crackers and build their own cups
- All the cozy flavors – Cinnamon, pumpkin, and whipped cream = autumn in a cup
- Zero clean-up stress – Mix right in the serving cups – I use disposable when we’re extra busy
Trust me, after one bite of this no-bake pumpkin pie goodness, you’ll wonder how you ever survived fall without it!
Ingredients for Pumpkin Pie in a Cup
Here’s what you’ll need for each little cup of pumpkin pie goodness (per child!):

- 1 vanilla pudding cup
- 2 graham crackers (try cinnamon graham crackers for extra warmth!)
- 2 tablespoons pumpkin pie mix
- Whipped cream for topping
- A pinch of cinnamon for that final cozy touch
That’s it – simple, sweet, and ready in no time. I always keep these ingredients on hand for last-minute dessert cravings or when the grandkids come knocking!
How to Make Pumpkin Pie in a Cup
Alright, let’s get to the fun part! Making pumpkin pie in a cup is so easy, even my littlest grandkids can help – and trust me, they LOVE being part of the process. Here’s how we do it:
Step 1: Prepare the Graham Cracker Base
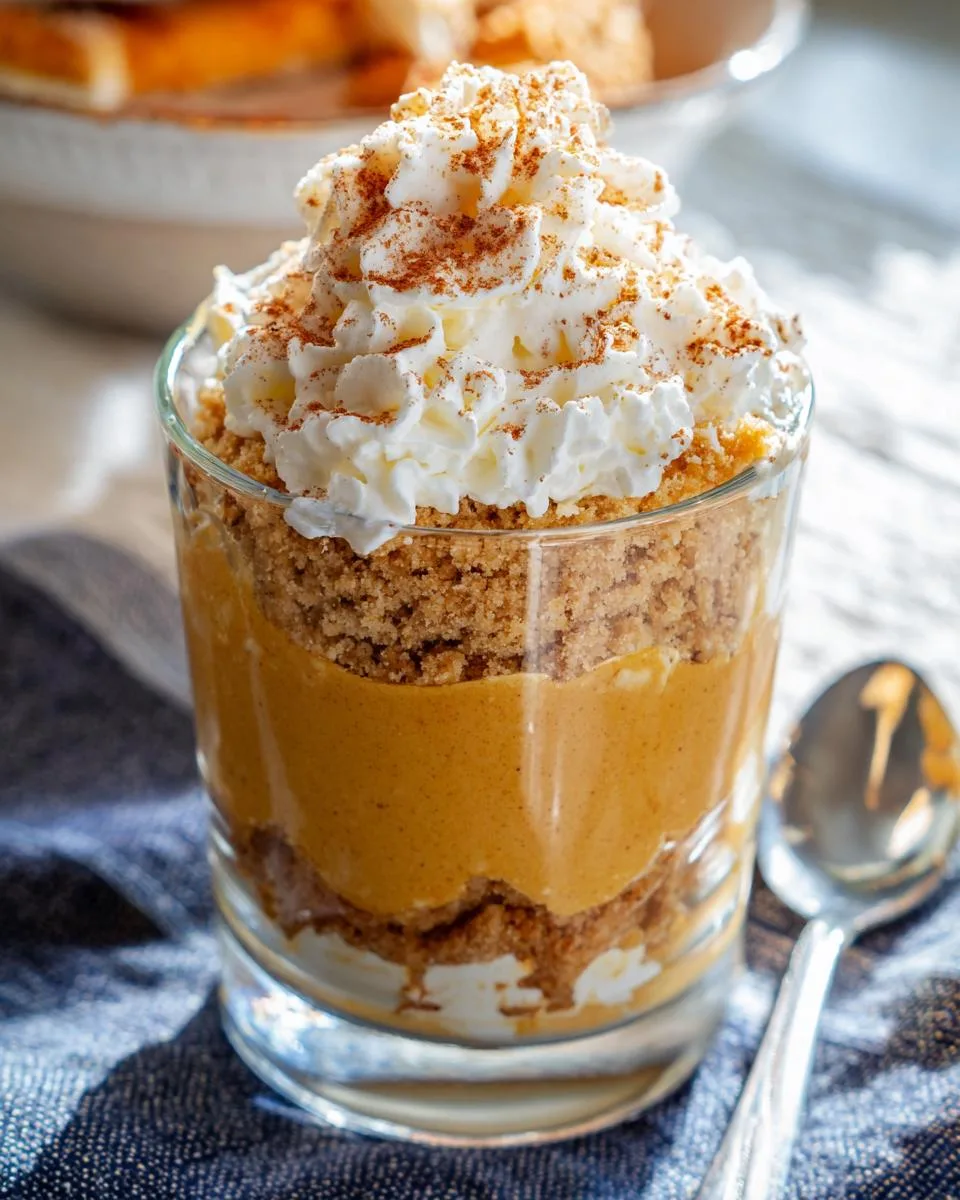
First, grab those graham crackers and sandwich bags – this is where the kids go wild! Let each child put 2 crackers in their own bag, seal it up tight (double-check those zippers!), and crush away with their hands or a rolling pin. I love hearing the giggles as they turn those crackers into crumbs. Once they’re finely crushed, just sprinkle a layer into the bottom of your clear cups – about 1/4 inch thick works perfectly.
Step 2: Layer Pudding and Pumpkin Mix
Now comes the creamy magic. Open a vanilla pudding cup and plop it right on top of those crumbs. Next, stir in about 2 tablespoons of pumpkin pie mix (more if you want extra pumpkin punch!). The kids can help mix it all together until it turns that beautiful caramel color. Pro tip: Let them taste-test here – it’s the best way to adjust the pumpkin flavor to their liking!
Step 3: Add Toppings and Serve
Time for the grand finale! Top each cup with a fluffy swirl of whipped cream – I let the kids practice their piping skills with canned whipped cream (just watch those enthusiastic squeezes!). A light dusting of cinnamon completes our pumpkin pie in a cup masterpiece. Serve immediately with spoons and big smiles – those layers look so pretty in clear cups!
See? In less time than it takes to preheat an oven, you’ve got individual pumpkin pies that taste like you fussed all day. Now go make some memories!
Print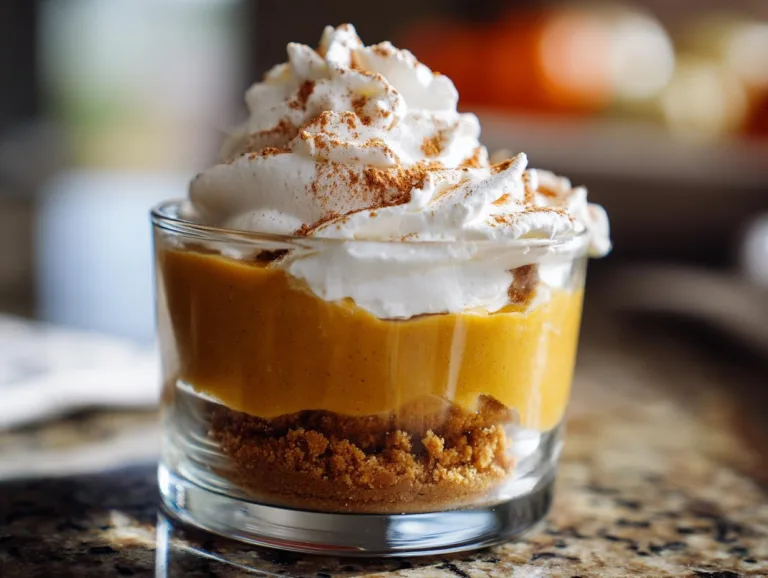
Grandma Jo’s 5-Minute Pumpkin Pie in a Cup Magic
A quick and easy no-bake pumpkin pie dessert served in a cup, perfect for kids or a simple treat.
- Total Time: 5 minutes
- Yield: 1 serving per child 1x
Ingredients
- 1 vanilla pudding cup per child
- 2 graham crackers per child
- 2 tablespoons of pumpkin pie mix per child
- Whipped cream
- Cinnamon
Instructions
- Give each child 2 graham crackers in a zip-top plastic sandwich bag.
- Secure the bag and let them crush the graham crackers inside.
- Sprinkle the crushed graham cracker crumbs into the bottom of clear cups.
- Add a vanilla pudding cup on top of the crumbs.
- Mix in 2 tablespoons of pumpkin pie mix with the pudding.
- Top with whipped cream and a sprinkle of cinnamon.
- Serve immediately and enjoy.
Notes
- Use cinnamon graham crackers for extra flavor.
- Clear cups make the layers look appealing.
- Adjust pumpkin pie mix to taste.
- Prep Time: 5 minutes
- Cook Time: 0 minutes
- Category: Dessert
- Method: No-Bake
- Cuisine: American
- Diet: Vegetarian
Nutrition
- Serving Size: 1 cup
- Calories: 200
- Sugar: 15g
- Sodium: 180mg
- Fat: 8g
- Saturated Fat: 3g
- Unsaturated Fat: 4g
- Trans Fat: 0g
- Carbohydrates: 30g
- Fiber: 1g
- Protein: 2g
- Cholesterol: 5mg
Tips for the Best Pumpkin Pie in a Cup
After making this pumpkin pie in a cup recipe more times than I can count, here are my foolproof tips:
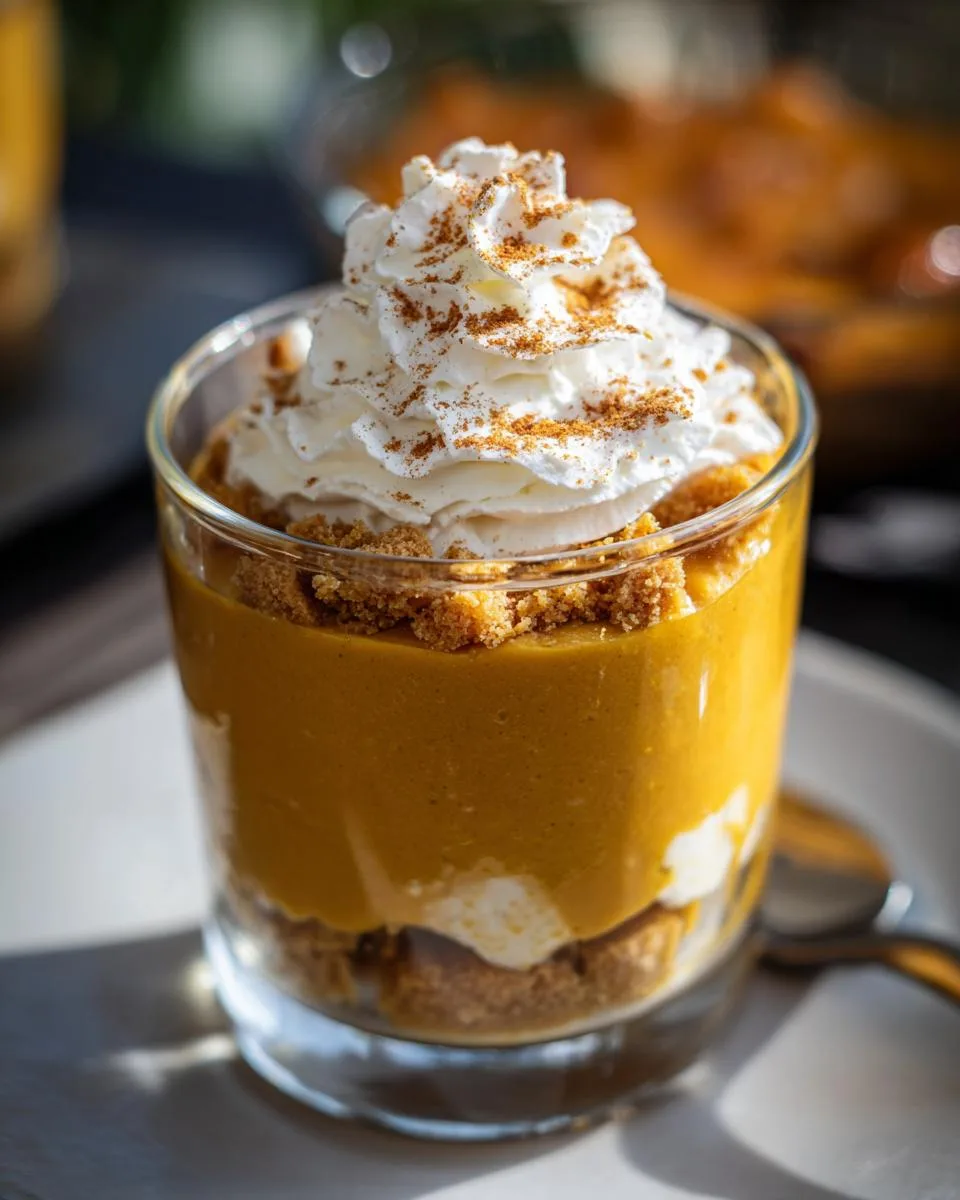
- Clear cups are key – Seeing those pretty layers makes it extra special
- Spice it your way – Add a pinch of nutmeg or cloves if you love bold flavors
- Prep ahead – Keep crushed graham crackers in jars for last-minute desserts
- Chill before serving – 10 minutes in the fridge helps flavors blend beautifully
- Double the batch – Trust me, adults will want their own cups too!
These little tricks turn a simple treat into something truly memorable. Happy scooping!
Pumpkin Pie in a Cup Variations
Here’s the beauty of this no-bake dessert – you can twist it however you like! Swap vanilla pudding for chocolate if your crew prefers (it’s surprisingly delicious with pumpkin). Gluten-free graham crackers work perfectly for dietary needs. Feeling fancy? Try ginger snaps instead of graham crackers – they add the coziest little spicy crunch. One Thanksgiving, I even layered in some chopped pecans between the pudding and whipped cream for extra texture. The possibilities are endless with this versatile pumpkin pie in a cup!
Serving and Storing Pumpkin Pie in a Cup
These little cups taste best served fresh – the graham crackers stay perfectly crisp that way! If you must store them, pop them in the fridge for no more than an hour before serving. Any longer and the crackers get soggy (though, between you and me, the kids will still gobble them up anyway!).
Pumpkin Pie in a Cup FAQs
Can I use homemade pudding? Absolutely! If you prefer homemade, just make sure it’s chilled and thick enough before layering. A vanilla custard works beautifully too.
How long do leftovers last? Honestly, these are best eaten fresh. But if you must store them, cover tightly and refrigerate for up to an hour – any longer and the graham crackers get soggy.
Can I make this dairy-free? Yes! Swap the pudding for a dairy-free version and use coconut whipped cream. It’s just as delicious.
What if I don’t have pumpkin pie mix? No worries! You can use canned pumpkin puree mixed with a dash of cinnamon, nutmeg, and a touch of sugar. Adjust to taste!
Can I make this ahead for a party? Prep the graham cracker crumbs and pudding mix separately, then assemble right before serving. That way, everything stays fresh and crisp!
Nutritional Information
Just so you know, these nutrition facts are estimates – your exact numbers might vary depending on the brands you use. Per serving (one pumpkin pie in a cup): about 200 calories, 30g carbs, 8g fat. Not bad for such a happy little dessert, right? Now go enjoy every guilt-free spoonful!
Share Your Pumpkin Pie in a Cup
Did you make this pumpkin pie in a cup? I’d love to see your creations! Tag me @GoodOlRecipes or leave a comment – nothing makes me happier than seeing your family enjoy these sweet moments together.
For More recipes, Follow me on Facebook!






