
Oh, the crunch of a homemade dill pickle takes me right back to my grandmother’s kitchen. Back then, we waited weeks for pickles to ferment, but these Quick Dill Pickles give you that same tangy, garlicky bite in just days.
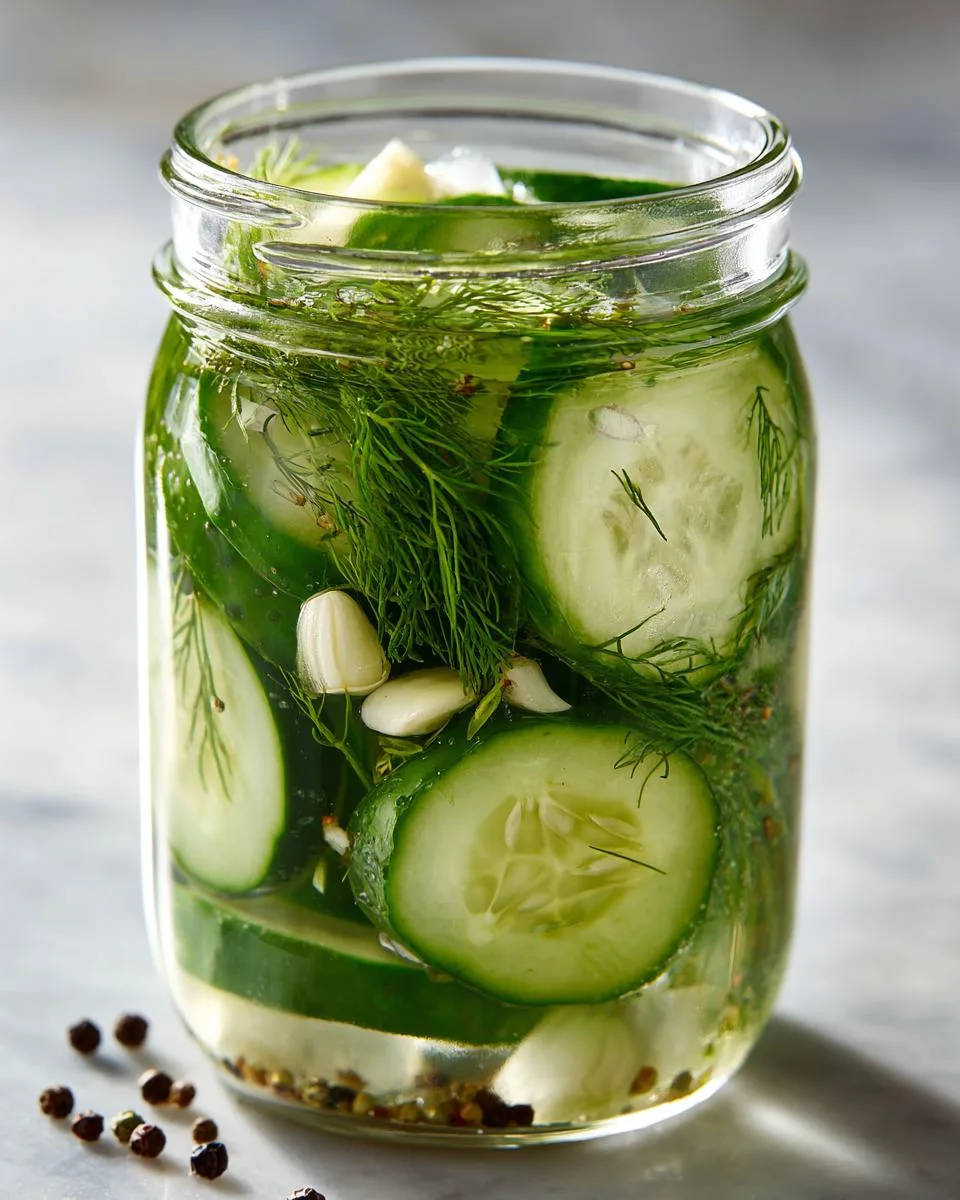
Table of Contents
Table of Contents
I still remember Grandma Jo lining up mason jars on the counter every summer, the scent of fresh dill and vinegar filling the kitchen as she packed cucumbers from the garden. Now, I make these speedy refrigerator pickles year-round because once you taste a pickle that is crisp, bright, and full of flavor, it is hard to go back to store-bought.
These Quick Dill Pickles are simple, fresh, and wonderfully crunchy. No canning required—just a quick brine, clean jars, and a little patience while the refrigerator does the work.
Why You’ll Love These Quick Dill Pickles
These Quick Dill Pickles are crisp, tangy, garlicky, and easy to make.
They are ready in just a few days, with the best flavor after about one week. You only need simple ingredients like cucumbers, vinegar, garlic, dill, salt, and peppercorns.
They are perfect for snacking, burgers, sandwiches, potato salad, tuna salad, or charcuterie boards. You can also customize them with extra garlic, red pepper flakes, jalapeños, or different vinegar for your favorite flavor.
Ingredients for Quick Dill Pickles
To make these Quick Dill Pickles, you will need:
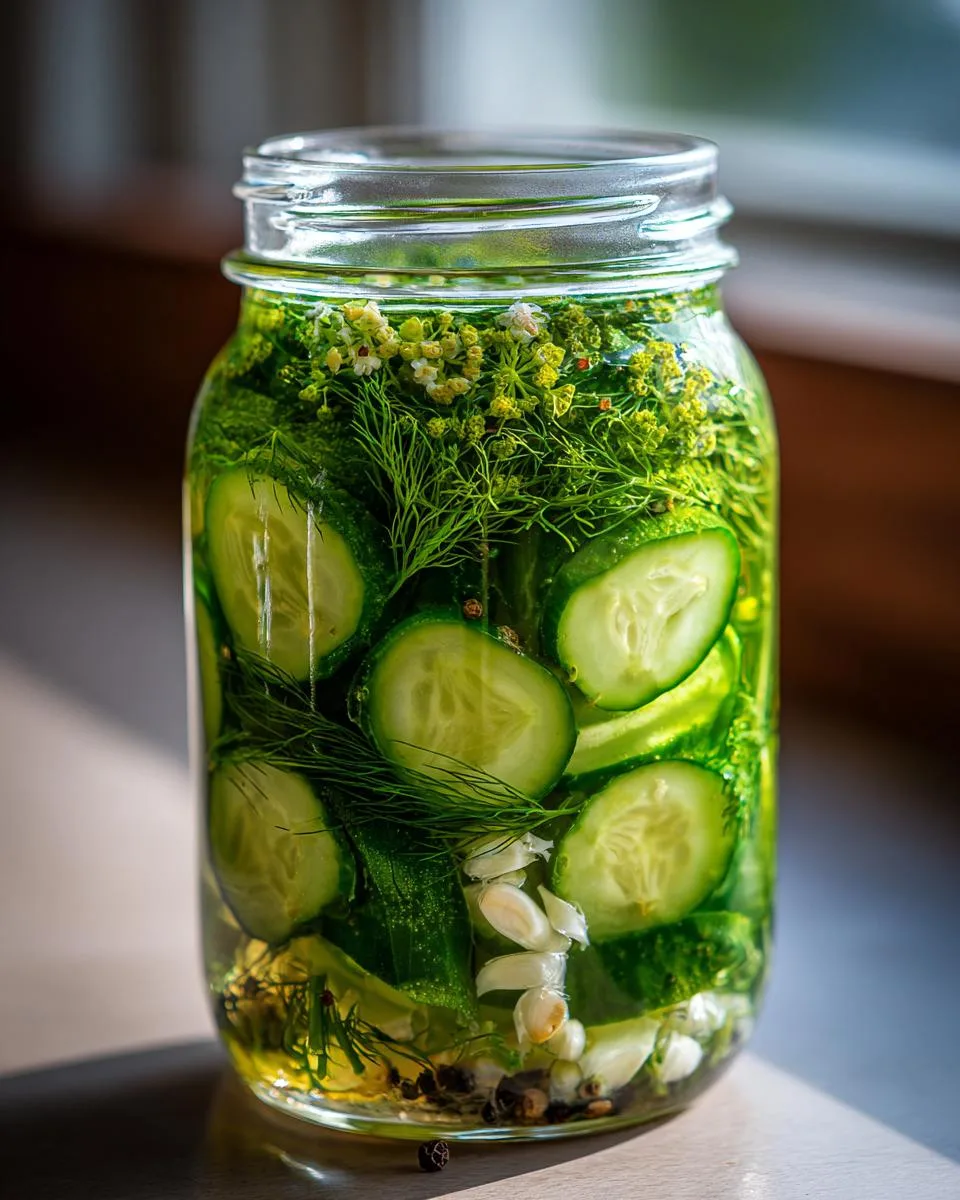
- 12 pickling cucumbers, about 3 to 4 inches long
- 4 cups water
- 2 cups white vinegar, 5% acidity
- 2 tablespoons kosher salt
- 1 teaspoon sugar
- 1 bunch fresh dill, thick stems removed
- 1 head garlic, cloves smashed and skins removed
- 1 tablespoon whole peppercorns
Pickling cucumbers work best because they stay firm and crunchy. Choose fresh, unwaxed cucumbers if possible. Kosher salt is best for a clear brine, while fresh dill and garlic give these pickles their classic homemade flavor.
How to Make Quick Dill Pickles
Step 1: Prepare the Cucumbers and Jars
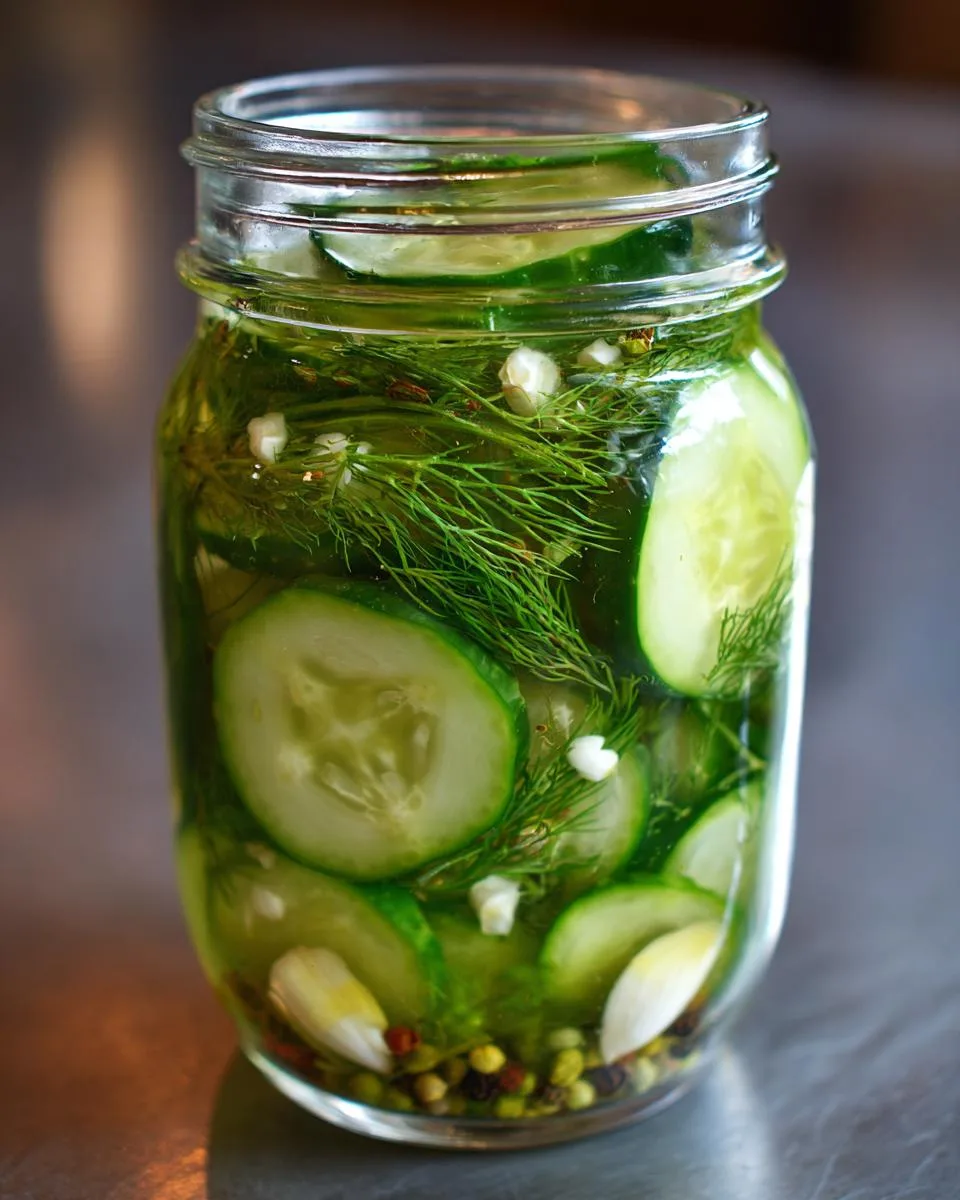
Wash the cucumbers well under cold water. Trim off the ends, then slice the cucumbers into spears, rounds, or leave them whole if they are small enough.
Sanitize your jars by boiling them in water for about 10 minutes or running them through the dishwasher on a sanitize setting. Clean jars help keep the pickles fresh and safe in the refrigerator.
Step 2: Make the Pickling Brine
In a saucepan, combine the water, white vinegar, kosher salt, and sugar.
Bring the mixture to a boil, stirring until the salt and sugar dissolve completely. Once dissolved, remove the brine from the heat and let it cool to room temperature.
Do not pour hot brine over the cucumbers if you want the crunchiest pickles. A cooled brine helps keep the cucumbers crisp.
Step 3: Layer the Jars
Place fresh dill, smashed garlic cloves, and peppercorns into the bottom of each jar.
Pack the cucumbers into the jars snugly, but do not force them in too tightly. They need enough room for the brine to flow around them.
Add more dill, garlic, and peppercorns between the cucumber pieces if desired.
Step 4: Add the Brine
Pour the cooled brine over the cucumbers until they are fully covered. Leave about 1/2 inch of space at the top of each jar.
Tap the jars gently on the counter to release any trapped air bubbles.
Seal the jars with lids, making them fingertip-tight.
Step 5: Refrigerate and Wait
Place the jars in the refrigerator right away.
Let the pickles sit for at least 3 days before tasting. For the best flavor, wait a full week. The longer they sit, the more the garlic, dill, and vinegar soak into the cucumbers.
These Quick Dill Pickles will keep in the refrigerator for 4 to 6 weeks.
Print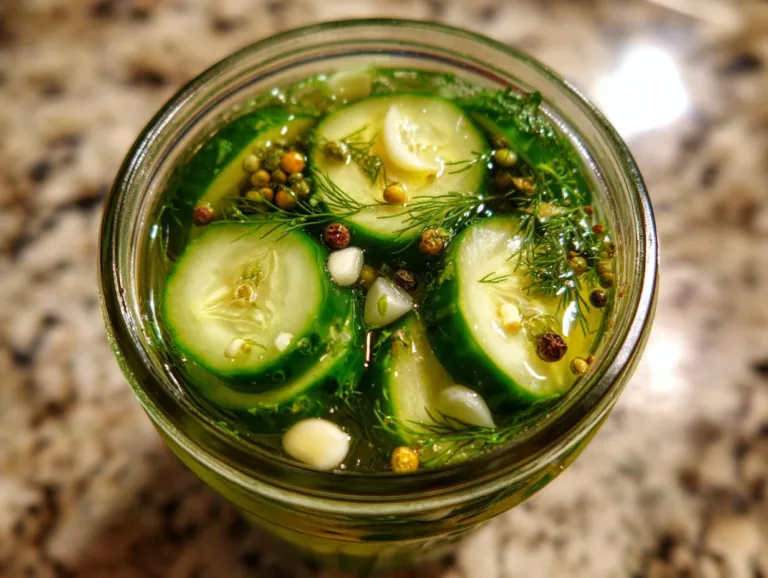
Quick Dill Pickles Ready in Just 7 Days – Crisp & Tangy!
A simple and quick recipe for homemade dill pickles that requires minimal ingredients and effort.
- Total Time: 20 minutes
- Yield: 1 pint jar and 2 quart jars 1x
Ingredients
- 12 pickling cucumbers (quantity can vary depending on size)
- 4 cups water
- 2 cups white vinegar
- 2 tablespoons kosher salt
- 1 teaspoon sugar
- 1 bunch fresh dill (thick stems removed)
- 1 head garlic (skins removed, cloves smashed)
- 1 tablespoon peppercorn kernels (about 10 peppercorns per jar)
Instructions
- Prepare ingredients: Wash cucumbers thoroughly. Slice into 1/4-inch thick slices or spears. Smash garlic cloves and separate dill from stems. Sanitize mason jars.
- Prepare brine: Combine water, vinegar, salt, and sugar in a saucepan. Bring to a boil, swirl to dissolve salt and sugar, then cool to room temperature.
- Make the pickles: Layer cucumbers, dill, garlic, and peppercorns in jars. Leave room for brine. Pour brine over cucumbers, seal jars, and refrigerate. Best flavor after one week. Store for 4-6 weeks.
Notes
- Adjust garlic and dill quantities to taste.
- Use fresh cucumbers for best results.
- Sanitize jars properly to prevent spoilage.
- Prep Time: 15 minutes
- Cook Time: 5 minutes
- Category: Pickles
- Method: Refrigerator Pickling
- Cuisine: American
- Diet: Vegetarian
Nutrition
- Serving Size: 1 pickle
- Calories: 10
- Sugar: 1g
- Sodium: 300mg
- Fat: 0g
- Saturated Fat: 0g
- Unsaturated Fat: 0g
- Trans Fat: 0g
- Carbohydrates: 2g
- Fiber: 0.5g
- Protein: 0.5g
- Cholesterol: 0mg
Tips for Perfect Quick Dill Pickles
Use the freshest cucumbers you can find. Firm cucumbers make crisp pickles, while soft cucumbers can turn mushy.
Let the brine cool before pouring it over the cucumbers. Hot brine can soften the texture.
Do not skip sanitizing the jars. Even though these are refrigerator pickles, clean jars help keep them fresh longer.
Use fresh dill for the best flavor. Dill seeds can work in a pinch, but fresh dill gives that classic homemade taste.
Wait at least 3 days before tasting, but give them a full week if you want deeper flavor.
Label your jars with the date so you know when they are ready and how long they have been stored.
Ingredient Substitutions and Variations
You can swap white vinegar for apple cider vinegar if you want a fruitier, slightly softer tang.
For spicier pickles, add red pepper flakes, sliced jalapeños, or a small dried chili to each jar.
If you do not have fresh dill, use about 1 tablespoon of dill seeds per jar.
For extra crunch, add a grape leaf, oak leaf, or a small piece of black tea bag to each jar. These contain tannins that can help keep pickles crisp.
You can also use the same brine for sliced zucchini, green beans, carrots, or onions.
Serving Suggestions for Quick Dill Pickles
These Quick Dill Pickles are delicious straight from the jar, but they are also wonderful with so many meals.
Serve them with burgers, hot dogs, sandwiches, grilled cheese, or barbecue plates.
Chop them into potato salad, egg salad, chicken salad, or tuna salad for extra tang.
Add them to a charcuterie board with cheese, crackers, meats, and olives.
They also make a bright, crunchy side for rich meals because the vinegar cuts through heavier flavors beautifully.
How to Store Quick Dill Pickles
Quick Dill Pickles must be stored in the refrigerator at all times. They are not shelf-stable and should not be kept in the pantry.
Keep the cucumbers fully covered with brine and always use a clean fork or tongs when removing pickles from the jar.
Stored properly in the refrigerator, they should stay crisp and flavorful for 4 to 6 weeks.
Discard the pickles if the brine becomes very cloudy, smells unpleasant, or if the cucumbers become mushy or slimy.
Quick Dill Pickles FAQs
How long until Quick Dill Pickles are ready?
You can taste them after 3 days, but they are best after 1 week. This gives the garlic, dill, vinegar, and salt enough time to flavor the cucumbers.
Why are my pickles soft?
Soft pickles usually happen when the cucumbers were not fresh, the brine was too hot, or the cucumbers were packed too tightly. Use firm pickling cucumbers, cool the brine before pouring, and avoid overcrowding the jars.
How do I keep pickles crisp?
Start with fresh, firm cucumbers and keep them cold. You can also add a grape leaf, oak leaf, or a little black tea to the jar for extra crunch. Letting the brine cool before adding it also helps.
Can I use regular cucumbers?
Yes, but pickling cucumbers are better. Regular cucumbers have more seeds and can become softer. If using regular cucumbers, choose small, firm ones and slice them into spears or thick rounds.
Can I make these pickles spicy?
Absolutely. Add red pepper flakes, sliced jalapeños, chili peppers, or extra garlic to the jars before adding the brine.
Are these pickles shelf-stable?
No. These are refrigerator pickles, not canned pickles. They must stay refrigerated and should be eaten within 4 to 6 weeks.
Can I reuse the brine?
It is best to make fresh brine for each batch. Reusing brine can weaken the flavor and may affect freshness.
Nutritional Information
Nutrition values are estimates and may vary depending on the exact ingredients and serving size used.
One serving of Quick Dill Pickles has approximately:
- Calories: 10
- Fat: 0g
- Carbohydrates: 2g
- Sugar: 1g
- Sodium: 250mg
For the most accurate nutrition information, calculate using your specific ingredients and serving size.
Final Thoughts
These Quick Dill Pickles are crisp, tangy, garlicky, and so easy to make. They bring that old-fashioned homemade pickle flavor without the long wait or any complicated canning process.
If you make them, share your favorite variation in the comments. Did you add extra garlic, a little heat, or try a different vinegar?
For More recipes, Follow me on Facebook!






