
Oh honey, let me tell you about the magic of this rustic no-knead Dutch oven artisan bread. I’ve been making this exact recipe every Sunday since 1978 – back when my old cast iron pot was brand new and my hands could still knead dough all day. But here’s the beautiful part – this bread doesn’t need any of that fuss! Just four simple ingredients, one bowl, and time does all the work for you.
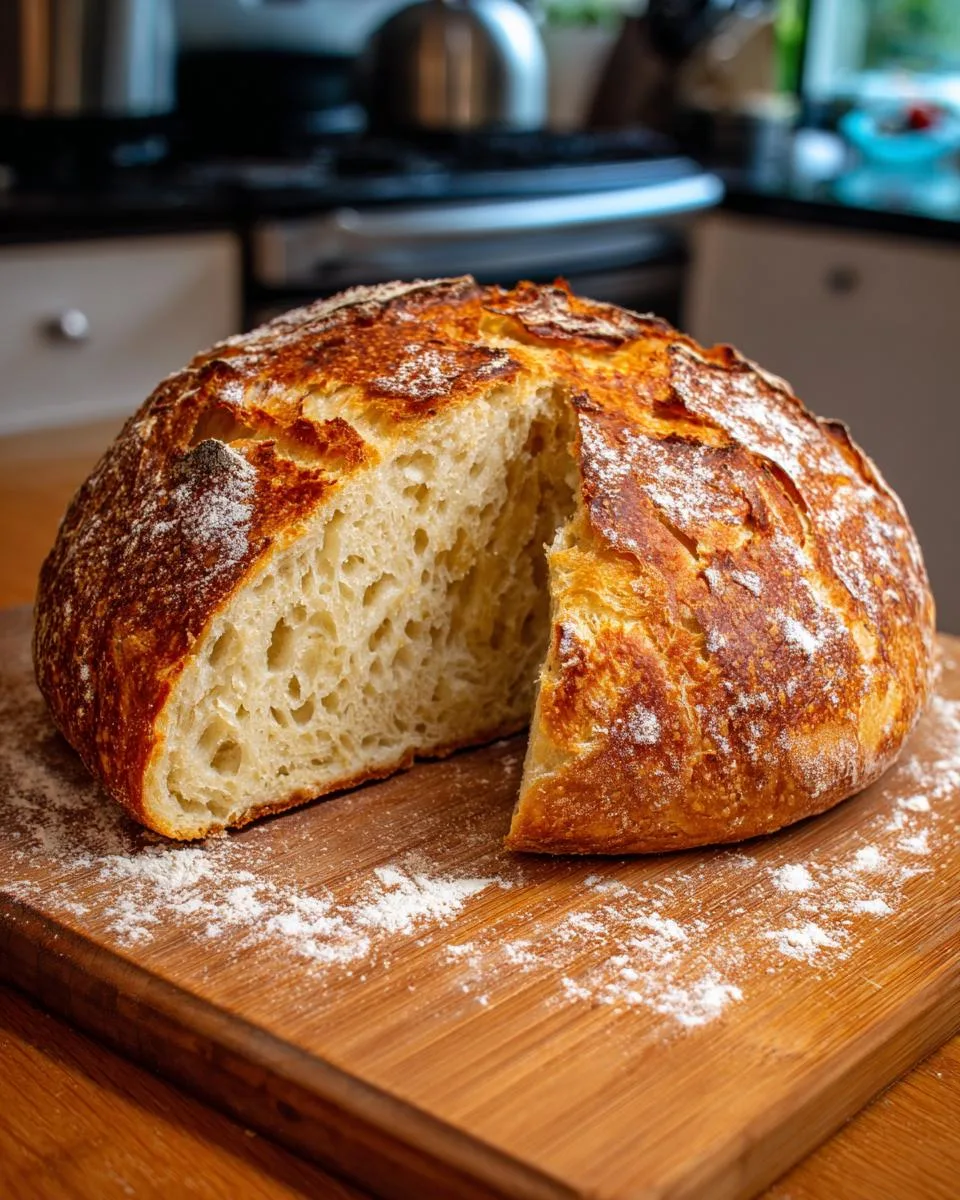
Table of Contents
Table of Contents
There’s something almost spiritual about pulling a loaf from that hot Dutch oven – the way it crackles as it cools, that first whiff of warm, yeasty goodness filling the kitchen. My grandkids say it smells like “Grandma’s house” when they walk in. And that crust! So crisp it shatters when you tap it, while inside stays soft as a cloud.
Back in my day, every farm wife had her own bread recipe, but this no-knead version became my signature. It’s the bread I’d take to church potlucks, wrap in tea towels for new neighbors, and pack in school lunches. Simple as can be, but special enough for company. Now it’s your turn to make some memories with this foolproof recipe.
Why You’ll Love This Rustic No-Knead Dutch Oven Artisan Bread
Oh, where do I start? This bread practically makes itself while you go about your day! Here’s why it’s been my go-to for decades:
- No fancy skills needed – If you can stir ingredients together, you can make this bread. No kneading, no stand mixer, no stress.
- That glorious crust – The Dutch oven works magic, giving you that bakery-quality crackly exterior without any special techniques.
- Hands-off rising – Mix it up before bed, let it work overnight, and wake up to bubbly dough ready to shape.
- Four simple ingredients – Flour, water, yeast, salt. That’s it! No eggs, no milk, no complicated additions.
- Forgiving timing – Got busy? Dough waits patiently if your schedule changes.
Honestly, the hardest part is waiting for it to cool before slicing – but trust me, that first buttery bite is worth it!
Ingredients for Rustic No-Knead Dutch Oven Artisan Bread
Gather these simple staples – that’s all you’ll need for bread that’ll make your whole house smell heavenly:

- 6 cups all-purpose flour (plus extra for dusting)
- 1/2 tsp instant or active-dry yeast
- 2 1/2 tsp Kosher salt
- 2 2/3 cups room temperature water
Ingredient Notes & Substitutions
Now let me tell you why these ingredients matter – I’ve learned a thing or two over 40 years of bread making!
Yeast: Instant or active-dry both work fine here – instant just skips the proofing step. My old yeast jar says “active dry” but I’ve used both interchangeably in this recipe for decades.
Salt: Kosher salt dissolves evenly and gives better flavor control than table salt. If you must substitute, use 1 1/2 tsp table salt instead.
Flour: All-purpose is perfect, but bread flour gives a slightly chewier texture (use the same amount). Whole wheat flour can replace up to 1 cup of the all-purpose if you want – just add an extra tablespoon or two of water.
Water: Room temp helps the yeast wake up gently. Too cold and it sleeps, too hot and you’ll kill it!
One last tip – when dusting your work surface, go easy on the flour. Too much makes the dough stiff. A light sprinkle is all you need!
Equipment You’ll Need
Don’t worry – you won’t need any fancy gadgets for this bread! Just grab:
- A large mixing bowl (big enough for dough to double)
- Plastic wrap or a clean kitchen towel
- A cast iron Dutch oven (5-6 quart works best)
- A spatula or dough scraper
- A cooling rack (so your bread doesn’t get soggy)
No Dutch oven? A heavy oven-safe pot with a tight lid will do in a pinch – just watch the baking time!
How to Make Rustic No-Knead Dutch Oven Artisan Bread
Alright honey, let’s get our hands floury! This bread practically makes itself – just follow these simple steps and let time do the heavy lifting:
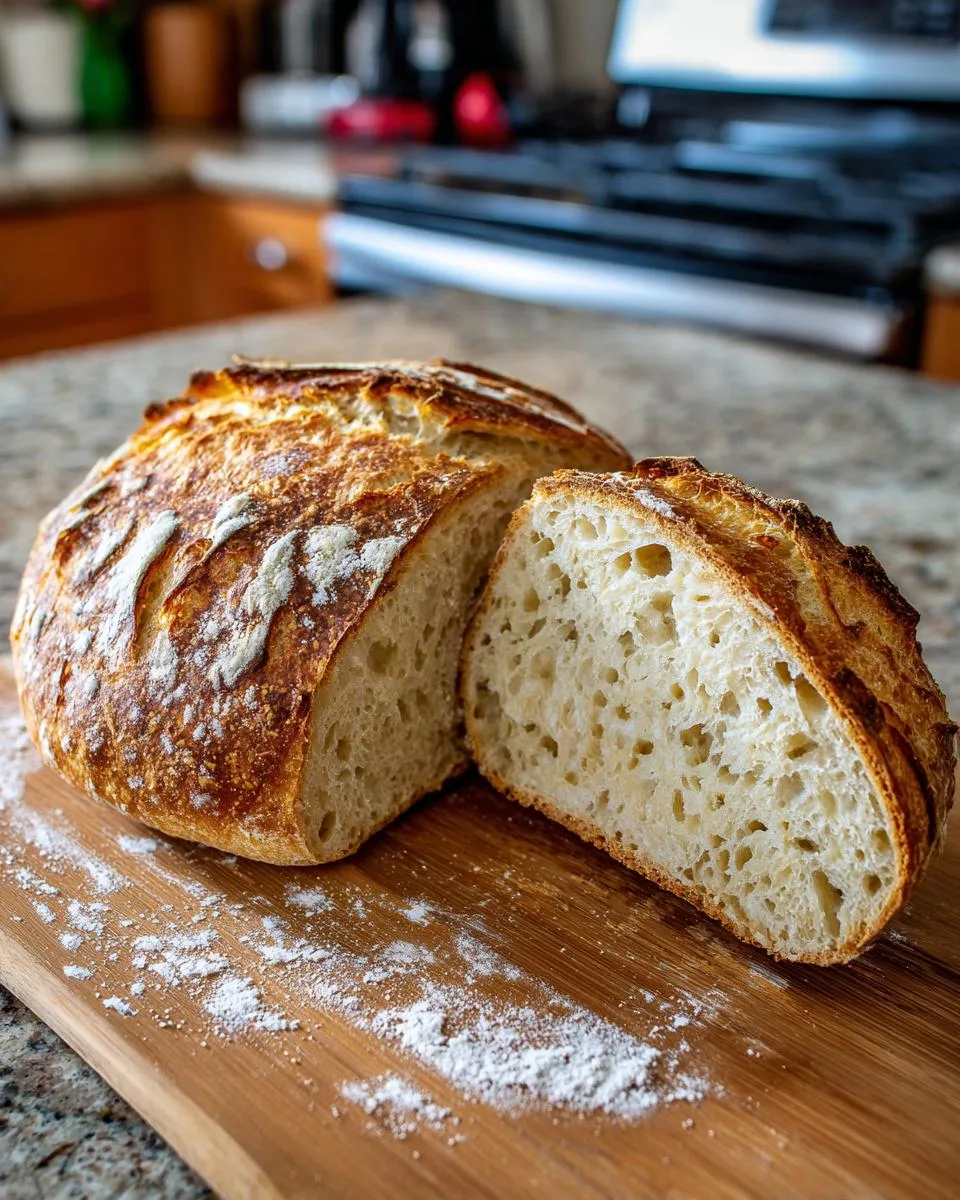
- Mix it up: In your biggest bowl, whisk together flour, yeast and salt. Pour in that room-temperature water and stir with a wooden spoon until you’ve got a shaggy, sticky dough. No need to knead – just make sure there aren’t any dry flour pockets hiding at the bottom!
- Let it rest: Cover that bowl tight with plastic wrap and walk away. Seriously – leave it alone on the counter for 12-18 hours (overnight works perfectly). You’ll know it’s ready when the dough looks bubbly and has doubled in size.
- Shape your loaf: Dust your clean counter lightly with flour and scrape the dough out. Sprinkle a little more flour on top – just enough so it doesn’t stick to your fingers. Gently pull the edges toward the center, rotating as you go, until you’ve got a nice round shape.
- Second rise: Spray your bowl lightly with oil and plop that shaped dough back in. Cover it again and let it rise for about 2 hours – it should puff up nicely and look jiggly when you nudge the bowl.
- Bake to perfection: About 1½ hours into that second rise, preheat your oven to 425°F with the Dutch oven inside. When the dough’s ready, carefully flip it into the scorching-hot pot (it’ll be bottom-side up – that’s perfect!). Cover and bake 40 minutes, then uncover for 10 more minutes until the crust turns deep golden brown.
- Cool completely: This is the hardest part – transfer your beautiful loaf to a rack and resist slicing for at least an hour! That steam inside needs time to set the crumb.
Shaping and Second Rise
Now don’t let that sticky dough scare you! Here’s my trick: wet your hands slightly instead of adding more flour. The dough should feel like a wet cloud – if it’s sticking everywhere, just sprinkle a tiny bit more flour. Shape it quickly with gentle motions – we’re not kneading, just coaxing it into a round. That tight surface tension helps it rise upward instead of spreading out flat.
For the second rise, find a warm spot (but not hot!) in your kitchen. Near the oven works nicely once it’s preheating. You’ll know it’s ready when the dough looks puffy and springs back slowly when poked.
Baking in the Dutch Oven
Oh, that hot pot is the secret to that gorgeous crust! Preheat it empty for at least 30 minutes – I set a timer so I don’t forget. When it’s time to bake, work fast but careful (I’ve burned my wrists more times than I can count!). The dough will sizzle when it hits the pot – that’s good! Cover it tight to trap steam for the first 40 minutes, then uncover to let that crust get crisp and golden. Listen for the crackling as it cools – that’s the sound of success!
Print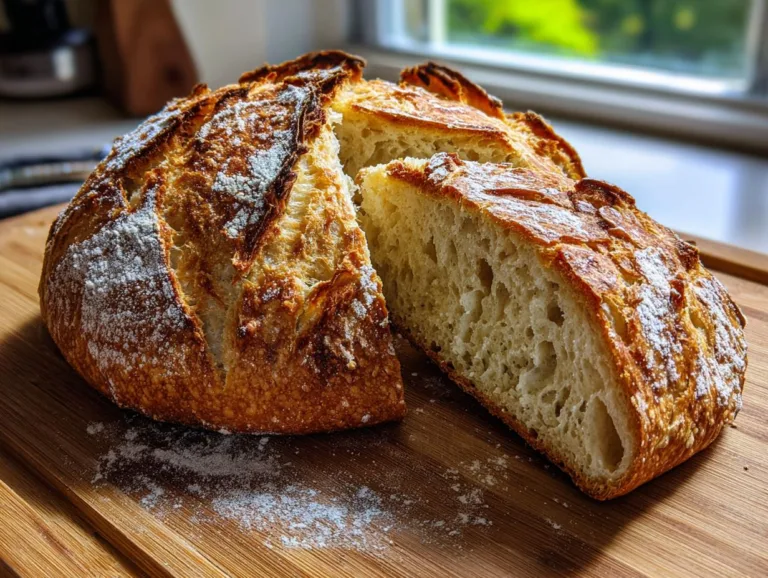
Grandma Jo’s Magical Rustic No-Knead Dutch Oven Bread
A simple rustic artisan bread recipe that requires no kneading and is baked in a Dutch oven for a perfect crust.
- Total Time: 14 hours 5 minutes
- Yield: 1 loaf 1x
Ingredients
- 6 cups All-Purpose Flour plus more for work surface
- 1/2 tsp Instant or Active-Dry Yeast
- 2 1/2 tsp Kosher Salt
- 2 2/3 cup Water room temperature
Instructions
- In a large bowl, combine the flour, yeast, and salt. Add the water and stir until all the ingredients are well incorporated. The dough should be a little wet and sticky. Add extra water 1 Tbsp at a time if needed. Cover the bowl with plastic wrap. Let the dough sit for 12-18 hours on the counter at room temperature.
- Lightly flour a work surface. Using a spatula or your hands, scrape dough out of bowl onto the work surface and sprinkle more flour on top. Using floured hands, lightly shape dough by moving it in a circular motion until round in shape and not sticky.
- Spray your bread bowl generously with cooking spray. Place dough back into bowl and cover with plastic wrap. Let rise for about 2 hours or until dough has doubled.
- After about 1 ½ hours, preheat your oven to 425 degrees. Place your cast-iron Dutch Oven in the oven as it preheats. When dough is fully risen, carefully remove your pot from the oven. Remove plastic wrap from bowl, then flip the bowl over allowing bread to land in pot bottom-side up.
- Cover and bake for 40 minutes. Uncover and continuing baking for 10 minutes more, until the crust is deep brown. The internal temperature of bread should be about 200 degrees.
- Remove the pot from the oven and immediately transfer bread to a cooking rack. Let it cool completely before slicing.
Notes
- This bread is very forgiving and can handle variations in rising time.
- Resist the urge to slice the bread too soon to avoid a gummy texture.
- Prep Time: 15 minutes
- Cook Time: 50 minutes
- Category: Bread
- Method: Baking
- Cuisine: American
- Diet: Vegetarian
Nutrition
- Serving Size: 1 slice
- Calories: 120
- Sugar: 0g
- Sodium: 240mg
- Fat: 0.5g
- Saturated Fat: 0g
- Unsaturated Fat: 0.3g
- Trans Fat: 0g
- Carbohydrates: 25g
- Fiber: 1g
- Protein: 4g
- Cholesterol: 0mg
Tips for Perfect Rustic No-Knead Dutch Oven Artisan Bread
After forty years of baking this bread weekly, I’ve learned a few tricks that’ll guarantee your loaf turns out just right every time:
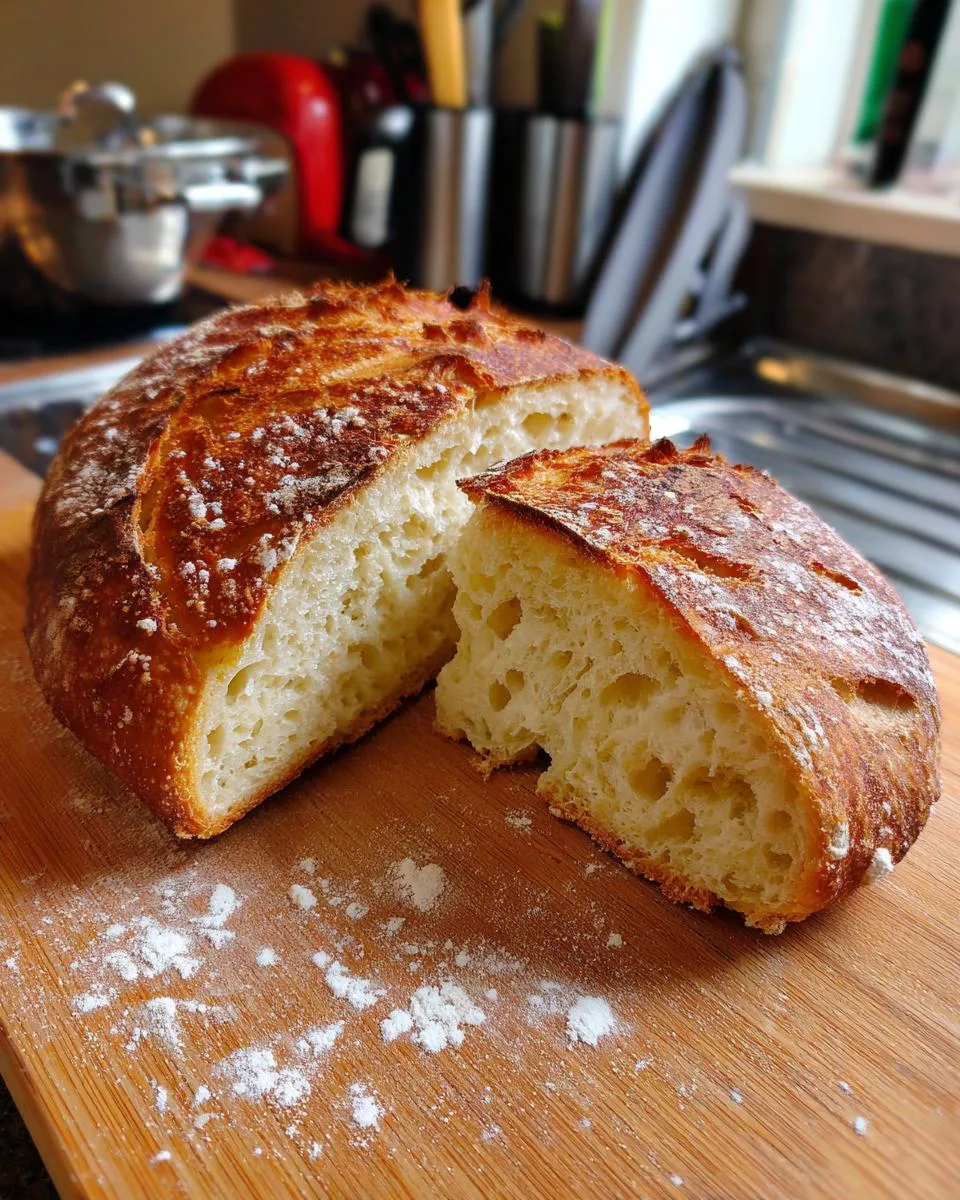
Weigh your flour – That old saying “a cup ain’t always a cup” rings true here! Too much flour makes dense bread. If you’ve got a kitchen scale, use 780g flour instead of measuring cups.
Watch the weather – On humid days, your dough might need less water. Start with 2 1/2 cups and add more as needed until it looks like a shaggy mess.
Patience is key – I know it’s tempting, but slicing warm bread gives you a gummy texture. Let it cool completely – about 2 hours – for perfect slices.
Burnt fingers teach best – Always use oven mitts when handling that hot Dutch oven! I’ve got the scars to prove it.
Serving and Storing Rustic No-Knead Dutch Oven Artisan Bread
Oh, the possibilities with this bread! My favorite way? Thick slices slathered with fresh butter that melts into all those nooks and crannies. It’s heavenly with soups – especially my vegetable beef – or just dunked in good olive oil with herbs. For storing, wrap cooled bread in a clean kitchen towel or paper bag to keep the crust crisp (plastic bags make it soggy). Freeze slices in foil for up to 3 months – just pop ’em straight in the toaster when a bread craving hits!
Rustic No-Knead Dutch Oven Artisan Bread FAQs
Over the years, I’ve gotten the same wonderful questions about this bread – let me share what I’ve learned:
Can I shorten the rise time? Oh honey, I wish! That long fermentation is what gives this bread its incredible flavor and texture. Rushing it with more yeast just isn’t the same – trust me, I’ve tried. Plan ahead and let time work its magic.
Can I use whole wheat flour? Absolutely! Swap out up to 1 cup of the all-purpose flour for whole wheat if you like that nutty flavor. Just add an extra tablespoon or two of water since whole wheat absorbs more moisture.
Why a Dutch oven? That heavy pot creates its own little steam oven! The trapped moisture gives you that crackly crust while keeping the inside tender. No Dutch oven? Any heavy pot with a tight lid will do in a pinch.
My dough is too sticky – help! Don’t panic! Wet hands make shaping easier. Remember – we want it sticky! That moisture turns to steam and creates those beautiful air pockets.
Can I add herbs or seeds? Of course! Toss in a handful of rosemary, garlic, or sunflower seeds when mixing the dough. My grandkids love when I add cinnamon and raisins for a sweet version! You can find more great ideas over at Facebook.
Nutritional Information
Now don’t go counting calories too closely – good bread feeds the soul! But for those who like to know, here’s what you’re getting in each slice (based on cutting the loaf into 12 pieces):
- Calories: 120
- Carbs: 25g
- Protein: 4g
- Fat: 0.5g
- Sodium: 240mg
Remember, these numbers are just estimates – your exact amounts might vary depending on your flour brand or how thick you slice it. But honestly? When that warm bread hits your plate, I doubt you’ll be thinking about numbers!
Share Your Bread!
Oh, I’d just love to see your beautiful loaves! Snap a photo of that golden crust or tell me how it turned out in the comments below. There’s nothing that warms my heart more than knowing this recipe is bringing joy to your kitchen too – just like it has in mine for all these years. Happy baking, dear! If you’re looking for more wonderful recipes, check out my main recipe index.
For More recipes, Follow me on Facebook!






