
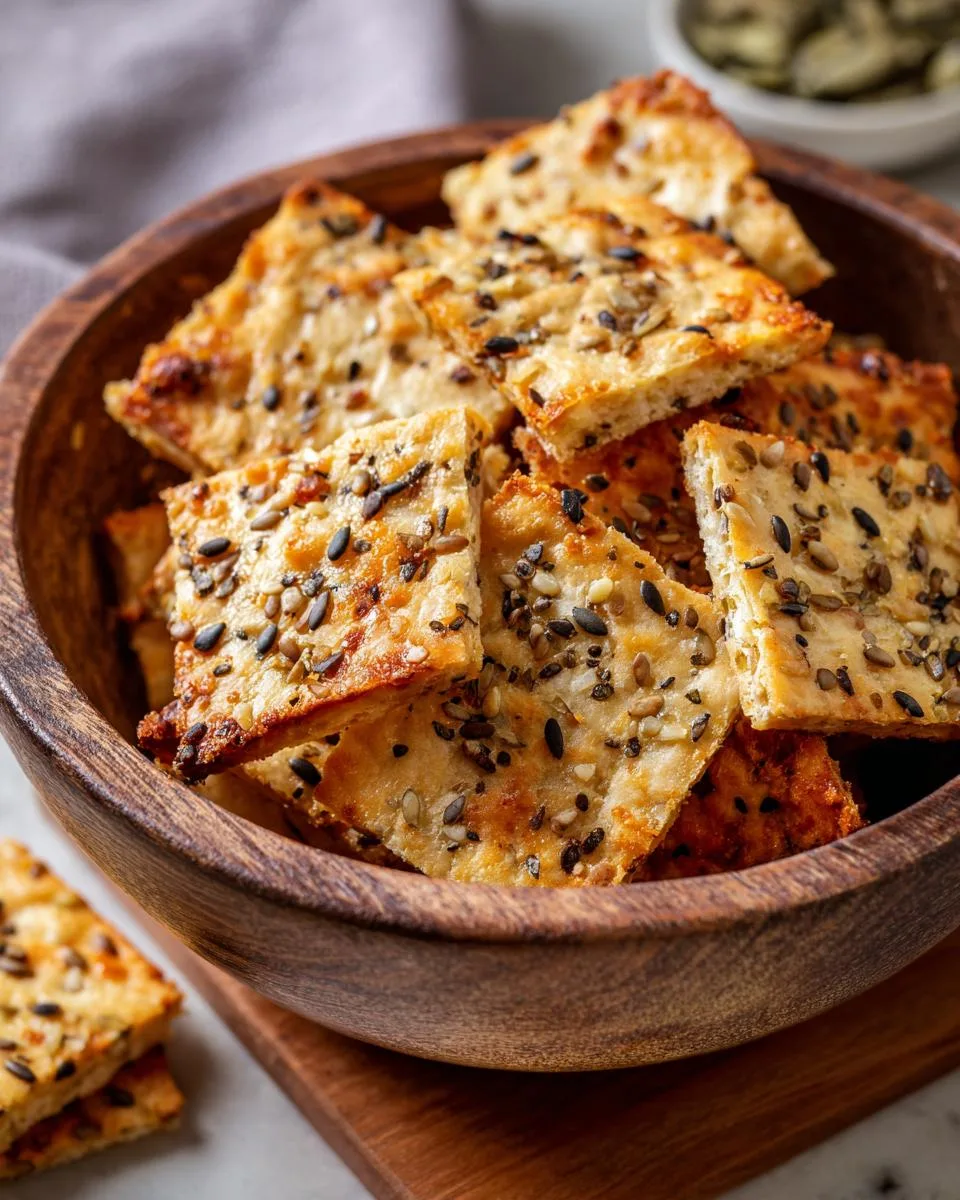
Oh, you’re going to love these seeded sourdough crackers! That satisfying *snap* when you break one apart? Pure magic. I’ve been baking these for years – ever since my granddaughter showed up with her first jar of bubbling sourdough starter. “Grandma Jo,” she said, “what can we do with all this discard?” Well, honey, let me tell you about my crispy little miracles.

Table of Contents
Table of Contents
These crackers transformed my weekly sourdough routine. No more guilt about tossing that precious discard! The combination of crunchy seeds and tangy sourdough creates something special – perfect for nibbling straight from the jar or pairing with your favorite cheeses. My bridge club ladies practically inhale them when I bring a batch to our Thursday gatherings.
Why You’ll Love These Seeded Sourdough Crackers
Oh honey, these crackers are about to become your new kitchen staple! Let me count the ways they’ll steal your heart:
- That perfect crunch – When you hear that first crisp snap, you’ll know all the rolling effort was worth it. They stay crunchy for days!
- Zero waste magic – Finally, a delicious way to use up that sourdough discard instead of tossing it. My jar hasn’t seen the compost bin in months!
- Endlessly versatile – Fancy cheese platter? Soup sidekick? After-school snack? Check, check, and check. My grandson even crumbles them over salads.
- Customizable flavors – Swap seeds based on what’s in your pantry. I sometimes add everything bagel seasoning for extra pizzazz.
- Gift-worthy goodness – Tied up in a pretty jar with ribbon, these make the most thoughtful homemade present. Just try not to eat them all first!
Ingredients for Seeded Sourdough Crackers
Now, let’s talk ingredients – and I mean exactly what goes into these beauties. I’ve learned through trial and error (and a few too-thick crackers) that precision matters here. You’ll need:

- 220 grams (about 1 cup) of that sourdough starter discard – straight from the fridge is fine, no need to wake it up
- 50 grams (¼ cup) good olive oil – the fruity kind adds lovely depth
- 125 grams (1 cup) all-purpose flour, plus extra for dusting – I keep mine in the freezer for best results
- The seed mix that makes these special: 45 grams each (heaping ¼ cup) of raw sunflower and pumpkin seeds
- 18 grams (2 tablespoons) sesame seeds – I like using half white, half black for looks
- 18 grams (2 tablespoons) flaxseed or hemp hearts – or mix ’em both!
- 2 grams (½ teaspoon) coarsely ground black pepper – fresh cracked makes all the difference
- 1 gram (¼ teaspoon Diamond Crystal or ⅛ teaspoon Morton) kosher salt – yes, salt type matters!
- Flaky sea salt for sprinkling – optional but oh-so-worth it
See those gram measurements? Trust me, weighing makes these crackers perfectly consistent every time. My old coffee scoop works great for the seeds if you don’t have a scale!
Ingredient Substitutions
Don’t fret if your pantry’s missing something – these crackers are wonderfully adaptable! Over the years, I’ve swapped more ingredients than I can count when the baking bug strikes and I’m out of supplies. Here’s what works beautifully:
Flaxseed or hemp hearts can trade places easily – use whichever you’ve got. Chia seeds make a great stand-in too, though they’ll give a slightly crunchier texture. Sunflower seeds can become chopped almonds or pecans for a different nutty flavor. And if you’re out of pumpkin seeds, try roasted chickpeas for an unexpected twist!
The only non-negotiables? That sourdough starter and olive oil – they’re the soul of these crackers. Everything else is happily flexible!
How to Make Seeded Sourdough Crackers
Alright, let’s get these crackers going! The process is simple, but I’ve got some tricks to share that’ll make all the difference between “good” and “grandma-worthy” crackers.
Mixing the Dough
First things first – preheat that oven to 325°F (165°C). While it’s warming up, grab your biggest mixing bowl and dump in that sourdough starter discard and olive oil. Stir them together with a fork until they look like a creamy, lumpy soup – that’s perfect!
Now, in a smaller bowl, whisk together all your dry ingredients: flour, seeds, pepper, and salt. Here’s where the magic starts – slowly add the dry mix to the wet ingredients while stirring. The dough will look shaggy at first, but keep mixing until it comes together into a sticky ball. Don’t worry if it feels tacky – that’s exactly how it should be!
Rolling and Cutting the Dough
Here’s the secret to crispy crackers: roll them thin. I’m talking cracker-thin! Lay down a big sheet of parchment paper (trust me, this saves cleanup) and dust it lightly with flour. Plop your dough right in the center.
Use a rolling pin to flatten the dough into a rectangle about 1/8-inch thick – no thicker than two stacked quarters! If the dough sticks, sprinkle on a tiny bit more flour. Then take a pizza cutter or sharp knife and slice the dough into squares. Don’t separate them yet – they’ll snap apart beautifully after baking.
Baking and Cooling
Slide the parchment with your cracker dough right onto a baking sheet. If you want extra flavor, sprinkle with flaky sea salt now. Pop them in the oven for 30-35 minutes – you’ll know they’re done when the edges turn golden brown and your kitchen smells like toasted seeds.
Here’s the hardest part: let them cool completely on the baking sheet! I know it’s tempting, but breaking them warm makes them bend instead of snap. Once cooled, they’ll crisp up perfectly and break cleanly along your cut lines.
Print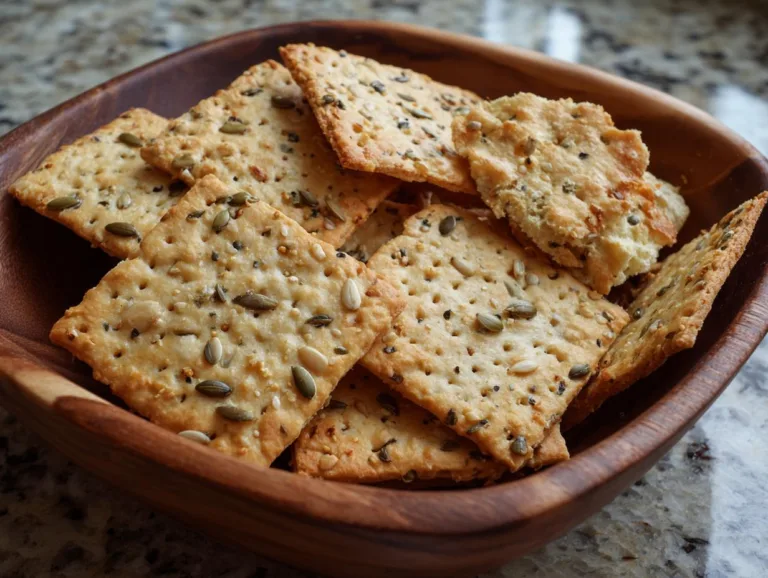
Grandma Jo’s 5-Star Seeded Sourdough Crackers Recipe
Crispy seeded sourdough crackers made with sourdough starter discard and a mix of nutritious seeds. Perfect for snacking or pairing with cheese.
- Total Time: 50 minutes
- Yield: 40 crackers 1x
Ingredients
- 220 grams (about 1 cup) sourdough starter discard
- 50 grams (¼ cup) olive oil
- 125 grams (1 cup) all-purpose flour, plus more for dusting
- 45 grams (heaping ¼ cup) raw sunflower seeds
- 45 grams (heaping ¼ cup) raw pumpkin seeds
- 18 grams (2 tablespoons) white or black sesame seeds
- 18 grams (2 tablespoons) raw flaxseed or raw hemp hearts (or a mix)
- 2 grams (½ teaspoon) coarsely ground black pepper
- 1 gram (¼ teaspoon Diamond Crystal or ⅛ teaspoon Morton) kosher salt
- Flaky or coarse sea salt, for sprinkling (optional)
Instructions
- Heat the oven to 325°F (165°C) with a rack in the center.
- In a large bowl, stir together the starter discard and olive oil.
- In a small bowl, stir together the flour, seeds, pepper, and salt.
- Add the dry ingredients to the wet. Use a fork to stir until it forms a shaggy dough.
- Knead the dough by hand until it forms a sticky, soft ball.
- Roll out the dough on floured parchment paper into a thin rectangle.
- Cut into squares and bake for 30-35 minutes until golden.
- Cool completely before breaking apart and storing.
Notes
- Use sourdough discard for minimal waste.
- Roll dough thinly for crispier crackers.
- Store in an airtight container for up to 1 week.
- Prep Time: 15 minutes
- Cook Time: 35 minutes
- Category: Snack
- Method: Baked
- Cuisine: American
- Diet: Vegetarian
Nutrition
- Serving Size: 1 cracker
- Calories: 35
- Sugar: 0g
- Sodium: 20mg
- Fat: 2g
- Saturated Fat: 0.3g
- Unsaturated Fat: 1.5g
- Trans Fat: 0g
- Carbohydrates: 4g
- Fiber: 0.5g
- Protein: 1g
- Cholesterol: 0mg
Tips for Perfect Seeded Sourdough Crackers
After making batch after batch (my neighbors keep “volunteering” as taste testers), I’ve picked up some foolproof tricks for cracker perfection:
Roll thin or go home! I can’t stress this enough – too thick and you’ll get sad, bread-like crackers. Aim for that quarter-thinness I mentioned. If you think it’s thin enough? Roll it one more time!
Seed substitutions are your friend. Ran out of pumpkin seeds? Toss in some chopped almonds. No flaxseed? Chia seeds work beautifully. The only rule is to keep the total seed weight about the same.
Storage smarts: These stay crispy for a week in an airtight container… if they last that long! For longer storage, freeze the baked crackers in a zip-top bag – they crisp right back up at room temperature.
Even baking secret: Rotate your baking sheet halfway through if your oven has hot spots. And if some crackers brown faster than others, just remove those early with tongs!
Bonus pro move: For extra flavor, toast your seeds lightly before adding to the dough. Just watch them carefully – they burn in a blink!
Serving Suggestions
Oh, the possibilities! These seeded sourdough crackers shine brightest when paired with my favorite cheeses – a sharp cheddar or creamy brie makes me weak in the knees. They’re also perfect for scooping up hummus or dunking in tomato soup on chilly days. My secret? Crumble them over a salad for instant crunch – you’ll thank me later!
Storing Seeded Sourdough Crackers
Keeping these crackers crispy is a breeze! Just pop them in an airtight container at room temperature – my old cookie tins work perfectly. They’ll stay fresh and crunchy for about a week… if you can resist eating them all sooner! For longer storage, freeze them in zip-top bags for up to 2 months. They crisp right back up when thawed – no special treatment needed.
Nutritional Information
Now, I’m no nutritionist, but let me tell you – these crackers pack more than just flavor! Each little square comes out to about 35 calories, with 2g of good fats from those seeds and olive oil. They’ve got 1g of protein and 0.5g fiber per cracker too – not bad for a snack!
Keep in mind these numbers can vary based on your exact ingredients – especially if you go wild with the seed mix like I sometimes do. But compared to store-bought crackers? These homemade beauties win every time!
FAQ About Seeded Sourdough Crackers
Over the years, I’ve gotten all sorts of questions about these crackers from friends and family. Here are the answers to the ones I hear most often:
Can I use active sourdough starter instead of discard?
Absolutely! Active starter works just fine – the crackers might have a slightly more pronounced tang, which I personally love. Just make sure to use the same amount by weight.
Why didn’t my crackers get crispy?
Oh honey, they were probably too thick! Next time, really commit to rolling them paper-thin. Also, make sure your oven is fully preheated and that you let them cool completely before breaking apart.
Can I freeze the dough for later?
You bet! Portion the dough into discs, wrap tightly in plastic, and freeze for up to 3 months. Thaw in the fridge overnight before rolling and baking. Though between you and me, I prefer freezing the baked crackers – they crisp up beautifully when thawed!
What’s the best way to get uniform cracker sizes?
My secret? I use a ruler! After rolling out the dough, I measure and score lines every 1.5 inches with my pizza cutter. Not that perfection matters – rustic crackers have their charm too! If you’re looking for more baking inspiration, check out all my recipes.
For More recipes, Follow me on Facebook!






