
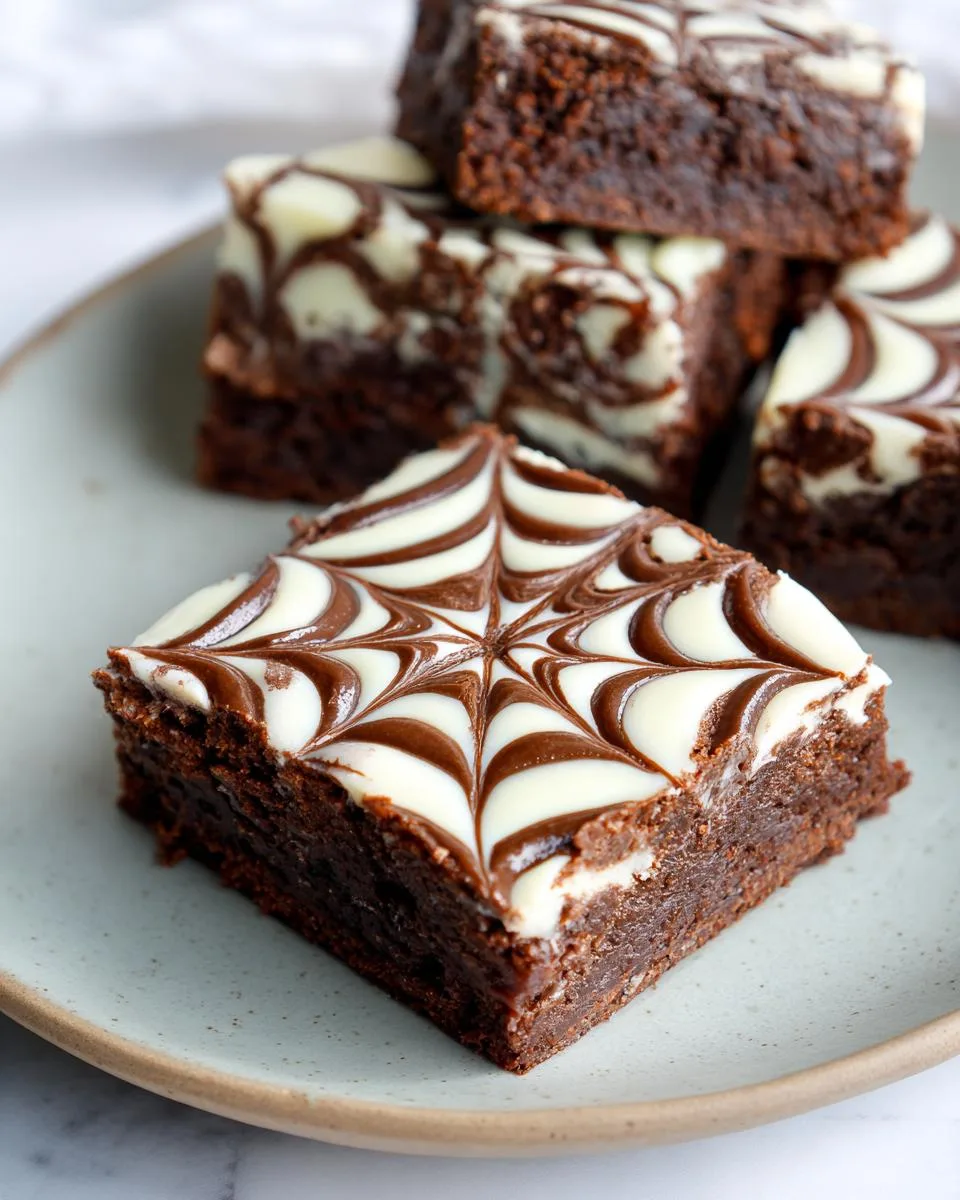
Nothing says Halloween like a batch of spooky spiderweb brownies sitting on the counter! These aren’t just any brownies—they’re rich, fudgy squares with a mesmerizing cream cheese web design that always makes the grandkids squeal with delight. I’ve been baking these for over 30 years, ever since my own kids were little, and let me tell you, that first wobbly attempt at piping the web was… well, let’s just call it “abstract art!” But practice makes perfect, and now these showstopper brownies are our family’s must-make Halloween tradition.

Table of Contents
Table of Contents
Why You’ll Love These Spiderweb Brownies
Trust me, these aren’t your average brownies – they’re a full-blown experience! Here’s why everyone goes crazy for them:
- They look like magic – That swirly cream cheese web transforms basic brownies into edible art. Kids gasp when you slice into it!
- Perfect flavor balance – The rich chocolate pairs beautifully with the slightly tangy cream cheese. (I add just a hint of peppermint for that extra “wow” factor.)
- Easier than they look – My piping technique might seem fancy, but it’s really just circles and lines – even my 8-year-old granddaughter can do it now!
Spiderweb Brownies Ingredients
Gathering the right ingredients makes all the difference with these spiderweb brownies. Here’s what you’ll need to create that perfect fudgy base and creamy web topping:

- 1 batch of your favorite fudge brownie batter – Use homemade or a quality mix (I won’t judge!)
- 4 oz (half a package) cream cheese – Must be at room temperature or it’ll clump!
- 2 tablespoons granulated sugar – This sweetens the web just enough without overpowering the chocolate
- 1 tablespoon all-purpose flour – Helps stabilize the cream cheese mixture
- 1 large egg yolk – Gives the web its smooth, slightly firm texture
- 1/2 teaspoon peppermint extract (optional) – My secret for a refreshing twist
Ingredient Substitutions
Don’t stress if you’re missing something – here are my tried-and-true swaps:
- Peppermint extract alternatives: Try 1/4 tsp mint extract or skip it entirely for plain cream cheese flavor
- Gluten-free option: Swap the flour with 2 tsp cornstarch or your favorite GF blend
- Cream cheese emergency: In a pinch, mascarpone works but add 1 extra tsp sugar
- Egg yolk substitute: 1 tbsp heavy cream will do in a pinch, though the web won’t set quite as firm
Equipment You’ll Need for Spiderweb Brownies
Now, let’s talk tools! You don’t need anything fancy to make these spiderweb brownies – just a few basic kitchen items that you probably already have. Here’s what I always pull out before starting:
- A 9×13-inch baking pan – My trusty old metal one works perfectly, but glass is fine too. If you want thicker brownies, you can use two 8-inch round pans instead (great for Halloween parties!)
- A disposable pastry bag – No fancy piping tips needed here! Just a simple plastic bag with the tiniest snip off one corner. (In a real pinch, a ziplock bag works too – just go slow!)
- A thin table knife – The kind you’d use to butter toast is perfect for creating those web strands. I keep a little bowl of water nearby to dip the tip in between pulls.
- A good mixing bowl – For that cream cheese mixture. Mine’s got chips all around the rim from years of use!
- A rubber spatula – To scrape every last bit of that delicious batter into the pan. Waste not, want not!
See? Nothing too special – just the kind of everyday tools that prove fancy desserts don’t need fancy equipment. The magic is in your hands, not your gadgets!
How to Make Spiderweb Brownies
Alright, let’s get to the fun part – making these gorgeous spiderweb brownies come to life! I’ll walk you through each step just like I show my grandkids, complete with all my little tricks for that perfect web effect. Don’t worry if it’s not perfect on your first try – my early attempts looked more like squiggly modern art than spiderwebs!
Preparing the Brownie Batter
First things first – let’s get that oven going! Preheat your oven to 350°F (that’s 175°C for my friends across the pond). While it’s heating up, grab your baking pan and give it a good coating of butter or non-stick spray. I like to do this with my fingers – gets into all the nooks and crannies!
Mix up your brownie batter according to your favorite recipe (or that trusty box mix – no shame in shortcuts!). Pour it into your prepared pan and use a spatula to spread it evenly. I always give the pan a little tap-tap-tap on the counter to get rid of any air bubbles. Now we’re ready for the magic part!
Creating the Cream Cheese Spiderweb
Here’s where the real fun begins! Make sure your cream cheese mixture is nice and smooth (no lumps allowed!). Spoon it into your pastry bag – if you’re using a plastic bag like I often do, twist the top so it doesn’t squish out when you pipe.
Start by making a small dollop of cream cheese mixture slightly off-center in your brownie batter – this will be the center of your web. Now, pipe concentric circles around it, spacing them about 1 inch apart. Don’t worry about perfection – spiders aren’t perfect architects either!
Now grab that table knife (I like to wet the tip first) and starting at the center, gently drag it through the circles to the edge of the pan. Wipe the knife clean and repeat this every 1-2 inches to create your web strands. Watch how the cream cheese pulls into those beautiful arcs – it’s like magic every time!
Baking and Cooling
Pop those beauties in the oven and set your timer for 30 minutes. The brownies are done when the edges just start to pull away from the pan – the center will still look a bit soft, but that’s perfect! Remember, they’ll continue cooking as they cool.
Here’s the hardest part – WAIT until they’re completely cool before cutting! I know, I know, the chocolatey smell is torture, but if you cut them too soon, that gorgeous web design will smear. I usually distract myself by cleaning up (or sneaking a taste of the batter bowl).
Once they’re cool, use a sharp knife to cut them into squares. Wipe the knife between cuts for clean edges. Then stand back and admire your handiwork – you just made edible art!
Print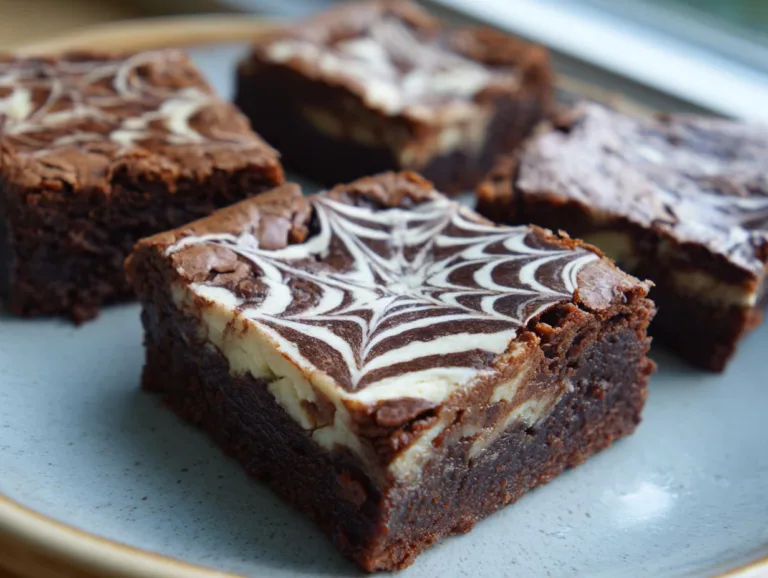
Spooky Spiderweb Brownies That’ll Wow in Just 30 Minutes
Spiderweb Brownies are a fun and visually striking dessert featuring a cream cheese spiderweb design on top of rich fudge brownies.
- Total Time: 45 minutes
- Yield: 12 brownies 1x
Ingredients
- batter for one batch Fudge Brownies
- half an 8-ounce package (113g) cream cheese, at room temperature
- 2 tablespoons (25g) granulated sugar
- 1 tablespoon King Arthur Unbleached All-Purpose Flour
- 1 large egg yolk
- 1/2 teaspoon peppermint extract, optional
Instructions
- Prepare the brownie recipe as instructed and spread the batter in a greased 9″ x 13″ pan, or two 8″ round pans. Preheat the oven to 350°F.
- Combine the cream cheese, sugar and flour in a small bowl, and mix until smooth. Add the egg yolk and optional peppermint extract, mixing until smooth once again. Transfer the mixture to a disposable pastry bag, and cut just the very tip off the end.
- Place a small pool of the mixture slightly off-center in the brownie batter. Draw circles around this pool about 1″ apart, moving out from the center each time. Once the circles are drawn, take a table knife, wet the tip, and draw it from the center out towards the edge. The knife will draw the cream cheese filling into arcs. Repeat this motion every 1″ to 2″ to fill in the rest of the spider web.
- Use any remaining filling to trace the path where the knife traveled, to create the spokes of the web, if desired.
- Bake the brownies for 30 minutes, until the brownies just barely pull away from the edge of the pan. The center will rise while baking, but will sink back level once the brownies are cool. Remove them from the oven and cool before cutting.
- Store any leftover spider web brownies, well-wrapped, at room temperature for 5 to 6 days. Freeze for longer storage.
Notes
- Substitute 1/8 to 1/4 teaspoon peppermint oil for the peppermint extract, if desired.
- Use our All-American Fudge Brownie Mix for convenience.
- Prep Time: 15 minutes
- Cook Time: 30 minutes
- Category: Dessert
- Method: Baking
- Cuisine: American
- Diet: Vegetarian
Nutrition
- Serving Size: 1 brownie
- Calories: 220
- Sugar: 18g
- Sodium: 120mg
- Fat: 10g
- Saturated Fat: 4g
- Unsaturated Fat: 5g
- Trans Fat: 0g
- Carbohydrates: 30g
- Fiber: 1g
- Protein: 3g
- Cholesterol: 45mg
Expert Tips for Perfect Spiderweb Brownies
After making these spiderweb brownies for decades, I’ve picked up a few tricks that guarantee picture-perfect results every time. Here are my can’t-miss secrets:
- Room temp is non-negotiable – That cream cheese must be as soft as butter! Cold cream cheese makes lumpy webs that don’t flow smoothly. I leave mine out overnight sometimes – the softer it gets, the easier it pipes. The egg yolk should be room temp too, or it won’t blend right.
- Keep that knife wet – Dipping your knife in water between each pull gives you those crisp, clean web lines. Just a quick dip and shake off the excess – too much water will make the design run. I keep a little bowl right by my baking station.
- Underbake slightly – The brownies should look just barely done at 30 minutes (edges pulling away slightly). They’ll keep cooking as they cool, and this prevents that dry, crumbly texture nobody wants. Remember – fudgy is always better than cakey with these!
Oh, and one bonus tip from my grandkids – if your web breaks while piping, just call it a “spider attack” and add some candy spiders on top! Nobody will ever know it wasn’t intentional.
Storing and Freezing Spiderweb Brownies
Now, here’s the good news – these spiderweb brownies actually improve after sitting for a day! The flavors mingle together, and that cream cheese web sets up beautifully. But you’ll need to store them right to keep them fresh and fudgy.
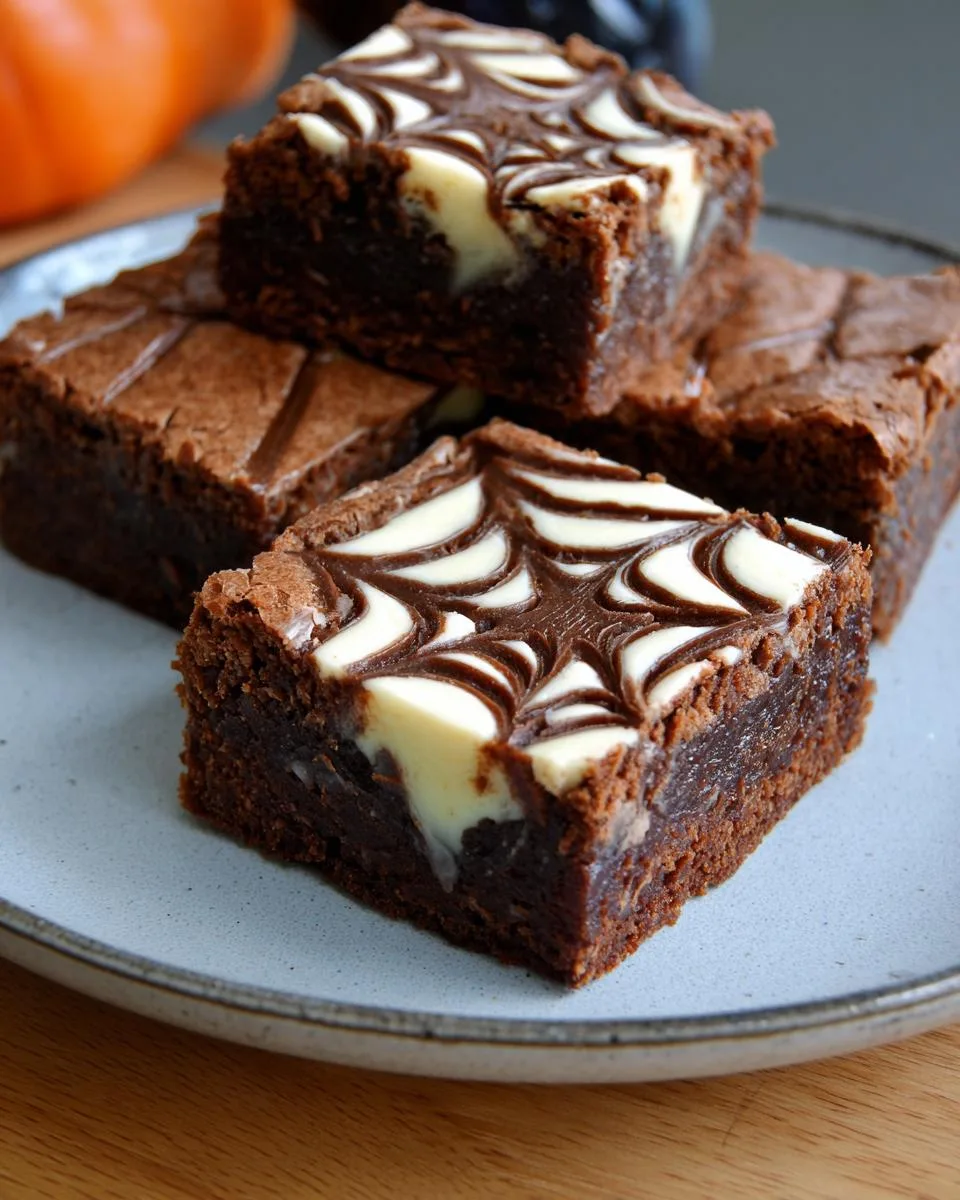
At room temperature, just cover them tightly with plastic wrap or tuck them into an airtight container. They’ll stay perfect for 3-4 days this way – if they last that long! I usually put wax paper between layers if I’m stacking them, so the webs don’t stick together.
For longer storage, freezing works like a charm. Here’s my no-fail method:
- Cut them first – Freeze the whole pan and you’ll have to thaw everything at once. Much better to freeze individual portions!
- Wrap each brownie in parchment paper, then pop them into a freezer bag. Squeeze out all the air – that’s what causes freezer burn.
- Label with the date – They’ll keep for 2-3 months this way, though ours never last that long!
When you’re ready to enjoy, just take out what you need and let them thaw at room temp for about an hour. No microwave needed – patience gives you the best texture. The cream cheese web might look a little dull after freezing, but the taste is still fantastic!
One last tip from my years of brownie tinkering – if you freeze them, add a little extra peppermint extract when you make them. The flavor mellows slightly in the freezer, so this keeps them tasting bright and fresh when thawed.
Spiderweb Brownies Nutritional Information
Now, I know what you’re thinking – “Grandma Jo, should I even be asking about nutrition when we’re talking about decadent chocolate brownies?” Well, bless your heart for asking! While these spiderweb brownies are definitely a treat, I believe in knowing what you’re eating – even the fun stuff.
Keep in mind that exact numbers can vary depending on your specific ingredients – like whether you use dark or milk chocolate, full-fat or reduced-fat cream cheese, or that extra pinch of peppermint. But here’s generally what you’re looking at per serving:
- Rich in chocolatey goodness – Let’s just say you’ll get plenty of that mood-boosting cocoa!
- Cream cheese provides protein – Not a health food by any means, but it’s got calcium going for it too
- Moderate sugar content – We don’t go overboard, using just enough to balance the flavors
- Decent energy boost – Perfect for when the grandkids need a Halloween activity pick-me-up
My philosophy? Everything in moderation, dear. One of these beauties with a glass of cold milk makes a perfectly reasonable treat. And honestly, when you see those little faces light up at the spiderweb design, any nutrition talk flies right out of the window!
FAQs About Spiderweb Brownies
Over the years, I’ve gotten so many questions about these spiderweb brownies – and believe me, I’ve made every mistake possible while figuring them out! Here are the answers to the questions I get asked most often:
Can I use boxed brownie mix instead of homemade?
Oh honey, absolutely! I’ve used boxed mixes more times than I can count when I’m in a hurry. Just pick a good quality fudge-style mix (none of that cakey stuff!) and follow the directions for “fudgy” brownies if there’s an option. The web design works just as beautifully on boxed mix as it does on from-scratch batter.
Help! My web broke while piping – how do I fix it?
First, don’t panic! This happens to me sometimes too. If the lines break while you’re pulling them, just dip your knife in water again and gently reconnect the broken strands. If the whole design gets messed up, here’s my secret trick: call it a “storm-damaged web” and scatter some chocolate chips or crushed cookies on top to look like debris. Honestly, kids think that’s even cooler than a perfect web!
Can I leave out the peppermint extract?
You sure can, sweetie. The peppermint is my personal twist, but the classic version is just cream cheese and chocolate. If you skip it, you might want to add 1/4 teaspoon of vanilla extract instead to round out the flavor. Or get creative – almond extract makes a lovely variation, or you could try a dash of cinnamon for a Mexican chocolate vibe!
Share Your Spiderweb Brownies Creations
Oh, how I’d love to see your spiderweb brownies come to life in your kitchen! There’s nothing that warms my heart more than seeing families carrying on these sweet traditions. If you snap a photo of your spooky creations (even the “abstract” ones – we’ve all been there!), tag @GoodOlRecipes so I can admire your handiwork.
Over the years, I’ve seen the most wonderful variations – purple webs for Halloween parties, mini spiderweb brownie bites for school treats, even one clever baker who added candy eyeballs peeking out from the web! Every October, my phone becomes a gallery of chocolatey artwork from all of you, and it’s my favorite thing about running this little recipe blog. You can read more about our blog on our About page.
So whether it’s your first attempt or your hundredth, don’t be shy! We’re all just here to have fun in the kitchen and make memories. And who knows – your photo might just inspire someone else to start their own spiderweb brownie tradition this year.
For More recipes, Follow me on Facebook!






